MAINTENANCE AND LUBRICATION 0B-13
FUEL SYSTEM (Item 2)
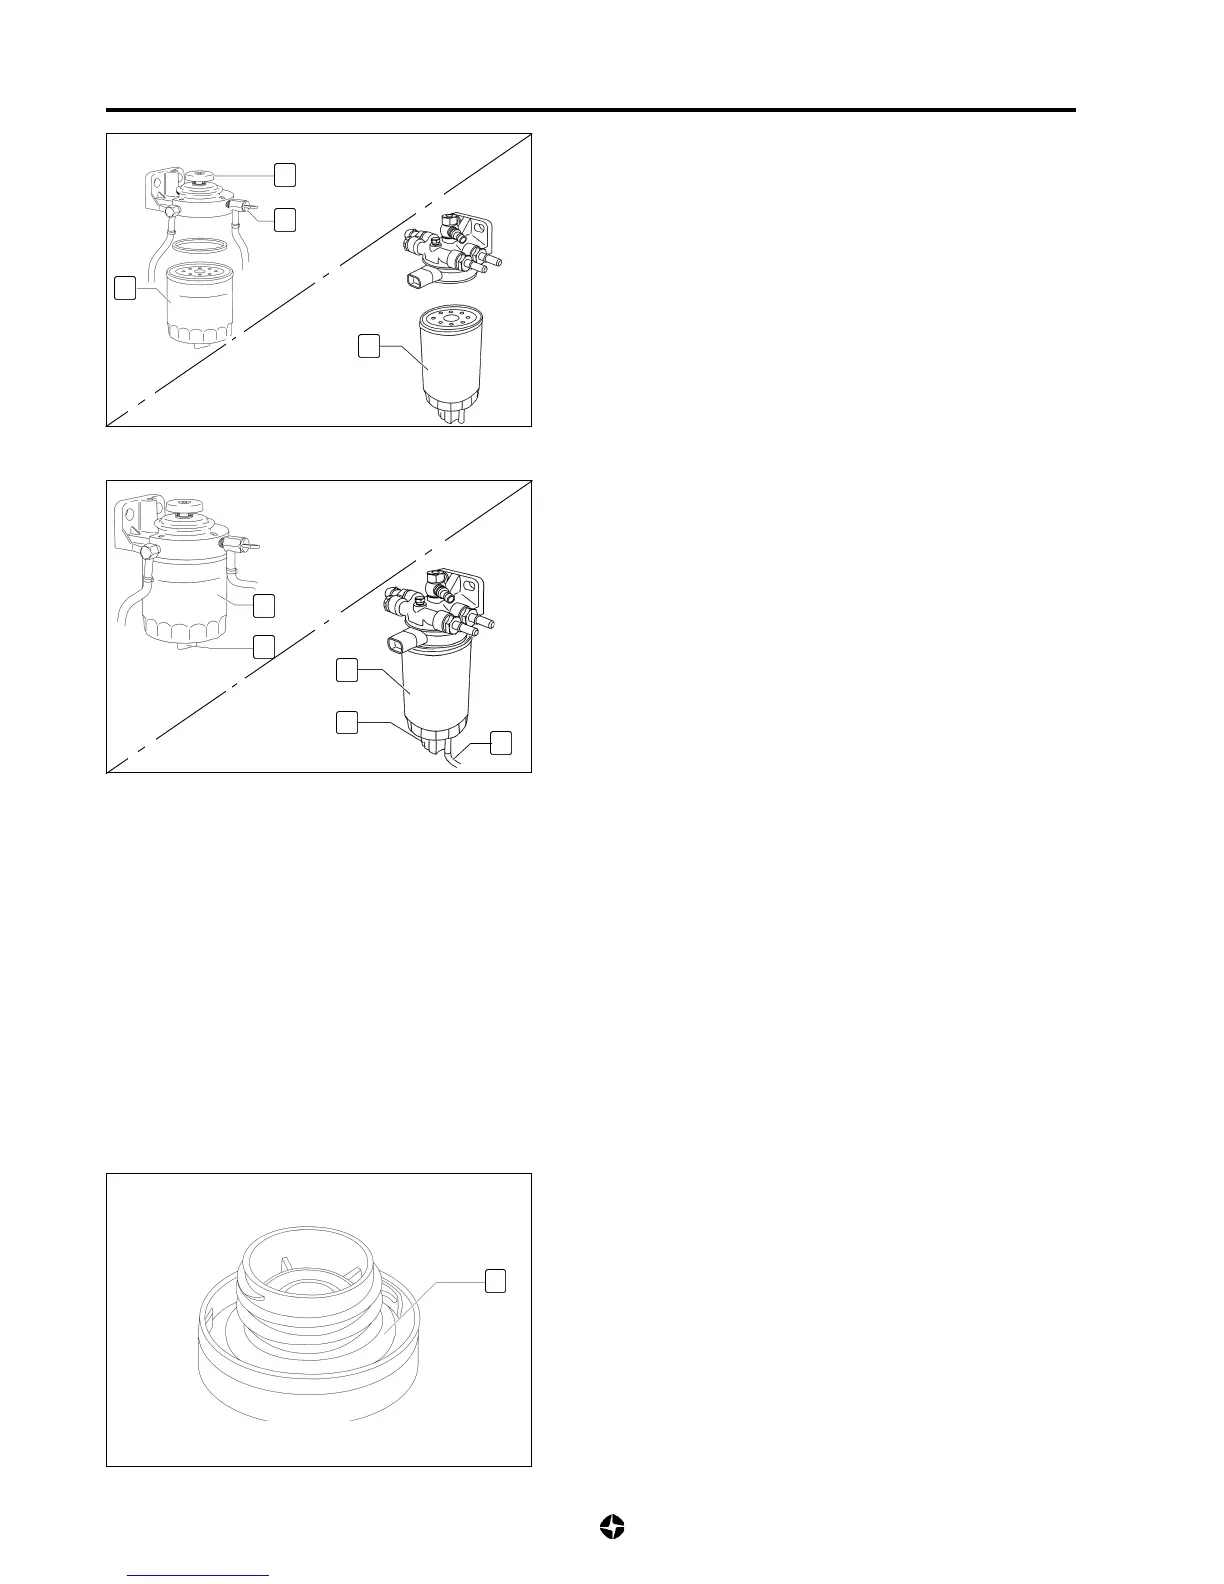
Fuel filter and air purge (Item 2.1)
•
MECHANICAL INJECTION MECHANICAL INJECTION
MECHANICAL INJECTION MECHANICAL INJECTION
MECHANICAL INJECTION
To substitute the filter element (1), as well as to air purge
with pump (2) through purger (3), see 6C-8
"MANIPULATING THE FUEL FILTER ".
•
COMMON RAILCOMMON RAIL
COMMON RAILCOMMON RAIL
COMMON RAIL
To substitute the filter element (1), see 6C-8
"MANIPULATING THE FUEL FILTER ".
Water Purging and residues from the fuel filter
(Item 2.2)
•
MECHANICAL INJECTIONMECHANICAL INJECTION
MECHANICAL INJECTIONMECHANICAL INJECTION
MECHANICAL INJECTION
Open purger (4), draw the water and residues at the bottom
of the filter (1); close the purger when the fuel comes out
clean.
•
COMMON RAILCOMMON RAIL
COMMON RAILCOMMON RAIL
COMMON RAIL
Uncouple electrical connector (5) from the water sensor
(4
1
). Untighten the sensor a few turns until the accumulated
water in the filter draws out of the little drainpipe the sensor
has; moderately tighten the sensor when the fuel comes
out clean and couple the electrical connector (5) again.
Fuel Lines and connections (Item 2.3)
Inspection
1) Check visually the worthiness of the flexible tubings and
sleeves from the feeding and back return fuel lines; no
deformations, fissures, loses or rubbings should be apparent.
Substitute or replace if necessary.
2) Check visually the worthiness of braces and sleeves
connections to rigid pipes, and be sure that they are firmly
tightened.
3) Inspect the pathways of rigid tubings and sleeves, as well
as its arrangement along the left side of the frame; they
must be perfectly held with their braces, without rubbing in
between or with metallic parts which could bring damages.
1
3
2
1
4
1
1
1
1
1
4
1
5
MECHANICAL INJECTION
COMMON RAIL
MECHANICAL INJECTION
COMMON RAIL
Fuel tank (Item 2.4)
Inspection
1) Check visually the worthiness of the cap joint (1), to ensure
no damages, deformations or excessive hardening occur;
replacing it if necessary.
2) Check the worthiness of the sleeves of the tank, ensuring
no deformations, cracks, loses or rubbings take place,
replacing if necessary.
3) Check the braces worthiness ensuring tightness of fittings.
4) Inspect the tank general looks, paint, scratches, knocks,
etc ... If there are any damages, gauge the seriousness of
damages and repair or substitute.

 Loading...