CLUTCH 7C-13
Check
1) Clean all the elements with the specified fluid and leave to
dry without using compressed air.
2) Check that the cylinder has no scratched or decay caused
by rust. Change if necessary.
3) If the cylinder is in perfect condition, change the elements
which are not.
4) Replace the casing with a new one.
Instalation
Instalation cylinder
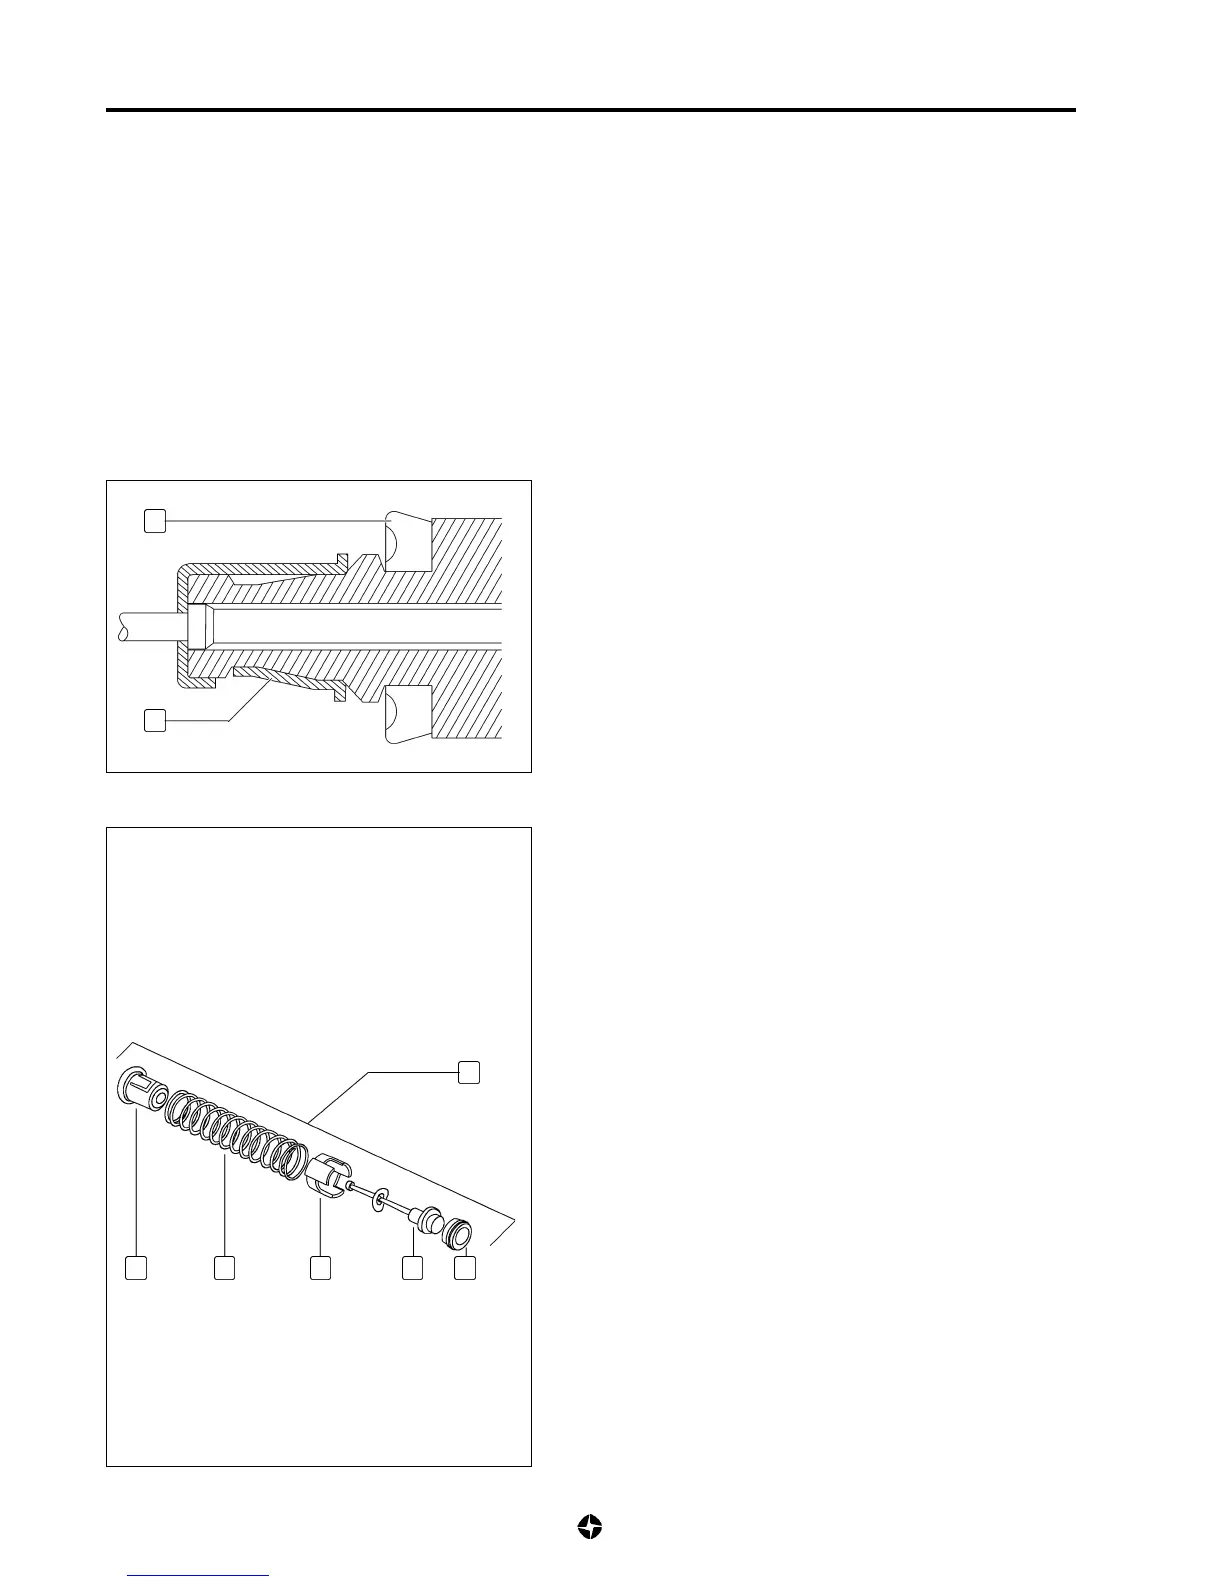
1) Place casing (8) on rotor (7) in the indicted position.
2) Fit the assembly (A), recovery spring and valve in the
indicated position:
• Seal valve (9)
• Rod valve (10)
• Valve (3)
• Spring (11)
• Housing retention spring (12)
3) Clean cylinder and the rest of the elements with a dry cloth.
4) Apply a film of fluid specified for use in the circuit to the
cylinder interior and housing.
5) Fit the rotor to the recovery spring and valve assembly and
then continue the assembly in reverse order to the
dismantling.
6) Install main clutch cylinder (see 7C-7).
7) Adjust clutch pedal height (7C-4).
11
8
7
12
A
9
103
NOTE:
To clean and dry the pieces, use a cloth which de
not shed particles (fluff).

 Loading...