5-18 BRAKES
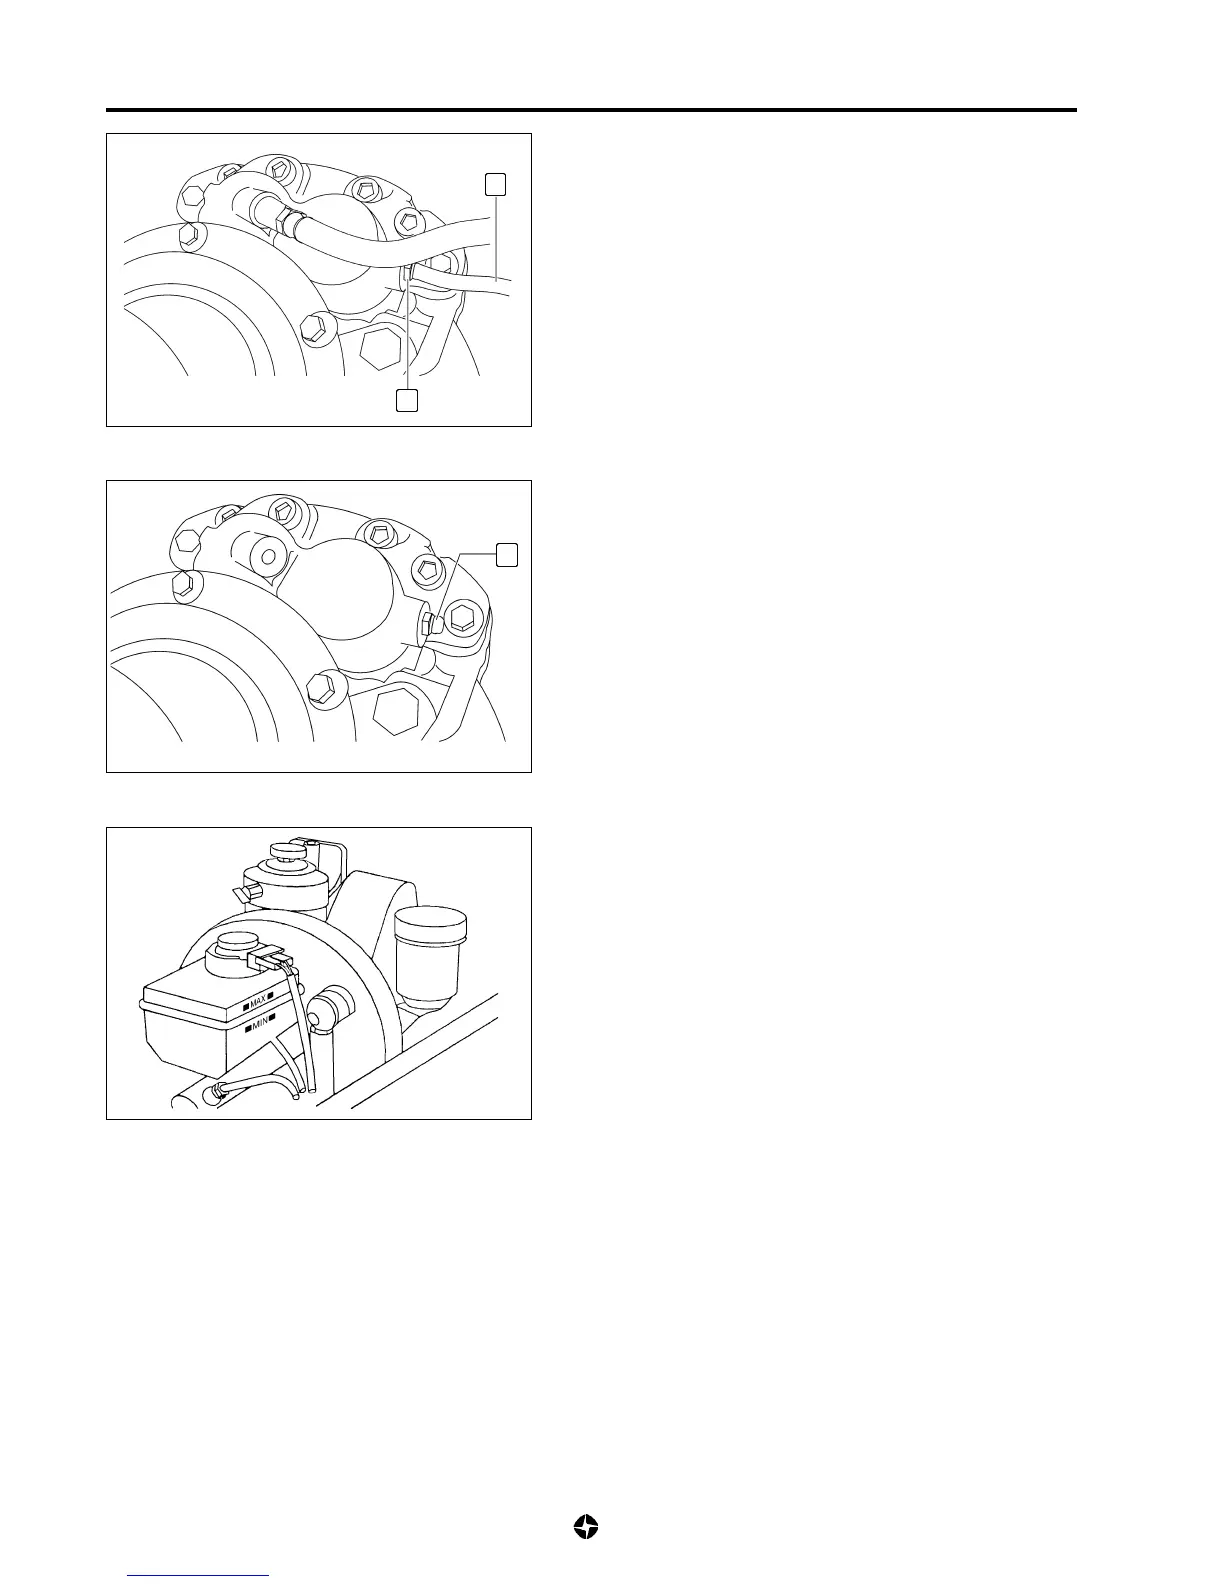
2) Attach a vinyl tube (1) with an end connected to the brake
caliper purger (2) (of one of the four wheels) and the other
end introduced in an appropriate recipient to pour the fluid.
3) Press a few times the brake pedal and keeping it pressed,
loose purging screw turning it between one third and a full
turn.
4) When fluid pressure is about nil, tighten purging screw (2).
5) Repeat this task till air bubbles disappear from hydraulic
pipes.
6) When bubbles stop coming, press the brake pedal and keep
it pressed, tighten moderately purging screw (2).
7) Assemble purging protection cap (4).
8) Install pressure in the circuit and check for leaks.
9) Carry out purging task in the rest of the wheels.
10) Fill again the tank with new recommended fluid till the
specified maximum level (MAX).
NOTE:
• Do no use again the replaced fluid neither the one
used in the air purging operation.
• Use always new recommended brake fluid.
11) Check if brake pedal feels shoft; if this is so, repeat again
the brake fluid purging procedure.
4
1
2

 Loading...