Installing the Mounting Brackets on the SH12 and SH4R Shelves
Installing the Mounting Brackets on the SH12
and SH4R Shelves
This procedure assumes that:
l The shelf has been unpacked and inspected;
l It is damage-free;
l The shelf is on a static-dissipative mat; and
l You want to install the shelf in a 23-inch or ETSI rack format. The
SH4R does not support an ETSI rack installation.
1. Verify that you are properly grounded with an anti-static wrist strap or heel strap
connected to the grounded ESDjack.
2. Remove the 19-inch mounting bracket on one side panel of the shelf:
a. Use the Torx T20 screwdriver to remove the four screws attaching the 19-inch
bracket to the shelf. Set aside the screws and bracket.
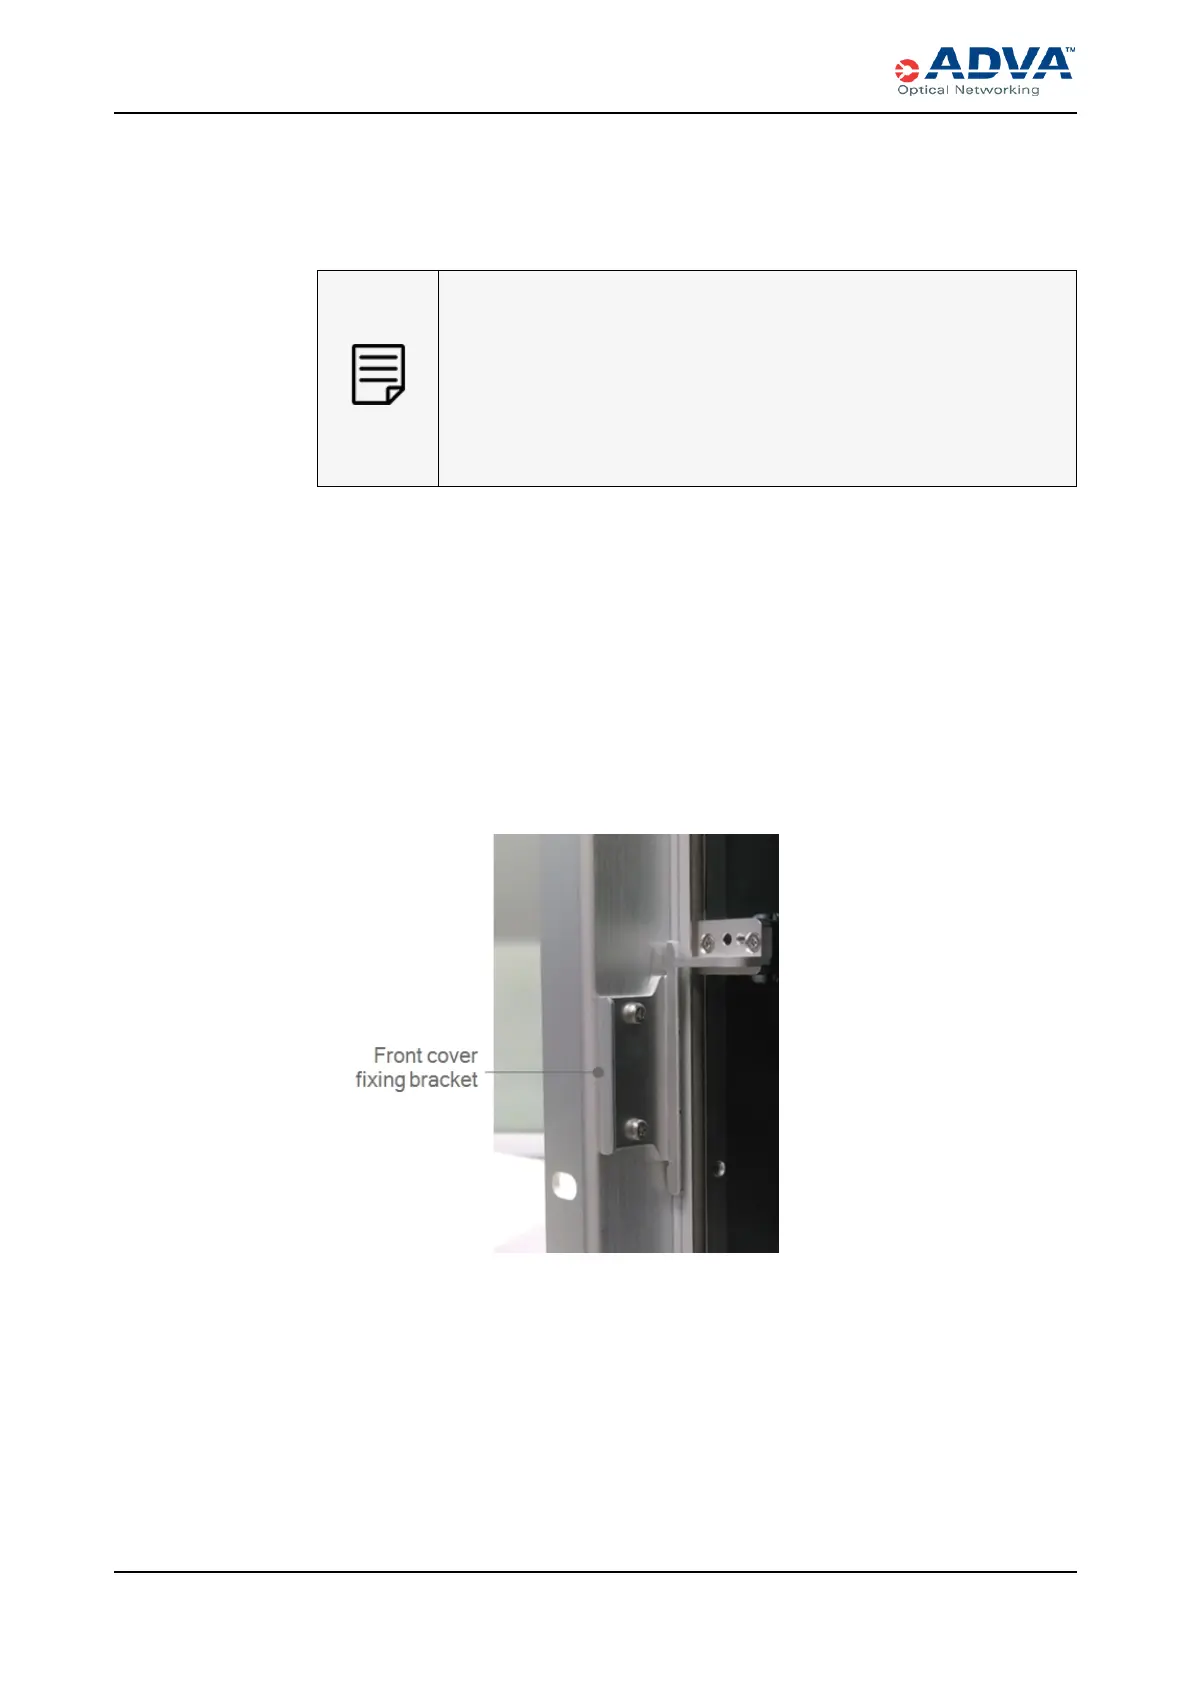
b. For the SH12, a small fixing bracket, used to hold the front cover, is attached to
the dismounted 19-inch bracket. Use the Torx T10 screwdriver to remove the two
screws attaching the fixing bracket to the 19-inch bracket. Set aside the screws
and fixing bracket.
Figure 39: Front Cover Fixing Bracket
3. Reattach the appropriate mounting bracket to side panel on the shelf:
a. For the SH12, use the Torx T10 screwdriver and the two screws from Step 2b to
attach the fixing bracket to the appropriate mounting bracket.
b. For the SH12 and SH4R, use the Torx T20 screwdriver and the four screws from
Step 2a to attach the appropriate mounting bracket to the shelf.
184 FSP3000 C Hardware Guide - R1.1 - Issue:A (12/09/2016)