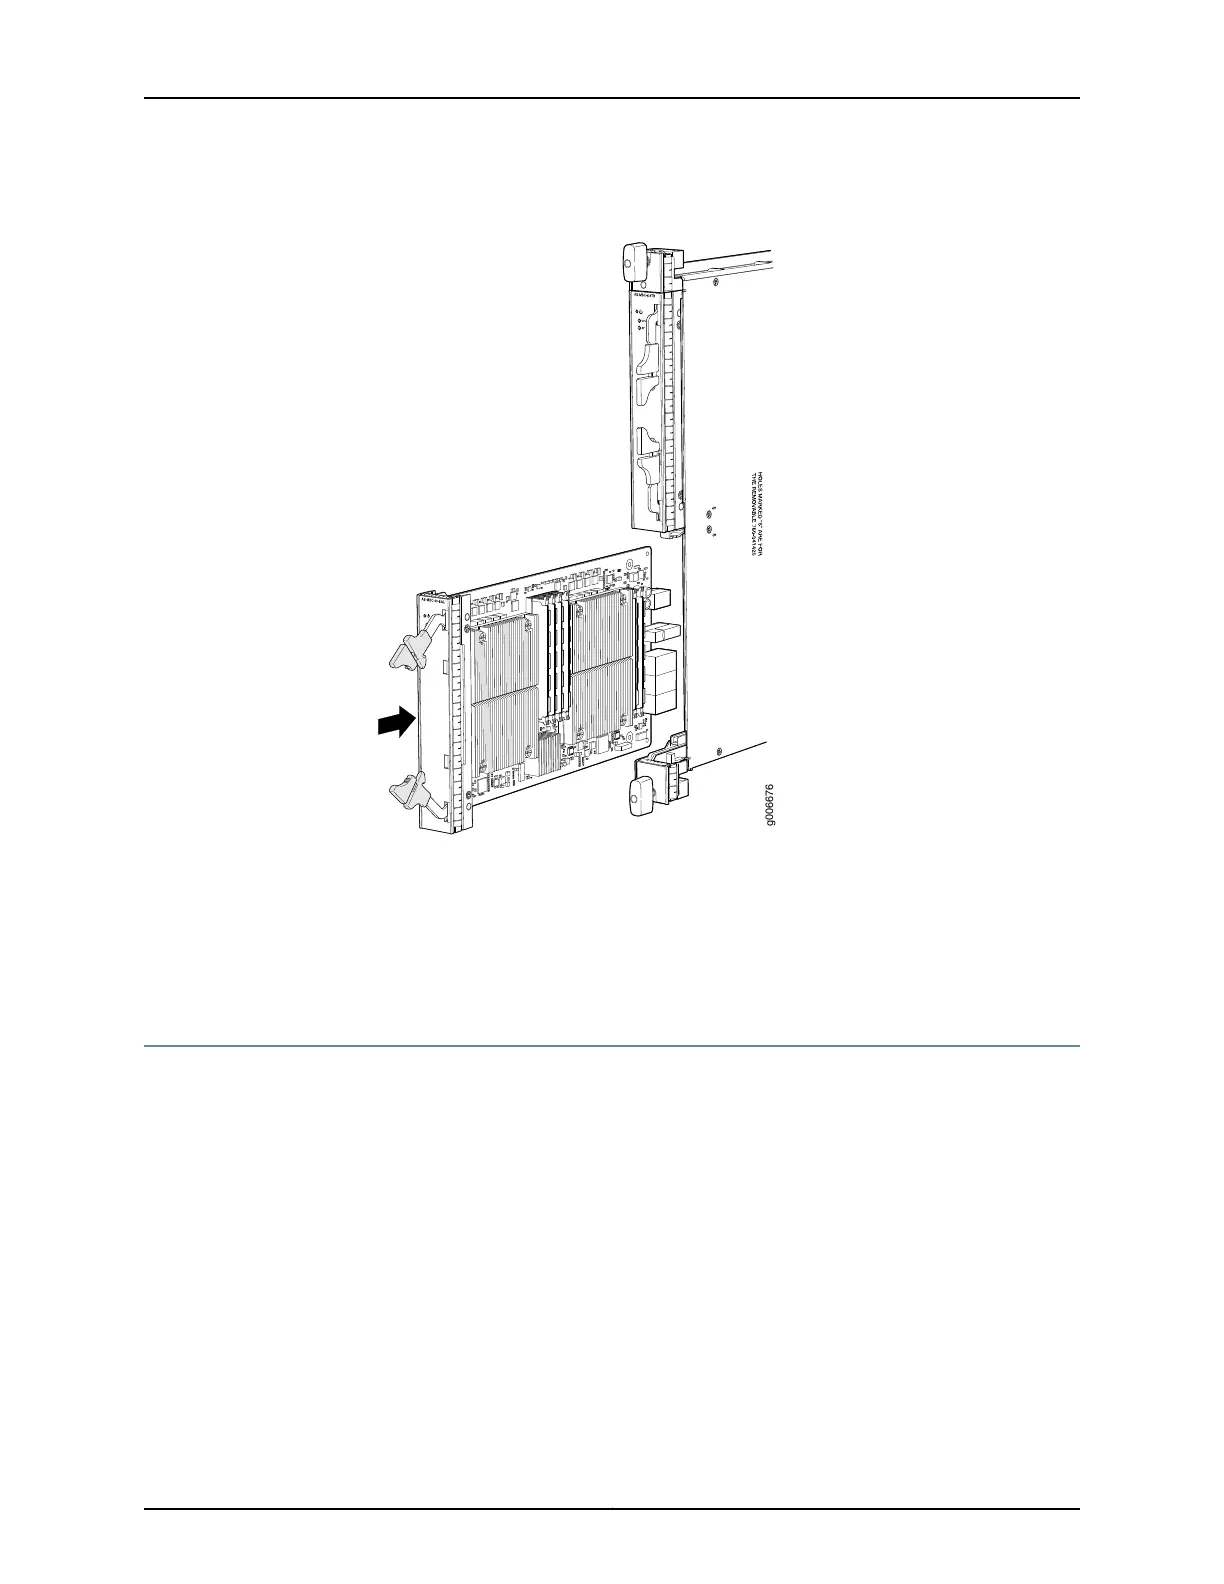
Figure 106: Installing an AS MXC
Related
Documentation
Preventing Electrostatic Discharge Damage to an MX480 Router on page 484•
• MX480 Application Services Modular Processing Card Description on page 97
• Removing an MX480 AS MXC on page 363
Installing an MX480 AC Power Supply
To install an AC power supply (see Figure 107 on page 279):
1. Attach an ESD grounding strap to your bare wrist and connect the strap to one of the
ESD points on the chassis.
2. Move the AC input switch next to the appliance inlet on the power supply to the off
(O) position.
3. Using both hands, slide the power supply straight into the chassis until the power
supply is fully seated in the chassis slot. The power supply faceplate should be flush
with any adjacent power supply faceplate or blank installed in the power supply slot.
4. Tighten both captive screws at the bottom of the power supply.
Copyright © 2017, Juniper Networks, Inc.278
MX480 3D Universal Edge Router Hardware Guide