EasyManuals Logo

Juniper MX480 Hardware Guide

Juniper MX480
552 pages
To Next Page IconTo Next Page
To Previous Page IconTo Previous Page
Page #394 background imageLoading...
Page #394 background image
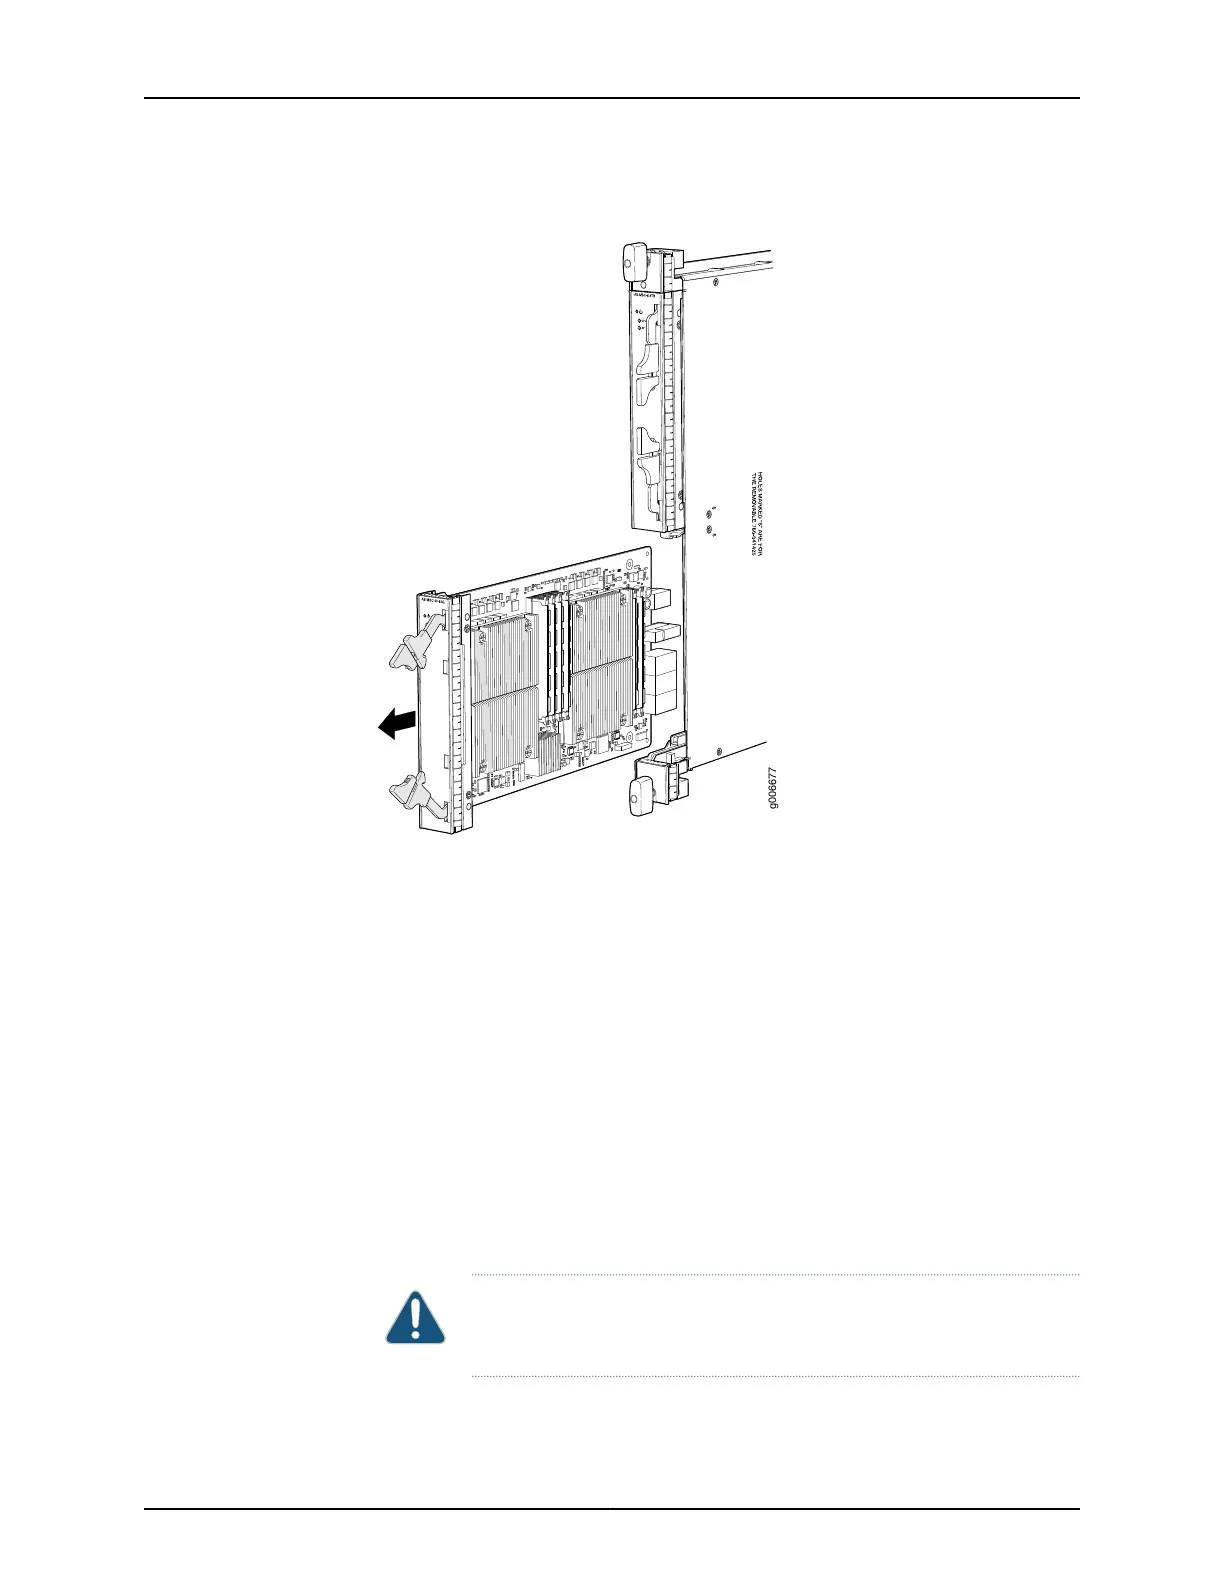
Figure 157: Removing an AS MXC
g006677
See Also MX480 Application Services Modular Processing Card Description on page 97
Preventing Electrostatic Discharge Damage to an MX480 Router on page 484
Installing an MX480 AS MXC on page 277
Installing an MX480 AS MXC
To install an AS MXC (see Figure 106 on page 278):
1. Attach an ESD grounding strap to your bare wrist and connect the strap to one of the
ESD points on the chassis.
2. Align the notches in the connector at the rear of the AS MXC with the notches in the
AS MXC slot (slot 1—the bottom slot in the AS MLC), and then slide the AS MXC in
until it lodges firmly in the AS MLC.
CAUTION: Slide the AS MXC straight into the slot to avoid damaging the
components on the bottom of the AS MXC.
Copyright © 2017, Juniper Networks, Inc.364
MX480 3D Universal Edge Router Hardware Guide

Table of Contents

Other manuals for Juniper MX480

Questions and Answers:

Question and Answer IconNeed help?

Do you have a question about the Juniper MX480 and is the answer not in the manual?

Juniper MX480 Specifications

General IconGeneral
CoolingFront-to-back airflow
Operating SystemJunos OS
Form FactorModular
Routing EngineRE-S-1800x4
Maximum Capacity7.68 Tbps
ThroughputUp to 3.84 Tbps per slot
Power SupplyRedundant AC or DC power supplies
Chassis Slots6 slots
Operating Temperature0°C to 40°C (32°F to 104°F)
Supported ProtocolsBGP, OSPF, IS-IS, MPLS, IPv4, IPv6
RedundancyRedundant Routing Engines, power supplies

Related product manuals