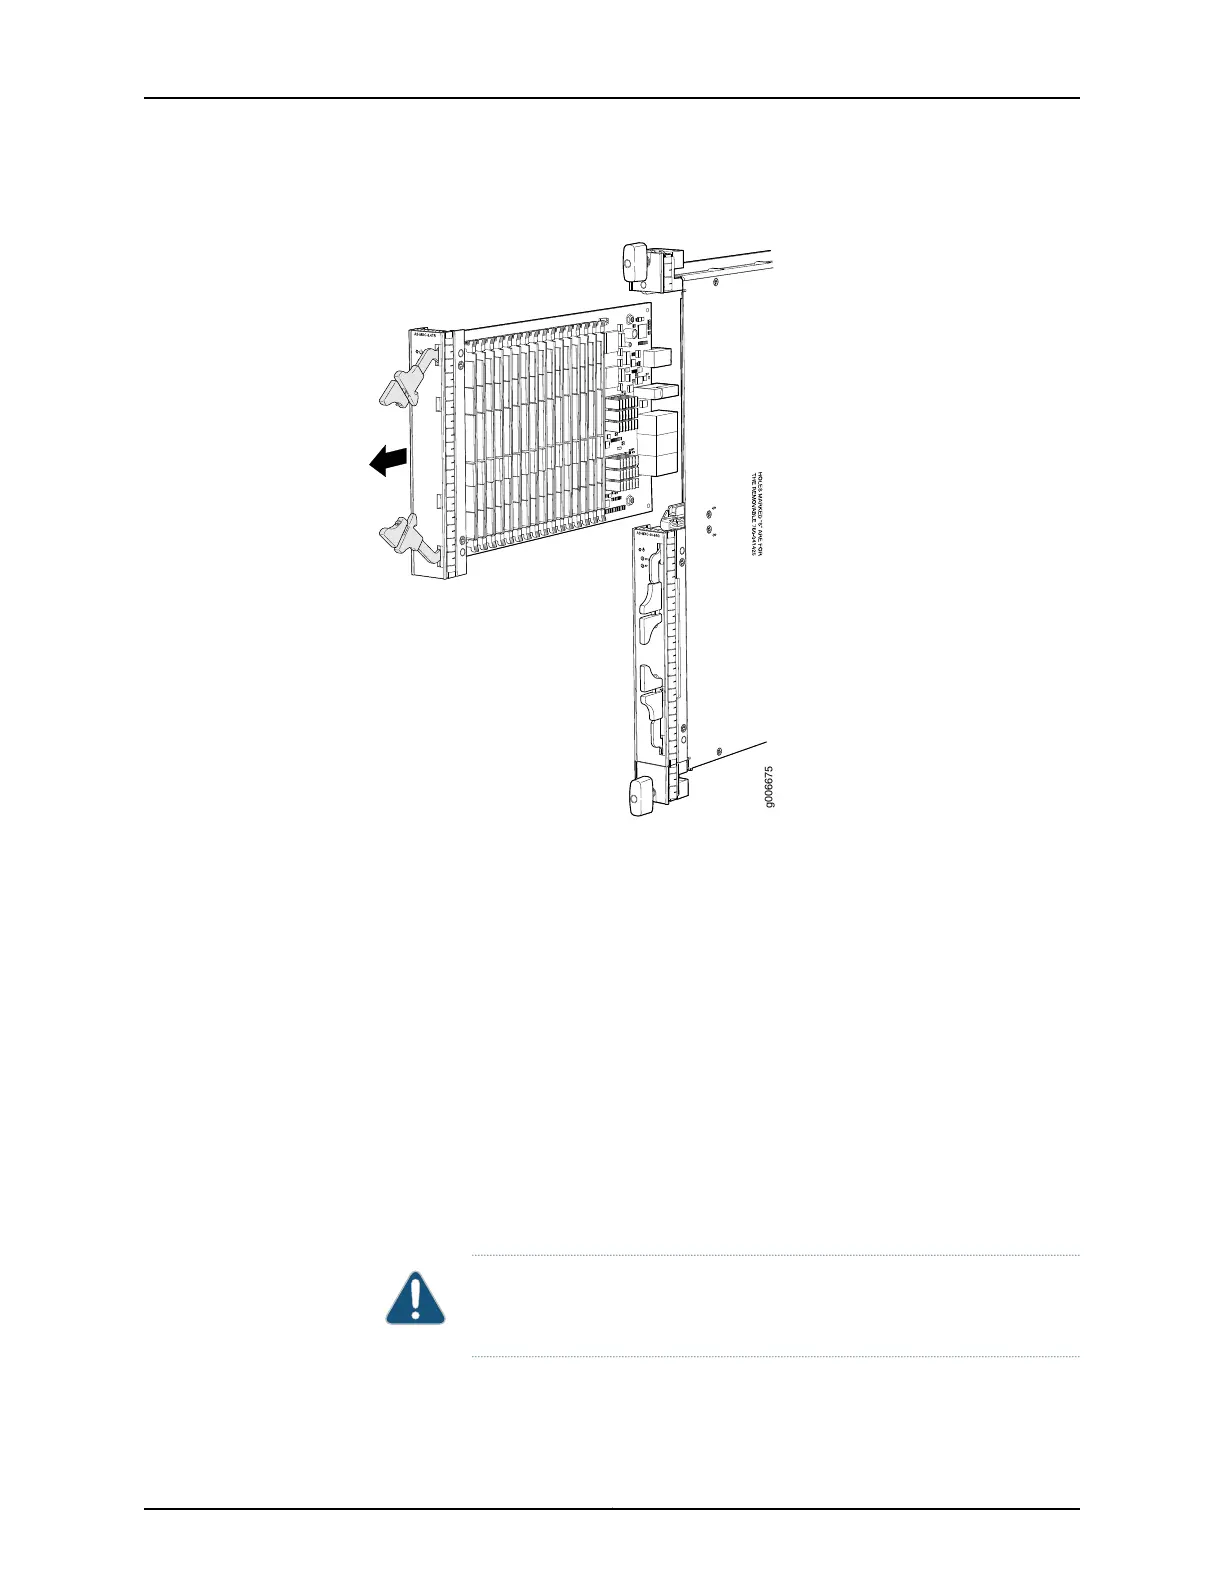
Figure 155: Removing an AS MSC
See Also MX480 Application Services Modular Storage Card Description on page 96•
• Preventing Electrostatic Discharge Damage to an MX480 Router on page 484
• Installing an MX480 AS MSC on page 275
Installing an MX480 AS MSC
To install an AS MSC (see Figure 105 on page 276):
1. Attach an ESD grounding strap to your bare wrist and connect the strap to one of the
ESD points on the chassis.
2. Align the notches in the connector at the rear of the AS MSC with the notches in the
AS MSC slot (slot 0—the top slot in the AS MLC ), and then slide the AS MSC in until
it lodges firmly in the AS MLC.
CAUTION: Slide the AS MSC straight into the slot to avoid damaging the
components on the bottom of the AS MSC.
3. Use one of the following methods to bring the AS MSC online:
361Copyright © 2017, Juniper Networks, Inc.
Chapter 25: Replacing Line Card Components