When the AS MLCis out of the chassis, do not holdit by the ejector handles,
bus bars, or edge connectors. They cannot support its weight.
Do not stack AS MLCs on top of one another after removal. Place each
one individually in an electrostatic bag or on its own antistatic mat on a
flat, stable surface.
7. If necessary, remove each installed AS MSC and AS MXC from the AS MLC.
8. After you remove each modular card, immediately place it on an antistatic mat or in
an electrostatic bag.
9. If you are not reinstalling an AS MLC into the emptied slots within a short time, install
a blank AS MLC panel over each slot to maintain proper airflow in the card cage.
CAUTION: After removing an AS MLC from the chassis, wait at least 30
seconds before reinserting it or inserting an AS MLC into a different slot.
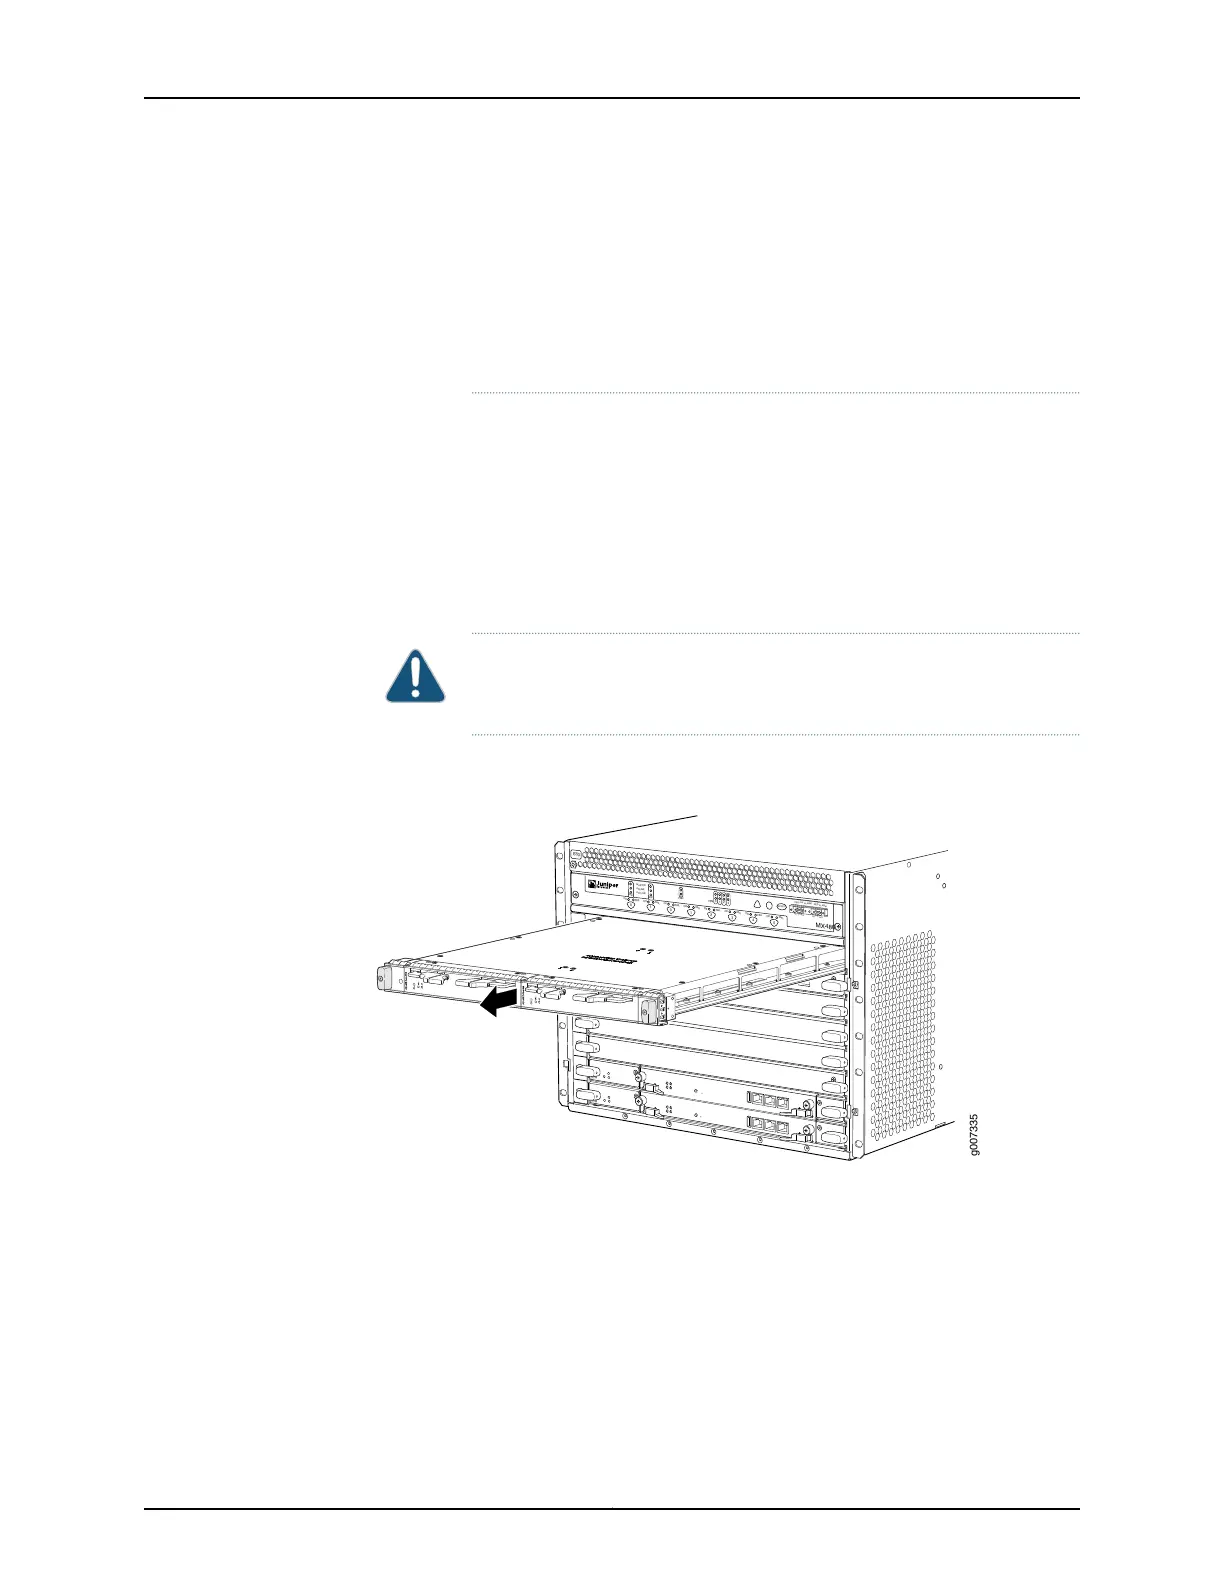
Figure 153: Removing an AS MLC
OK
MASTER
FAN
ONLINE
OFFLINE
0
1
1
0
FAIL
FAIL
PEM
FAIL
FAIL
FAIL
FAIL
FAIL
FAIL
ESD
OK
OK
OK
OK
OK
OK
OK
2
3
4
5
ACO/LT
YELLOW ALARM
RED ALARM
NC
NO
C
NC
NO
C
MX480
REO
RE1
0
1
2
3
SCB
SCB
g007335
See Also Preventing Electrostatic Discharge Damage to an MX480 Router on page 484•
• Removing an MX480 AS MSC on page 360
• Removing an MX480 AS MXC on page 363
• Installing an MX480 AS MLC on page 274
357Copyright © 2017, Juniper Networks, Inc.
Chapter 25: Replacing Line Card Components