For more information about the command, see the CLI Explorer.
CAUTION: Afterthe OK LED lights steadily, wait atleast 30 seconds before
removing the AS MLC again, removing an AS MLC from a different slot, or
inserting an AS MLC in a different slot.
You can also verify correct AS MLC and AS MSC or AS MXC functioning by issuing the
show chassis fpc and show chassis fpc pic-status.
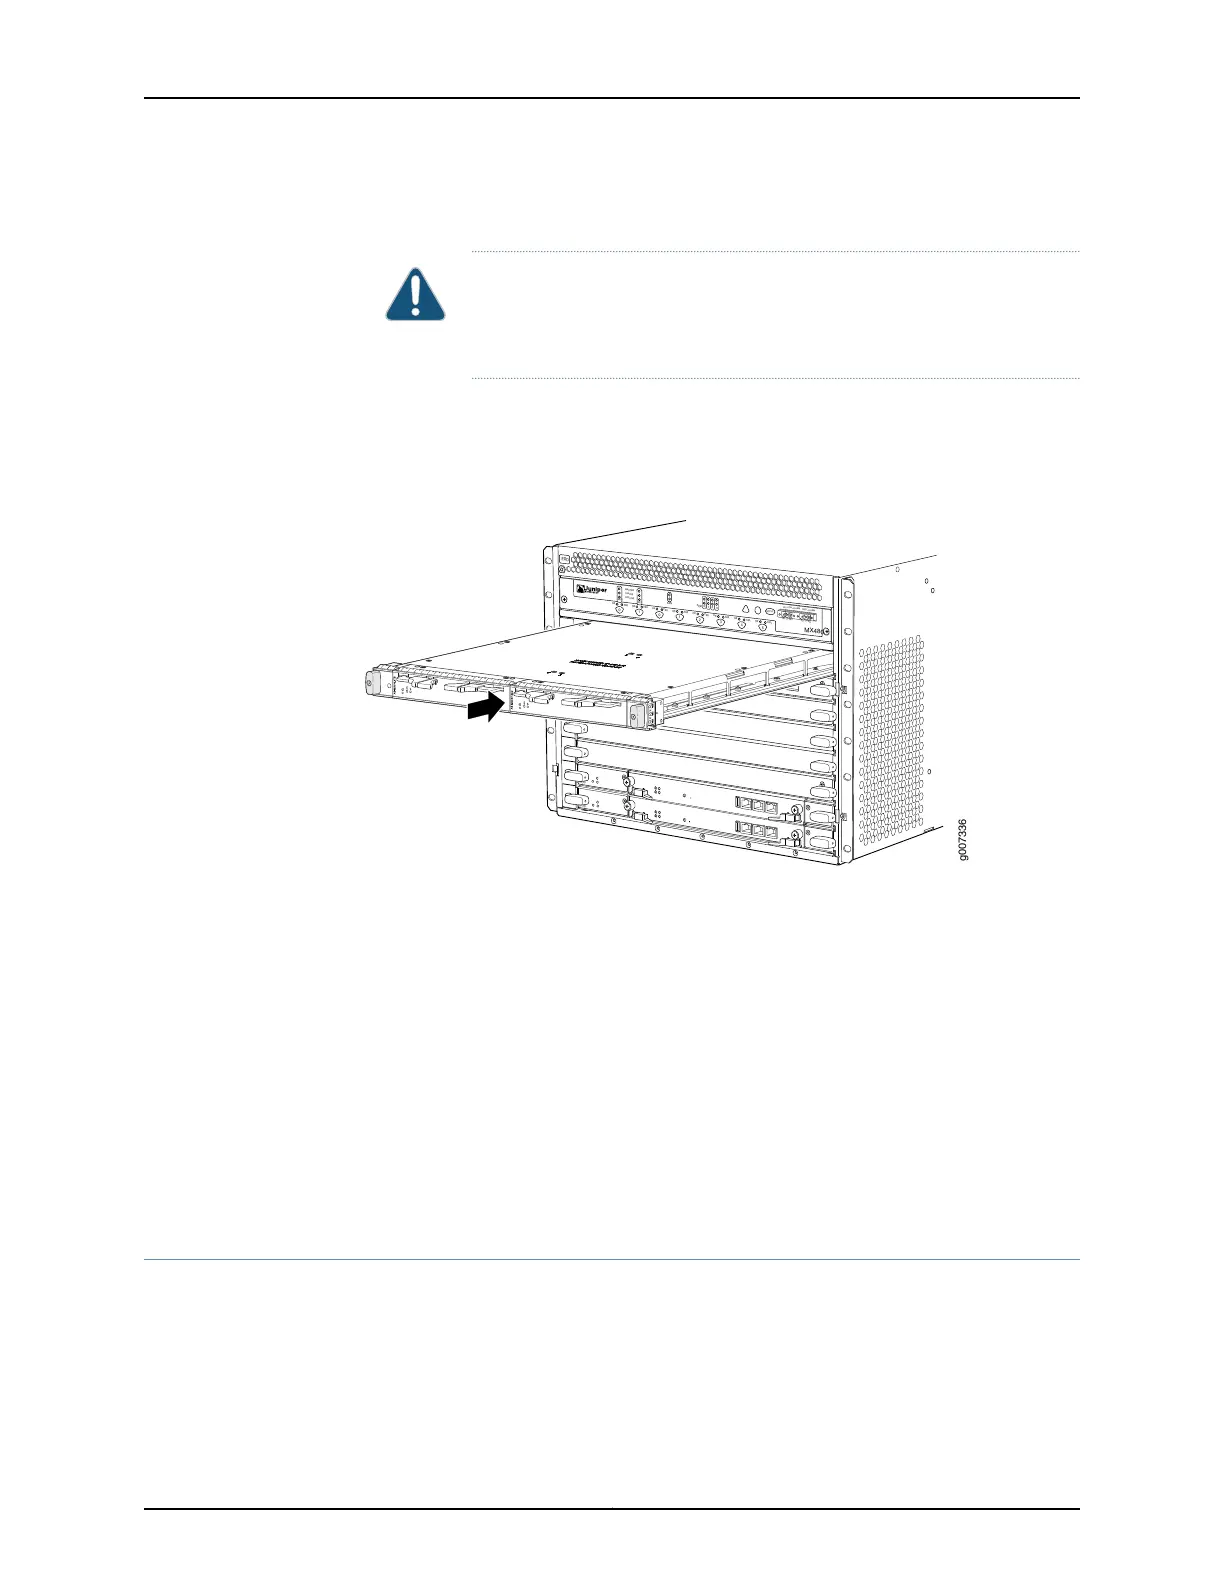
Figure 154: Installing an AS MLC
OK
MASTER
FAN
ONLINE
OFFLINE
0
1
1
0
FAIL
FAIL
PEM
FAIL
FAIL
FAIL
FAIL
FAIL
FAIL
ESD
OK
OK
OK
OK
OK
OK
OK
2
3
4
5
ACO/LT
YELLOW ALARM
RED ALARM
NC
NO
C
NC
NO
C
MX480
REO
RE1
0
1
2
3
SCB
SCB
g007336
See Also Preventing Electrostatic Discharge Damage to an MX480 Router on page 484•
• Installing an MX480 AS MSC on page 275
• Installing an MX480 AS MXC on page 277
• Removing an MX480 AS MLC on page 356
Related
Documentation
Preventing Electrostatic Discharge Damage to an MX480 Router on page 484•
• Replacing an MX480 AS MSC on page 359
• Replacing an MX480 AS MXC on page 363
Replacing an MX480 AS MSC
1.
Removing an MX480 AS MSC on page 360
2.
Installing an MX480 AS MSC on page 361
359Copyright © 2017, Juniper Networks, Inc.
Chapter 25: Replacing Line Card Components