The normal functioning status LED confirms that the MIC is online. You can also verify
correct MIC functioning by issuing the show chassis fpc pic-status command described
in “Maintaining MX480 MICs” on page 430.
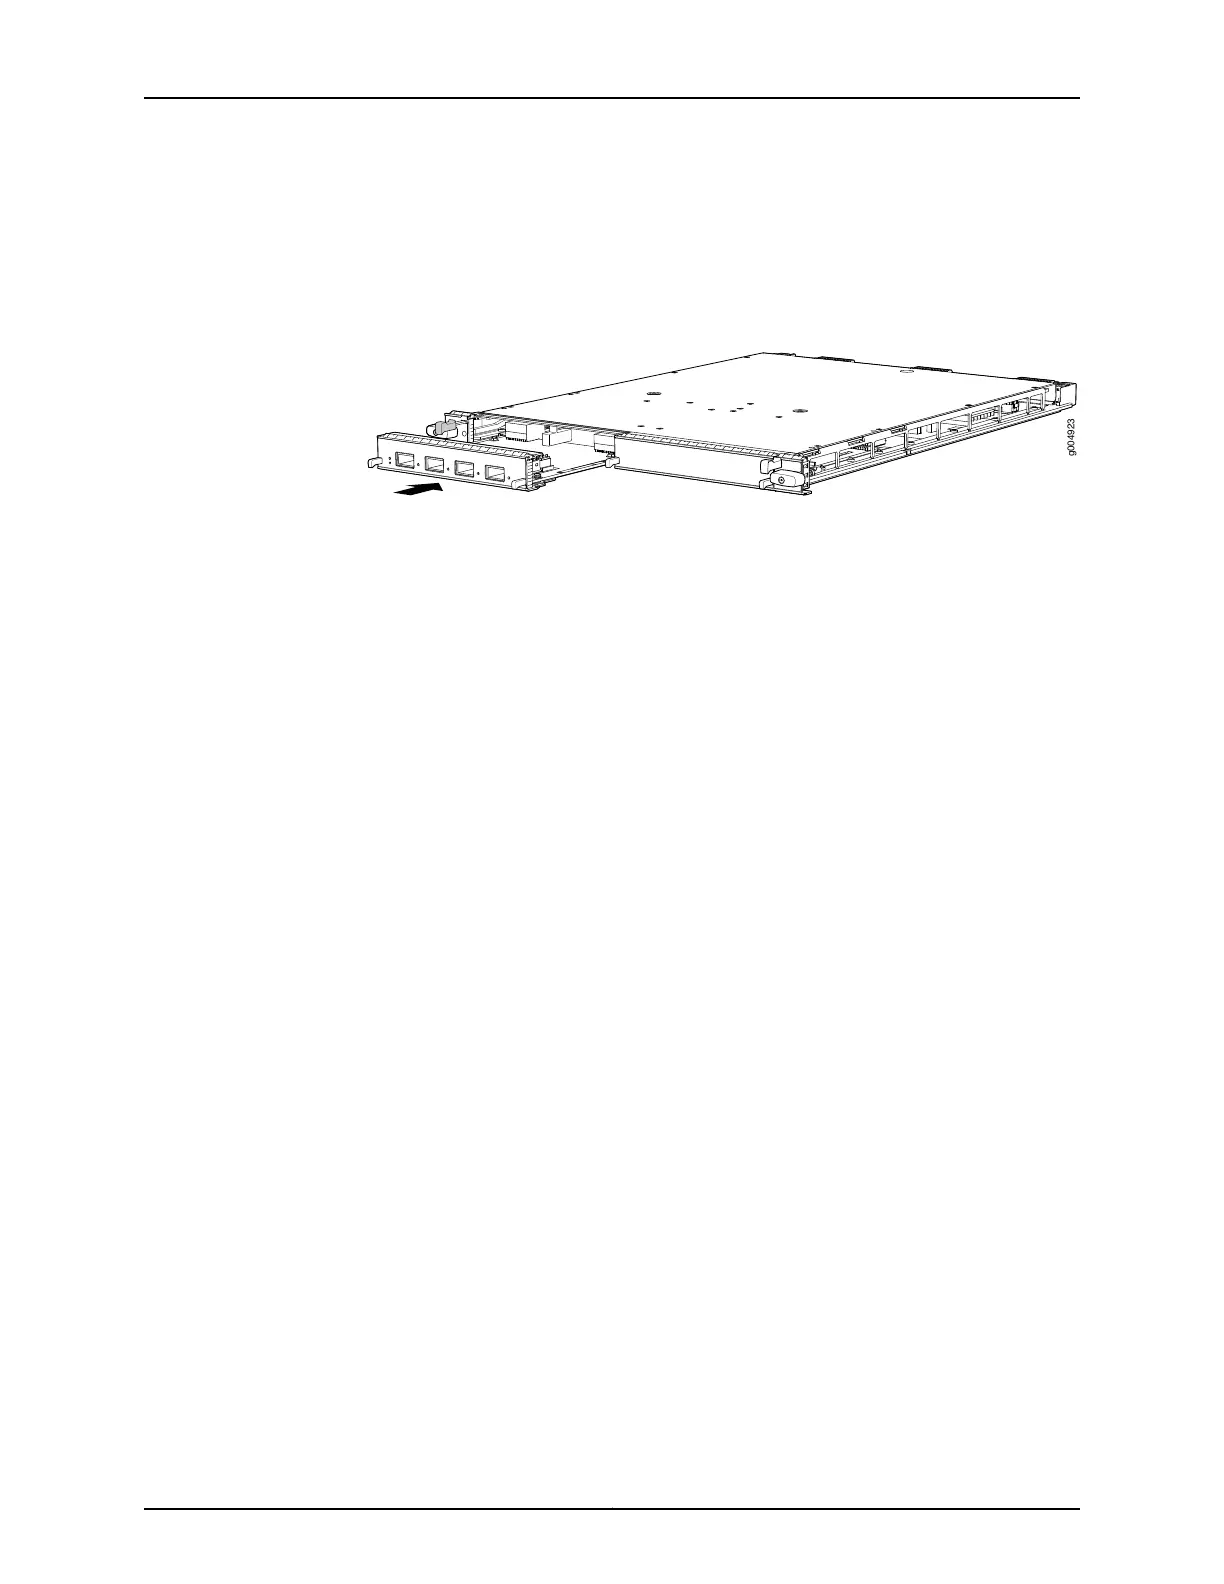
Figure 146: Installing a MIC
See Also MX480 Modular Interface Card (MIC) Description on page 76•
• Maintaining MX480 MICs on page 430
• Troubleshooting the MX480 MICs on page 446
• Replacing an MX480 MPC on page 345
• Removing an MX480 MIC on page 338
• Preventing Electrostatic Discharge Damage to an MX480 Router on page 484
• MX480 MIC Serial Number Label on page 465
Installing an MX480 Dual-Wide MIC
To install a dual-wide MIC (see Figure 101 on page 268):
1. Attach an ESD grounding strap to your bare wrist and connect the strap to one of the
ESD points on the chassis.
2. Remove the septum, if necessary (see Figure 100 on page 267):
a. Place the MPC on a flat surface (if necessary, remove the MPC from the router as
described in “Removing an MX480 MPC” on page 345).
b. Remove the four screws labeled S on the bottom of the MPC.
c. Remove the two screws labeled S on the top of the MPC.
d. Slide the septum towards you and out of the MPC.
e. Store the septum and screws for later use.
f. Install the MPC as described in “Installing an MX480 MPC” on page 269.
Copyright © 2017, Juniper Networks, Inc.342
MX480 3D Universal Edge Router Hardware Guide