Taking a Snapshot (CLI)
2.
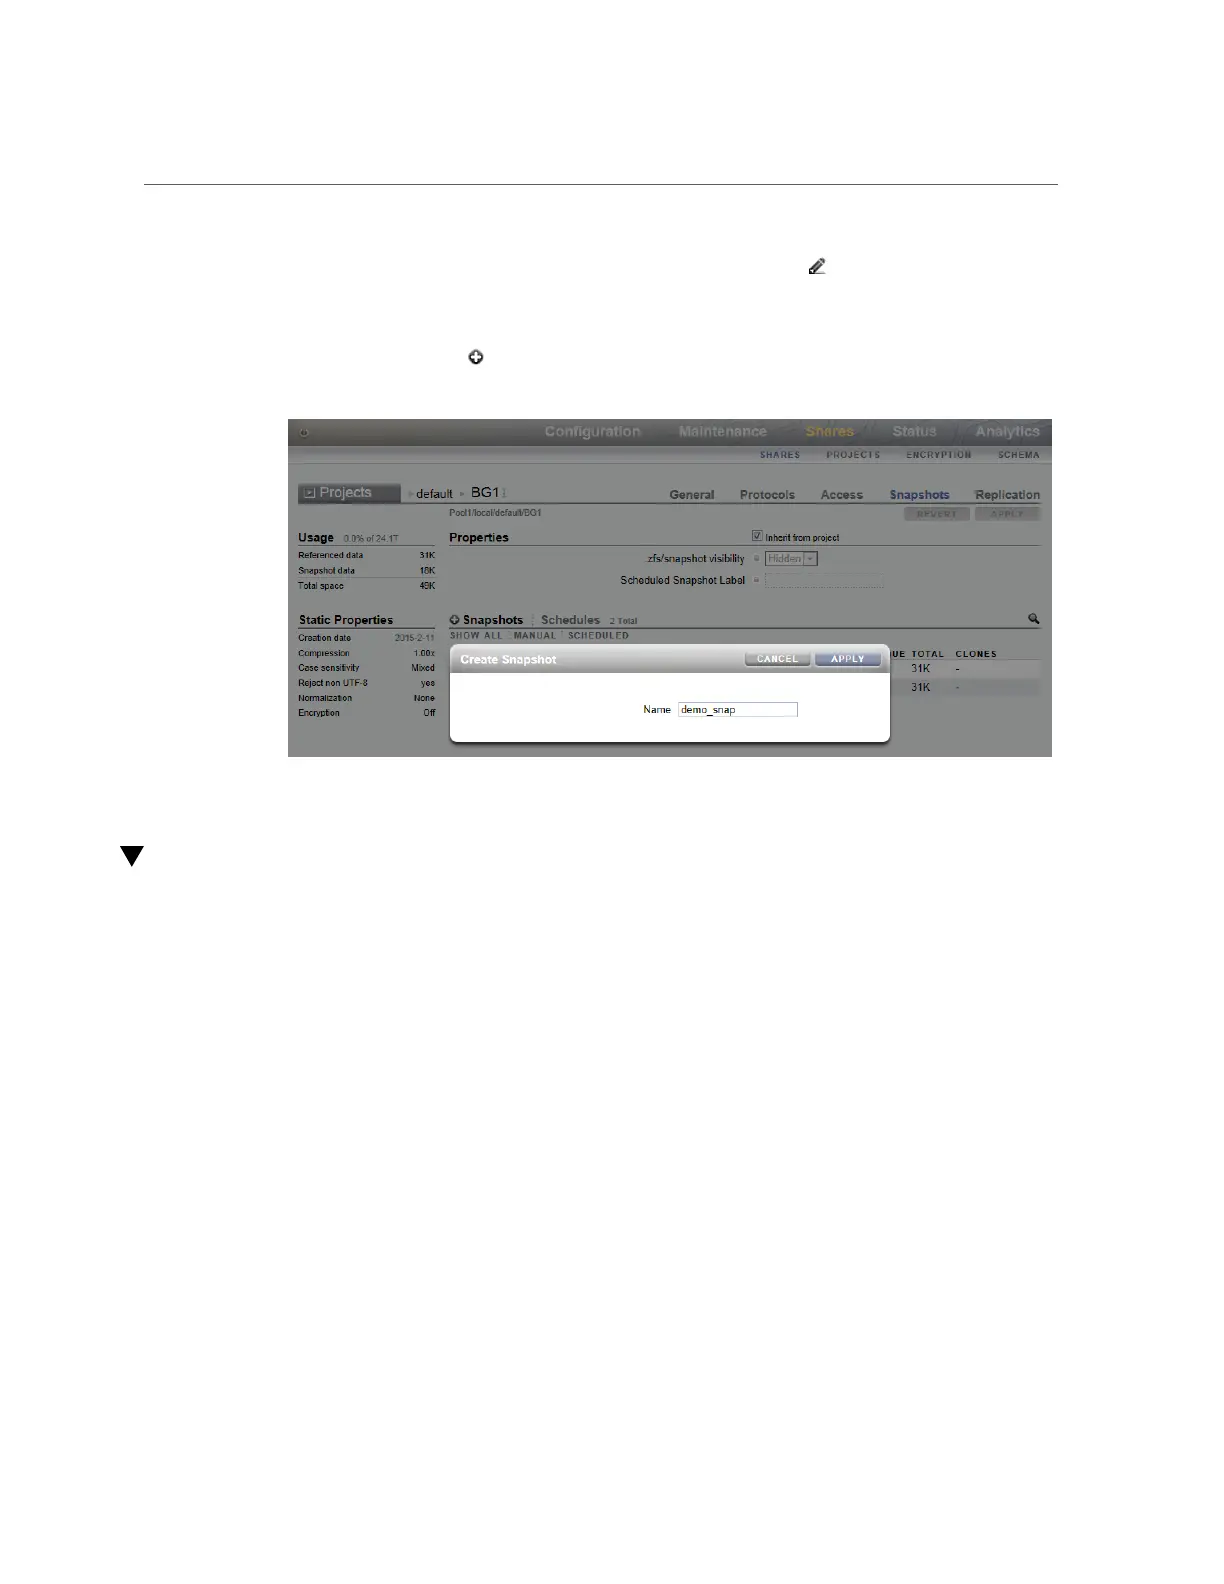
Hover over the share or project and click the Edit icon .
3.
Click the Snapshots tab.
4.
Click the Add icon next to Snapshots.
5.
Type a name for the snapshot.
6.
Click APPLY.
Taking a Snapshot (CLI)
Use the following procedure to take a manual snapshot of a filesystem, LUN, or project.
To schedule automatic snapshots at regular intervals, see “Scheduling Snapshots
(CLI)” on page 443.
1.
Go to the share or project you want to snapshot.
a.
To take a snapshot of a project, go to shares and select the project.
hostname:shares> select myproject
hostname:shares myproject>
b.
To take a snapshot of a filesystem or LUN, go to shares and select the project
containing the share, then select the share.
hostname:shares> select myproject
hostname:shares myproject> select demo_share
Snapshots and Clones 441

 Loading...


