4C-6 FRONT AND REAR PROPELLER SHAFTS
22) Apply grease generously on the axle grooving and fit it on
the shaft at the same time you do coincide the arrow
alignment marks to keep the original balancing.
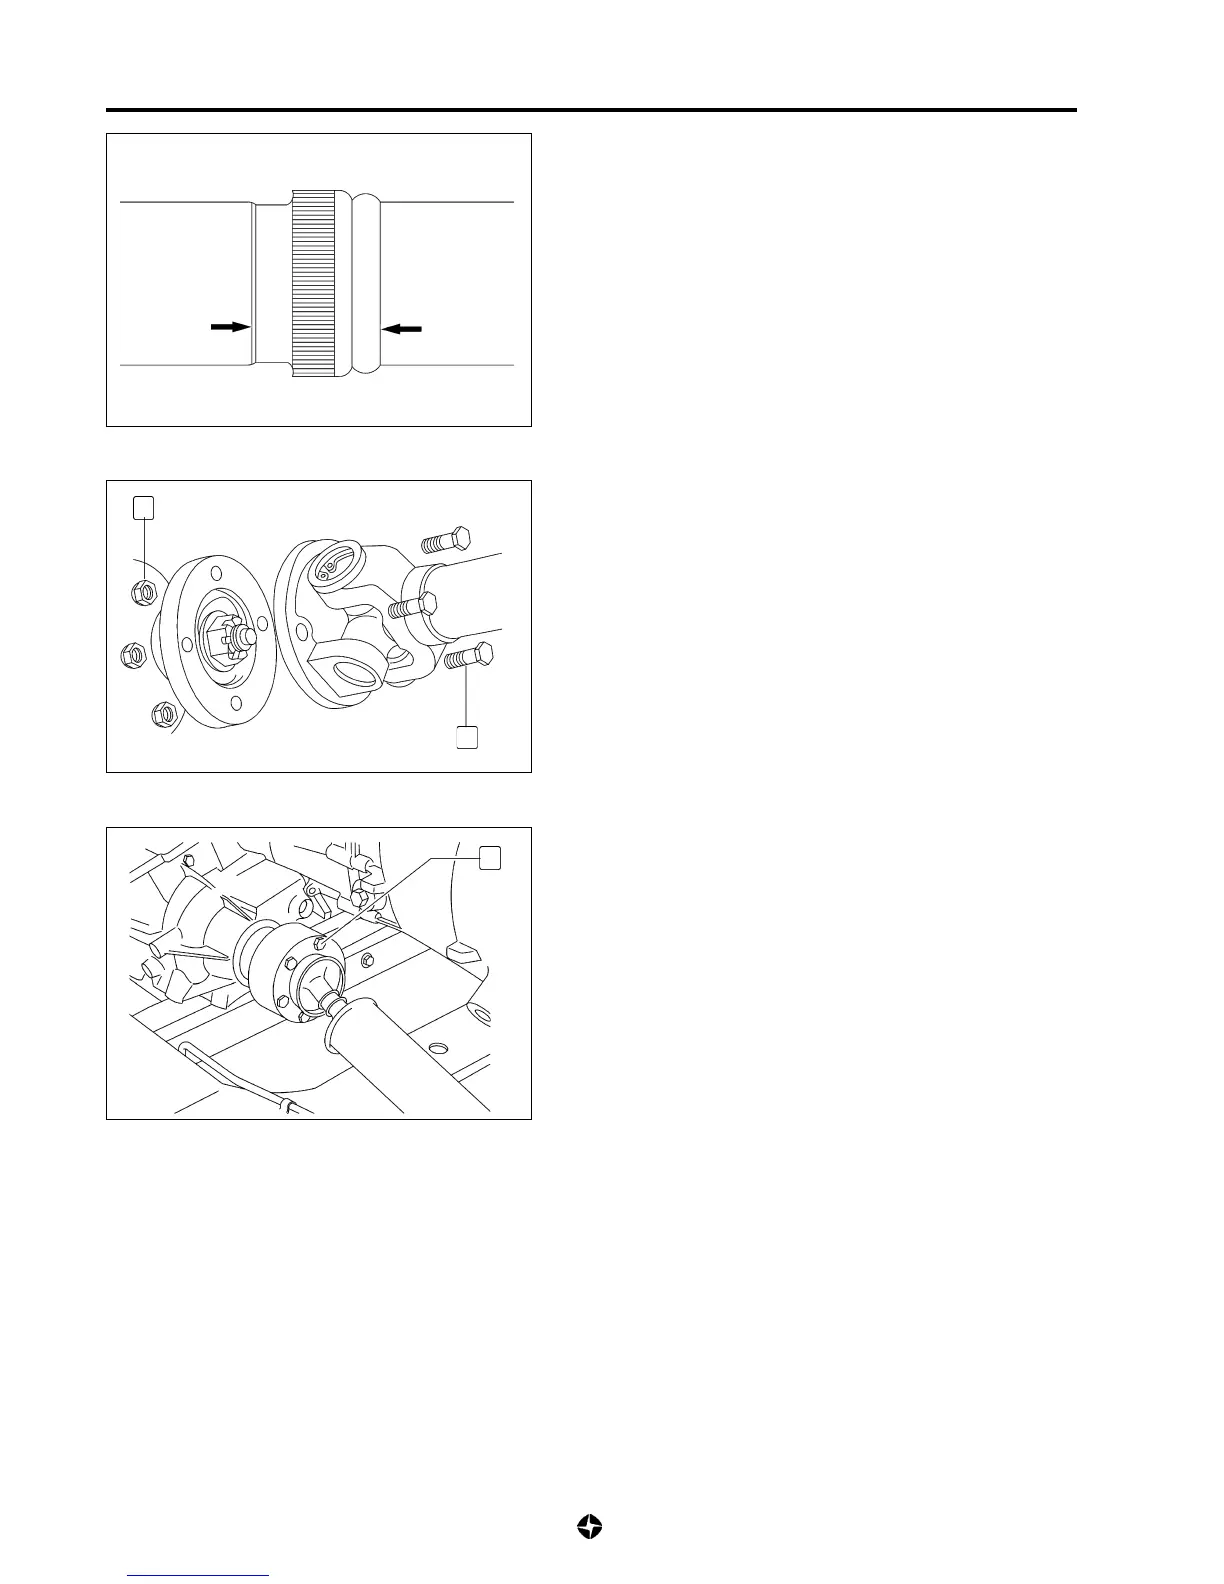
Installation
1) Install propeller shaft with its constant velocity pint oriented
towards transfer box.
2) Align the flanges marks which you did while removing and
make coincident the four flange holes to mount fixing screws
(7). Install new self braking nuts (8) tightening to the specified
tightening torque.
Tightening torque for screws fixing flanges: 2,8 ÷ 3,5
Kg-m (28 ÷ 35 Nm)
3) Tighten screws (9) fixing constant celocity joint to the
specified tightening torque.
Tightening torque for nuts fixing flange to the constant
velocity joint: 2,8 ÷ 3,5 Kg m (28 ÷ 35 Nm)
7
8
9

 Loading...