24-Port 10/100Mbps Layer 2 Switch w/ 4 Gigabit Ports and 2 Shared Mini-GBIC Slots
4-1
Chapter 4
Using the Web User Interface
After a successful physical installation, you can configure the Switch, monitor the network status, and display
statistics using a web browser.
The embedded Web-based Management currently supports the following web
browsers:
A) Internet Explorer 6 or higher
B) Netscape 8 or higher
C) Mozilla
D) Firefox 1.5/2.0 or higher
You will need the following equipment to begin the web configuration of your
device:
1. A PC with a RJ-45 Ethernet connection
2. A standard Ethernet cable
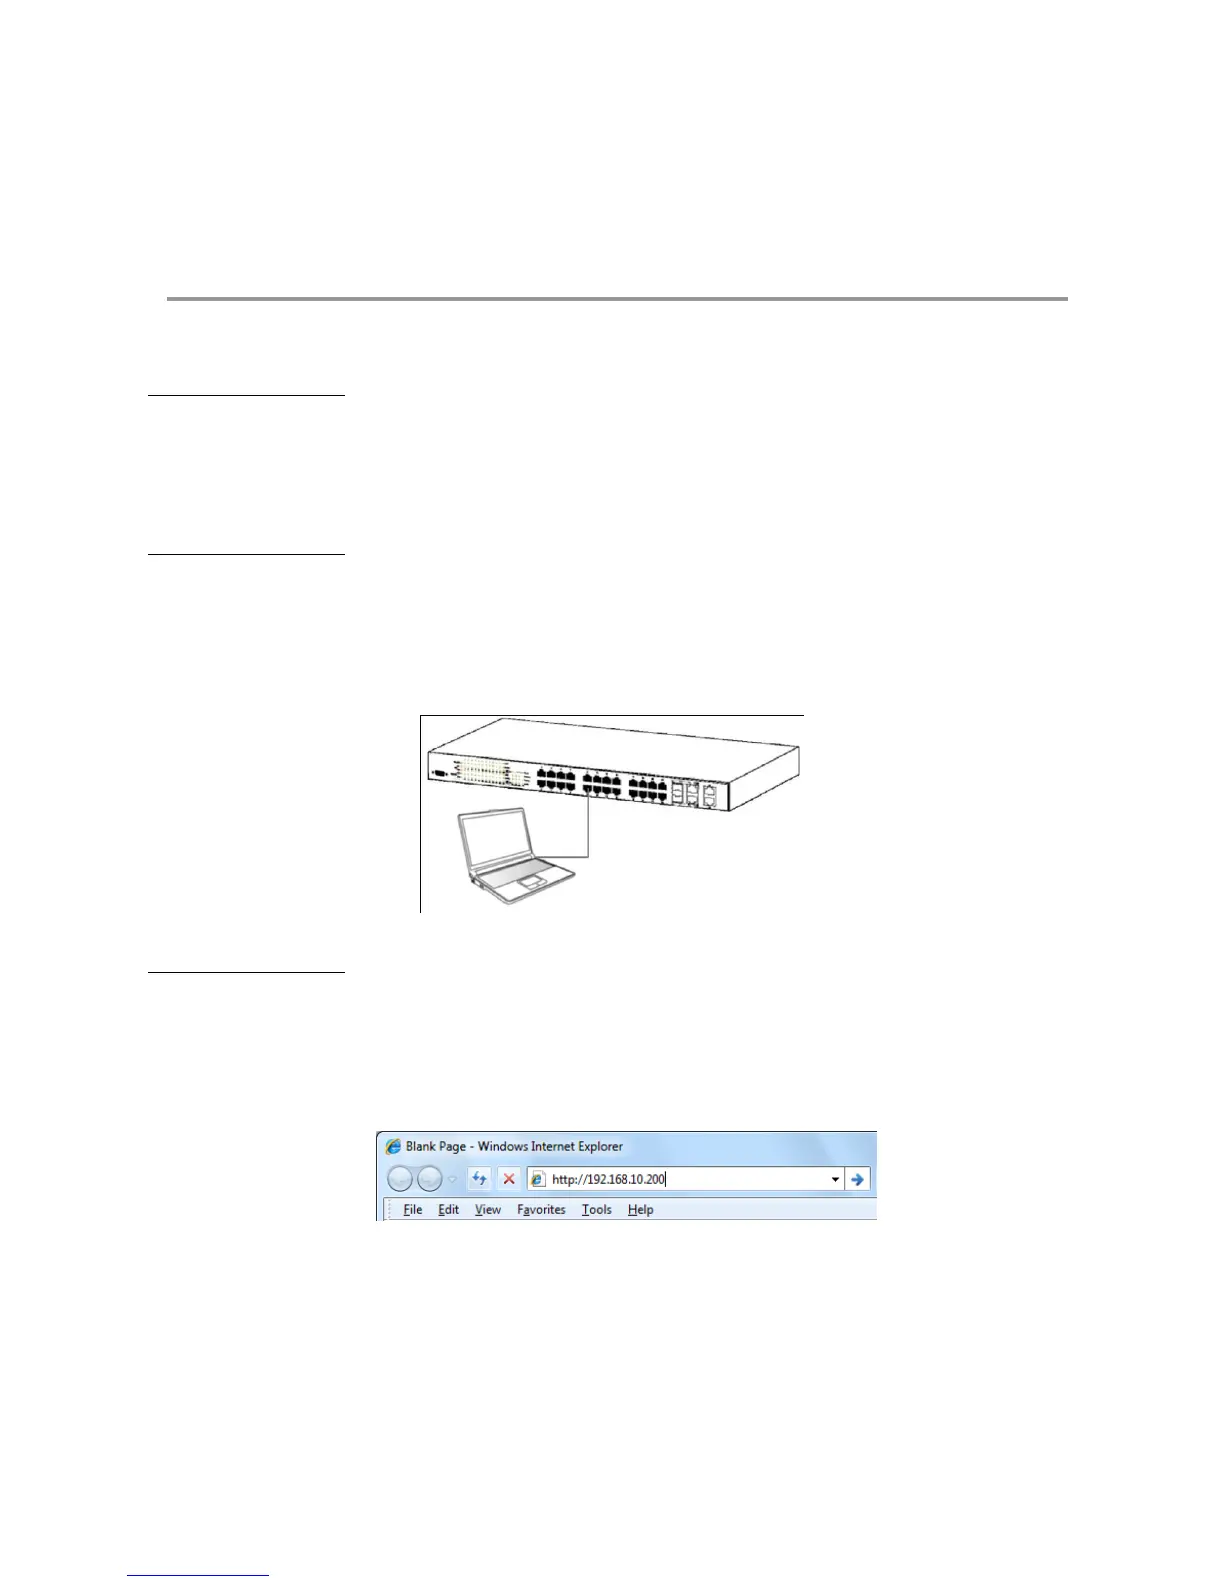
Connect the Ethernet cable to any of the ports on the front panel of the switch and
to the Ethernet port on the PC.
Figure 5 – Connected to an end node via Ethernet cable
Login Web-based
Management
In order to login and configure the switch via an Ethernet connection, the PC
must have an IP address in the same subnet as the switch. For example, if the
switch has an IP address of 192.168.10.200, the PC should have an IP address
of 192.168.10.x (where x is a number between 1 ~ 254), and a subnet mask of
255.255.255.0.
Open the web browser and enter 192.168.10.200 (the factory-default IP address)
in the address bar. Then press <Enter>.
Figure 6 – Enter the IP address 192.168.10.200 in the web browser
When the following page appears, enter the user name and password then click
Login.