Connecting DC Power to the SH12 Shelf
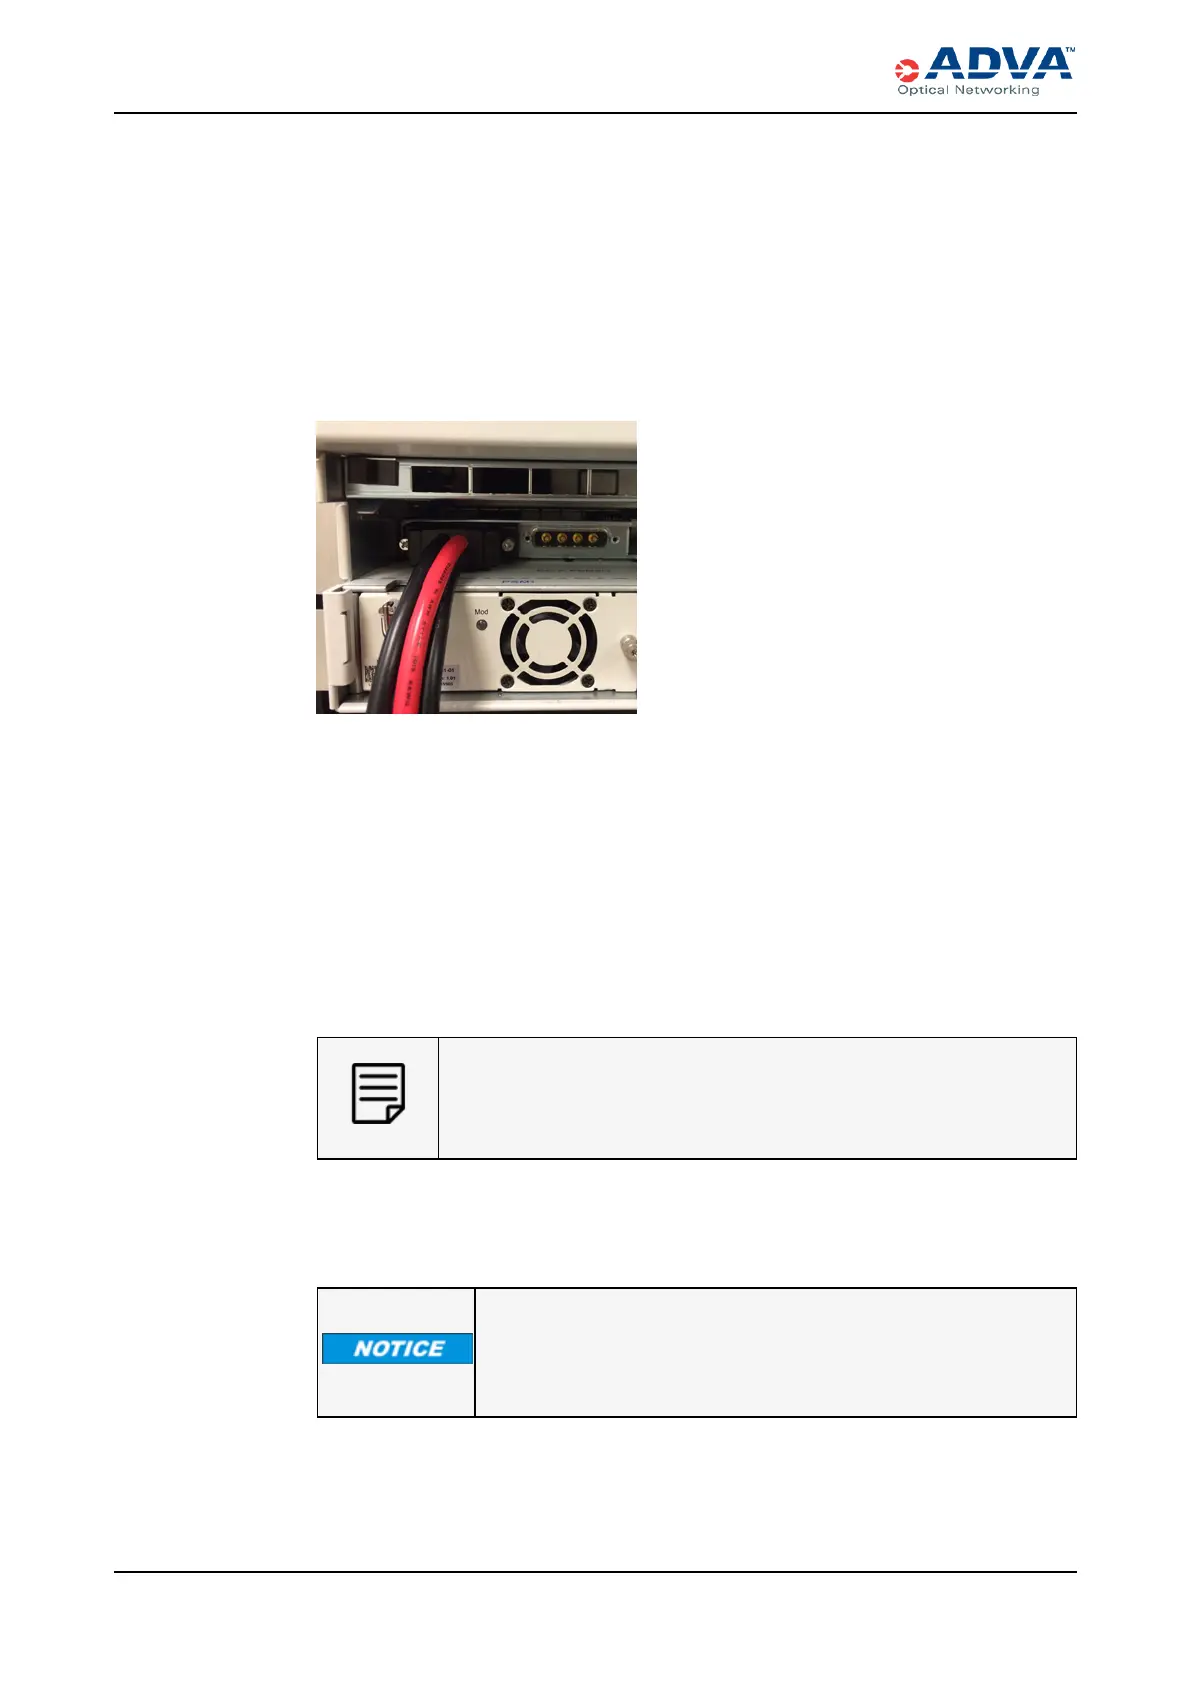
6. Connect the D-sub plug of the DC power cable to the appropriate power input
connector on the shelf (such as DC-A-PSM 1/4):
a. Holding the plug body, match the D-shaped metal shield on the plug with the D-
shaped shell of the power input connector on the shelf.
b. Push the plug straight in.
c. Use a Phillips screwdriver size 1 to turn the locking bolt on each side of the plug
to secure it. Do not overtighten the bolts. The following figure shows the power
cable connected to the shelf.
Figure 68: DCpower connection
7. Use a voltmeter to verify that no voltage is present at the PDUpower supply
terminals to which you are connecting the shelf. If voltage is present:
a. Switch the associated power source circuit breaker to the OFF position; or
b. Remove the corresponding fuse from the power source, if required, and store the
fuse in a safe place to reinstall later.
8. Route the power cable securely through the vertical cable bracket on the left side of
the rack to the DC power source (PDU).
9. Attach the other end of the power cable to the corresponding high-current connectors
of the power source (PDU) according to local site practice.
Ensure that the proper polarity of the DC power is observed. The DC
PSM detects polarity reversal and does not power up when the polarity is
reversed.
10. Tighten the terminal screws of the power source to the specified torque, which can
be found in the power source specification.
Observe the tightening torque values for DC terminal screws on the
DC power supply to make a tight and reliable electrical connection.
Use a torque-controlled screwdriver to tighten screws of the DC
power supply terminals.
11. Repeat this procedure for each Power A power cable needed for your configuration.
238 FSP3000 C Hardware Guide - R1.1 - Issue:A (12/09/2016)