A31003-K16-X001-3-7620, 07/99
Hicom 100 E Version 2.1, Service manual
6-1
Cutove
Initial operation
6 Initial operation
6.1 Cutover
System cutover must proceed as follows:
1. Establish the required system configuration (plug in all required expansion cards and
function modules).
2. Plug in and screw PSU/UPS , plug the power cable into the mains socket.
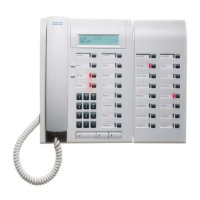
3. If, after approx. 12 seconds, the date Jan 1 00 and the time 00.00 appears in the display of
the system telephones, the Hicom 100E is ready for operation.
4. After approx. six seconds, the number of active S
0
connections appears in the display:
active ISDN lines: x with x S
0
interfaqces in use.
5. Perform nationalisation.
6. Re-initialise the system.
7. Perform "power down reset".
8. Enter the external extension number (system number, see Section 6.8) for each trunk
group.
9. Perform system programming. The system is programmed either using the programming
telephone or the PC tool "ASSISTANT L".
If changes are made with the programming telephone during PC-based programming, the
data is overwritten once again when it is read back from the PC.
6.2 Upgrading a system
Note the following procedures to be used when upgrading an existing system:
1. Disconnect the system from the power supply, release and remove PSU/UPS .
2. Plug in new module(s) (exchange the 2 x ribbon cable for the 3 x ribbon cable, if
necessary).
3. Install an expansion box (depending on configuration level of system). Please ensure the
connecting cable between the basic box and the expansion box is the correct length.
4. Plug the power cable into the re-connected power supply.
5. Re-initialise the system (not necessary, if only previously unoccupied free slots are used).
6. Supplement customer data if necessary, see Section 6.5
 Loading...