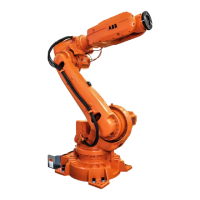
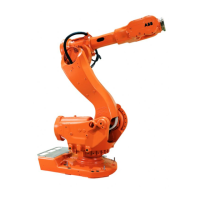
NoteArticle numberEquipment, etc.
Used for putting down removed parts
from robot.
Pallet
Always use guide pins in pairs!3HAC13056-2Guide pin, M12x150
Always use guide pins in pairs!3HAC13056-3Guide pin, M12x200
Used to release the motor brakes.-24 VDC power supply
3HAC15716-1Calibration Pendulum toolkit
Content is defined in section Standard
toolkit on page 559.
-Standard toolkit
Consumables
Parts needed to be replaced after removal.
NoteArt. no.Equipment, etc.
To be replaced if damaged!3HAC038648-002Washer, axis 3
Used to lubricate o-rings.3HAB3537-1Grease
D=169.5x33HAB3772-111
O-ring
Used on axis-3 motor cover.
D=119x33HAB3772-110
Used on axis-4 motor cover.
D=119x33HAB3772-110
Used on axis-5 motor cover.
Used on axis-6 motor cover.3HAC033489-001Gasket
Removing the upper arm
Use these procedures to remove the upper arm.
Preparations
NoteAction
Remove all equipment fitted to upper arm
and wrist.
1
Jog the robot into position:
• Axis 1, 2, 3, 4: calibration position
(0°)
• Axis 5: +90°
• Axis 6: +125°
2
DANGER
Turn off all:
• electric power supply
• hydraulic pressure supply
• air pressure supply
to the robot, before entering the robot
working area.
3
Continues on next page
3HAC044266-001 Revision: - 247
© Copyright 2013 ABB. All rights reserved.
4 Repair
4.5.1 Replacing the upper arm
Continued
 Loading...
