NoteAction
DANGER
Turn off all:
• electric power supply
• hydraulic pressure supply
• air pressure supply
to the robot, before entering the robot
working area.
3
Remove the complete ball joint housing
with DressPack still fitted, from the bracket
on the wist cover.
4
This is done in order to reach the two hid-
den attachment screws that hold the cover.
Remove the bracket from the wrist cover.5
Retrieving access to the wrist cabling
Use this procedure to open the wrist and access the axis-5 and axis-6 motor cables.
NoteAction
DANGER
Make sure that all supplies for electrical
power, hydraulic pressure, and air pressure
are turned off.
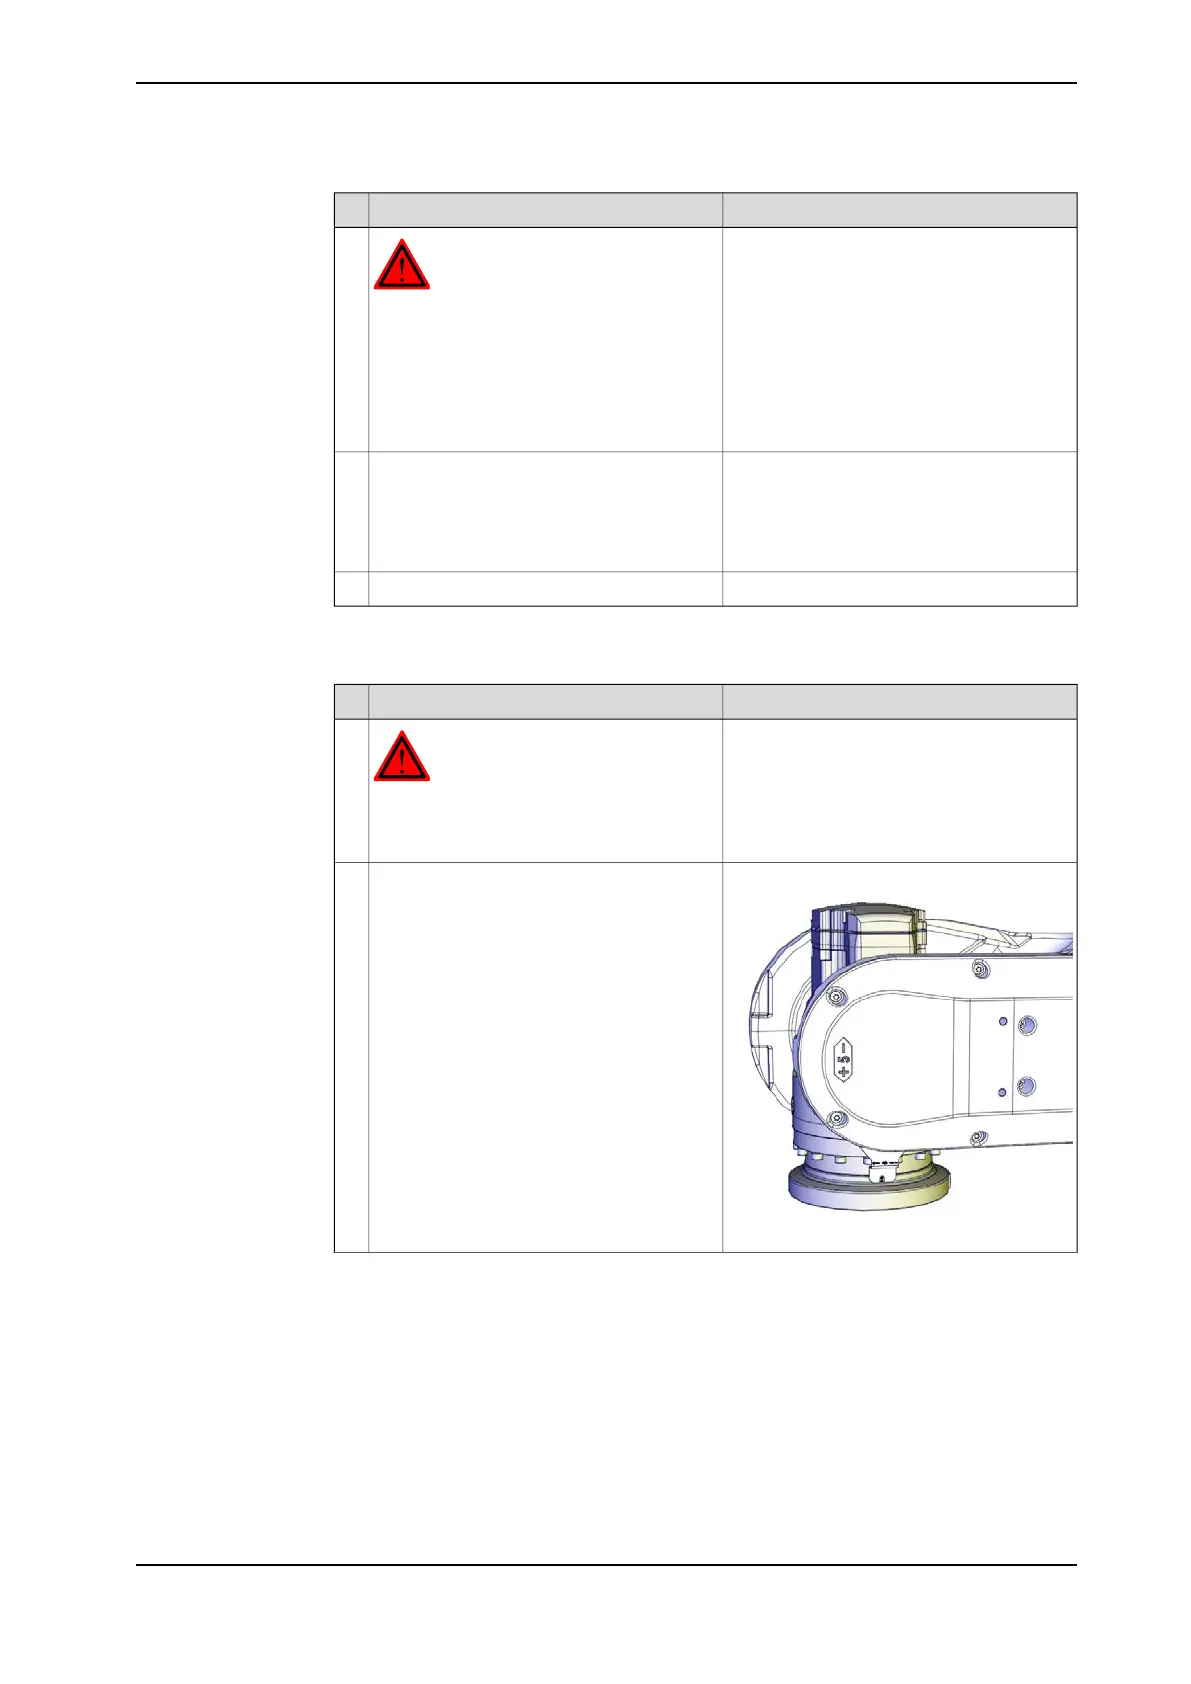
1
24 VDC power supply
xx1200001081
If axis-5 is not already in position +90°,
connect the 24 VDC power supply, release
the brakes and move the axis manually into
that position.
Connect to R2.MP5-connector:
• + = pin 2
• - = pin 5
2
Continues on next page
3HAC044266-001 Revision: - 429
© Copyright 2013 ABB. All rights reserved.
4 Repair
4.7.5 Replacing the axis-5 motor
Continued