Chapter 3
| Switch Chassis
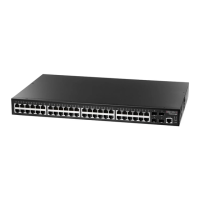
How to Install the Switch in a Rack
– 26 –
◆
Rack Planning:
When installing equipment in a rack, first plan how units can
be best arranged. Try to always mount the heaviest equipment at the bottom
of the rack.
◆
Temperature:
Since the temperature within a rack assembly may be higher
than the ambient room temperature, check that the rack-environment
temperature is within the specified operating temperature range. See “Switch
Cooling Requirements” on page 24.
◆
Mechanical Loading:
Do not place any equipment on top of a rack-mounted
unit.
◆
Circuit Overloading:
Be sure that the supply circuit to the rack assembly is
not overloaded.
◆
Grounding:
Rack-mounted equipment should be properly grounded.
Rack-Mounting Items Before you start to rack-mount the switch, be sure to have the following items
available:
◆ Four mounting screws for each device you plan to install in a rack—these are
not included. Be sure to use the rack mounting screws that are supplied with
the rack.
◆ A screwdriver (Phillips or flathead, depending on the type of screws used).
Rack-Mount
Procedure
To rack mount the switch, follow these steps:
Caution:
Installing the switch in a rack requires two people: One should position
the switch in the rack, while the other secures it using the mounting screws.
1. Attach the brackets to the device using the screws provided in the Rack
Mounting Kit.
 Loading...