Software Reference 239
V4.2 LabChip GX User Manual PerkinElmer
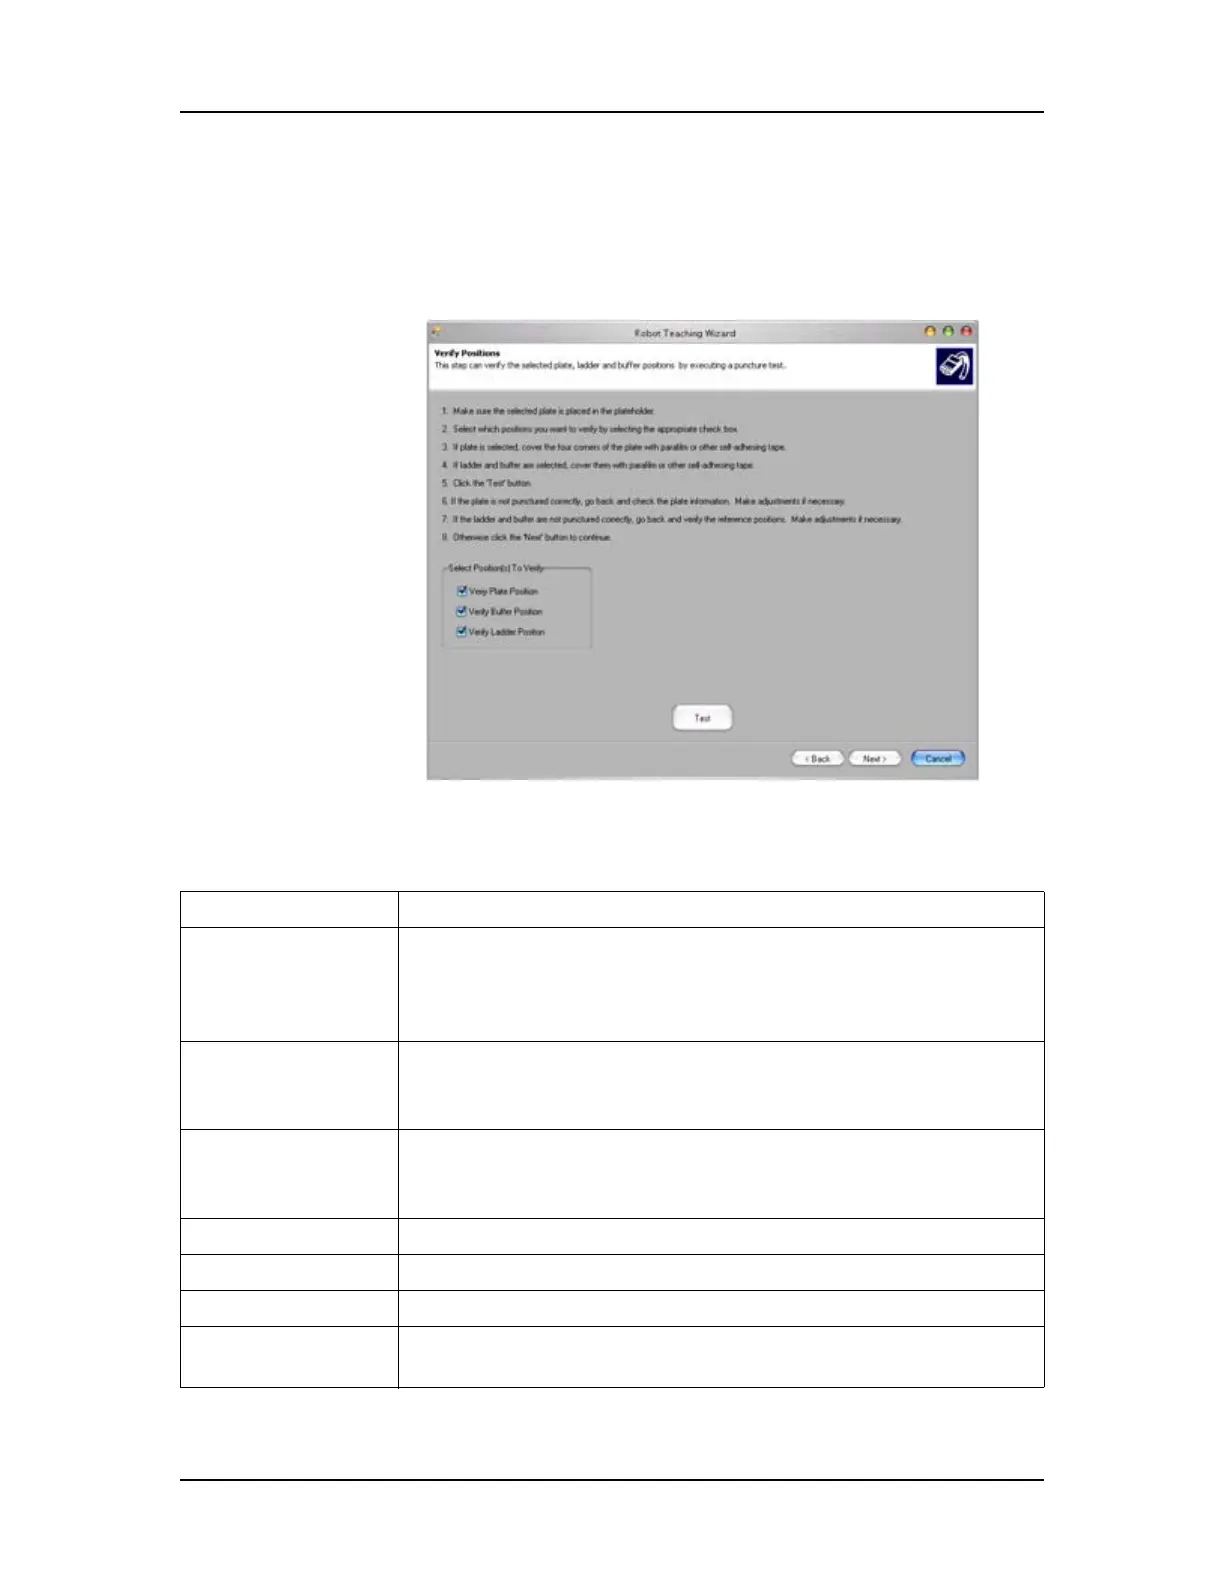
Verify Positions Window
Use the Verify Positions Window to verify the taught reference
position and the settings for the plate selected in the Verify a Plate
Window.
Figure 106. Verify Positions Window
The Verify Positions window contains the following options and
buttons:
Option/Button Function
Verify Plate
Position
If selected, the plate holder moves so that the sipper pierces
the tape in the well each corner of the plate. If the well is not
pierced in the center of each well, click the Back button and
adjust the Plate Information.
Verify Buffer
Position
If selected, the plate holder moves so that the sipper pierces
the tape over the buffer vial. If the buffer vial is not pierced in
the center, verify and adjust the Reference Position.
Verify Ladder
Position
If selected, the plate holder moves so that the sipper pierces
the tape over the ladder vial. If the ladder vial is not pierced in
the center, verify and adjust the Reference Position.
Test button Moves the plate holder to test the selected positions.
Back button Displays the Verify a Plate Window.
Next button Displays the Finished Window.
Cancel button Closes the Robot Teach Wizard without saving changes to any
positions.
 Loading...


