Maintenance3326−1/A1 RT-flex50-D
Wärtsilä Switzerland Ltd
2/ 3
2. Checking the clearances
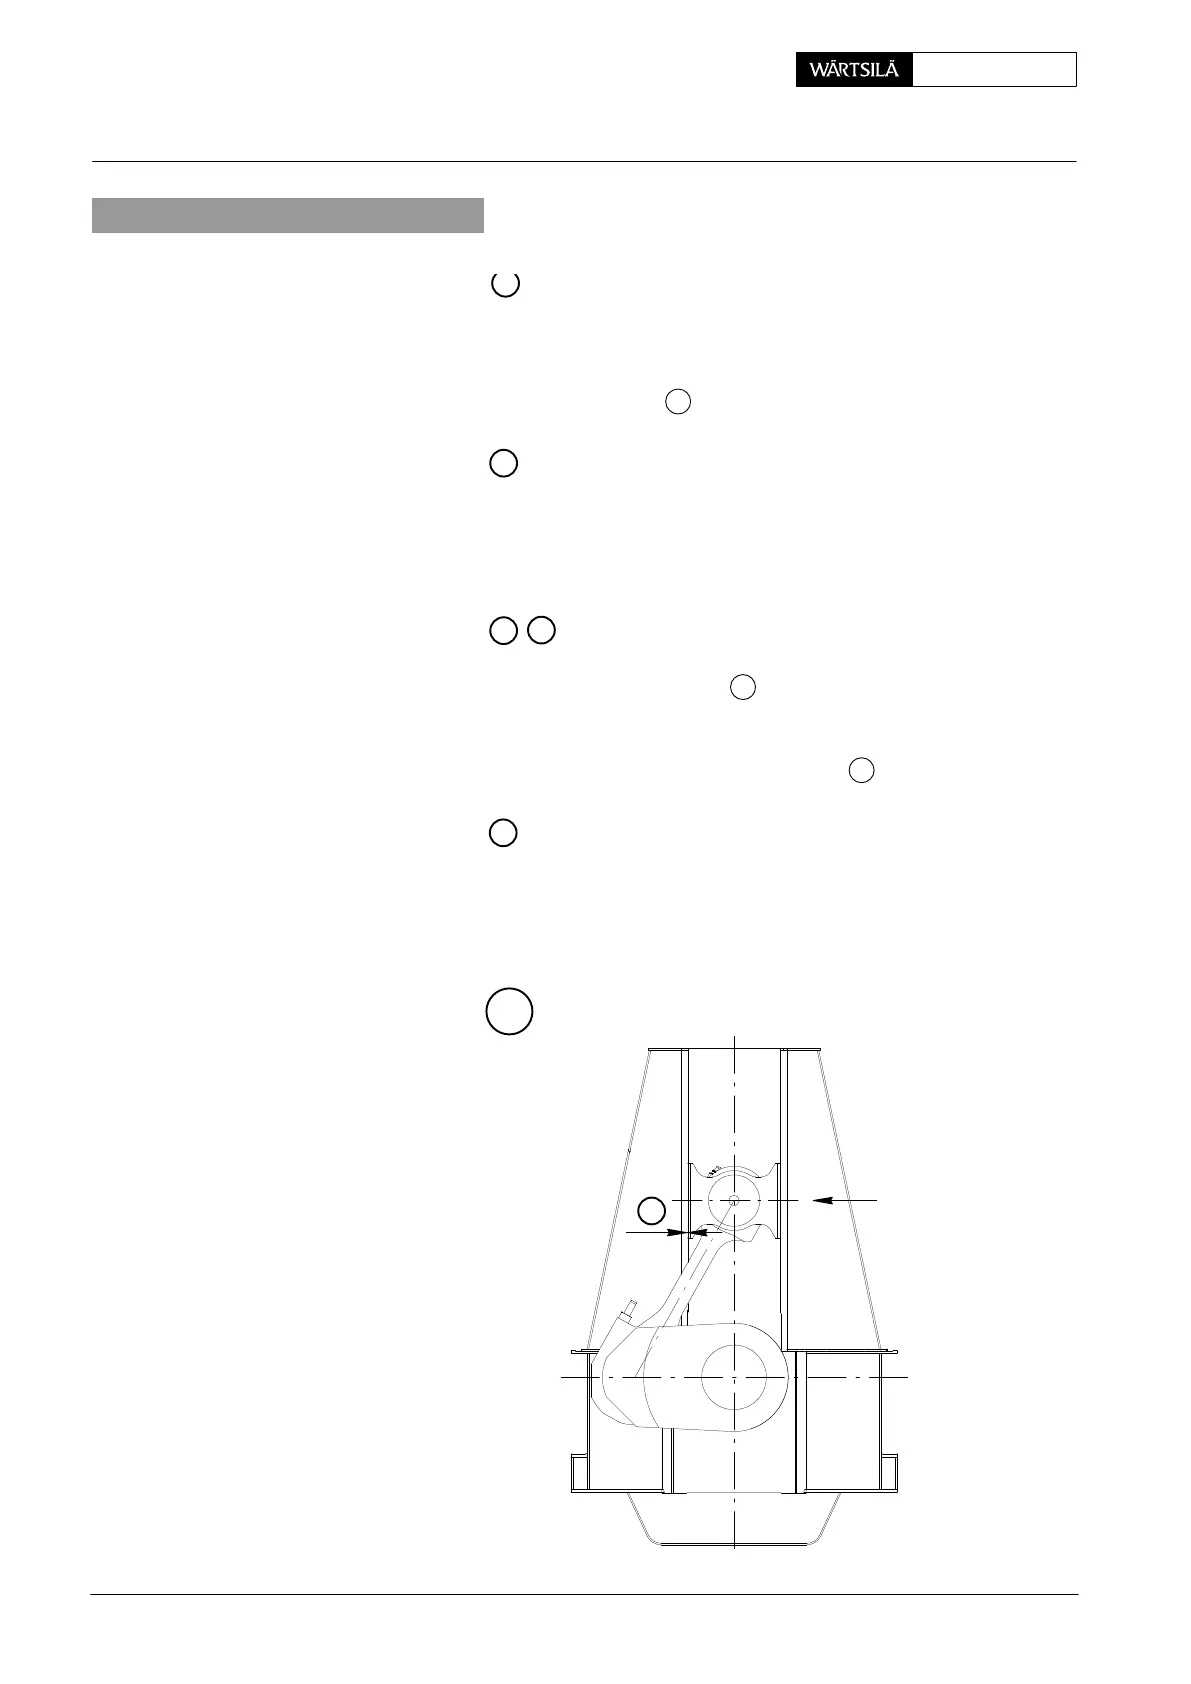
Clearance Clearance between guide shoe and guide way:
The corresponding crankpin must stand in such a positio
that guide shoes 2 lie on guide ways 4 on fuel or exhau
side.
Clearance is valid for the whole guide way length and
measured according to the positions as shown in Fig. ’B
Clearance Lateral clearance of crosshead between the column
The clearance is measured in every position of the cros
head. The complete crosshead must be pressed axially
a side with suitable hardwood wedges or similar aids. Th
pressure must be exerted onto the guide shoe and no
onto the crosshead pin 1.
Clearances Lateral clearance between guide shoe and
top end bearing:
Lateral clearance (between holding plate and groove
crosshead pin) is measured in the above mentioned pos
tion of the crosshead.
Measure total lateral clearance between top end
bearing 5 and guide shoes 2 at the same time.
Clearance Radial clearance between guide shoe and
crosshead pin:
The clearance is measured in every position of the cros
head.
2
3
4
5
1
3
4
B
1
013.784/06
90° BEFORE OR
AFTER T.D.C.
Checking the Clearances and Fitting the Guide Shoes
2010
 Loading...