Maintenance3403−1/A1 RT-flex50-D
Wärtsilä Switzerland Ltd
8/ 8
5.1 Fitting
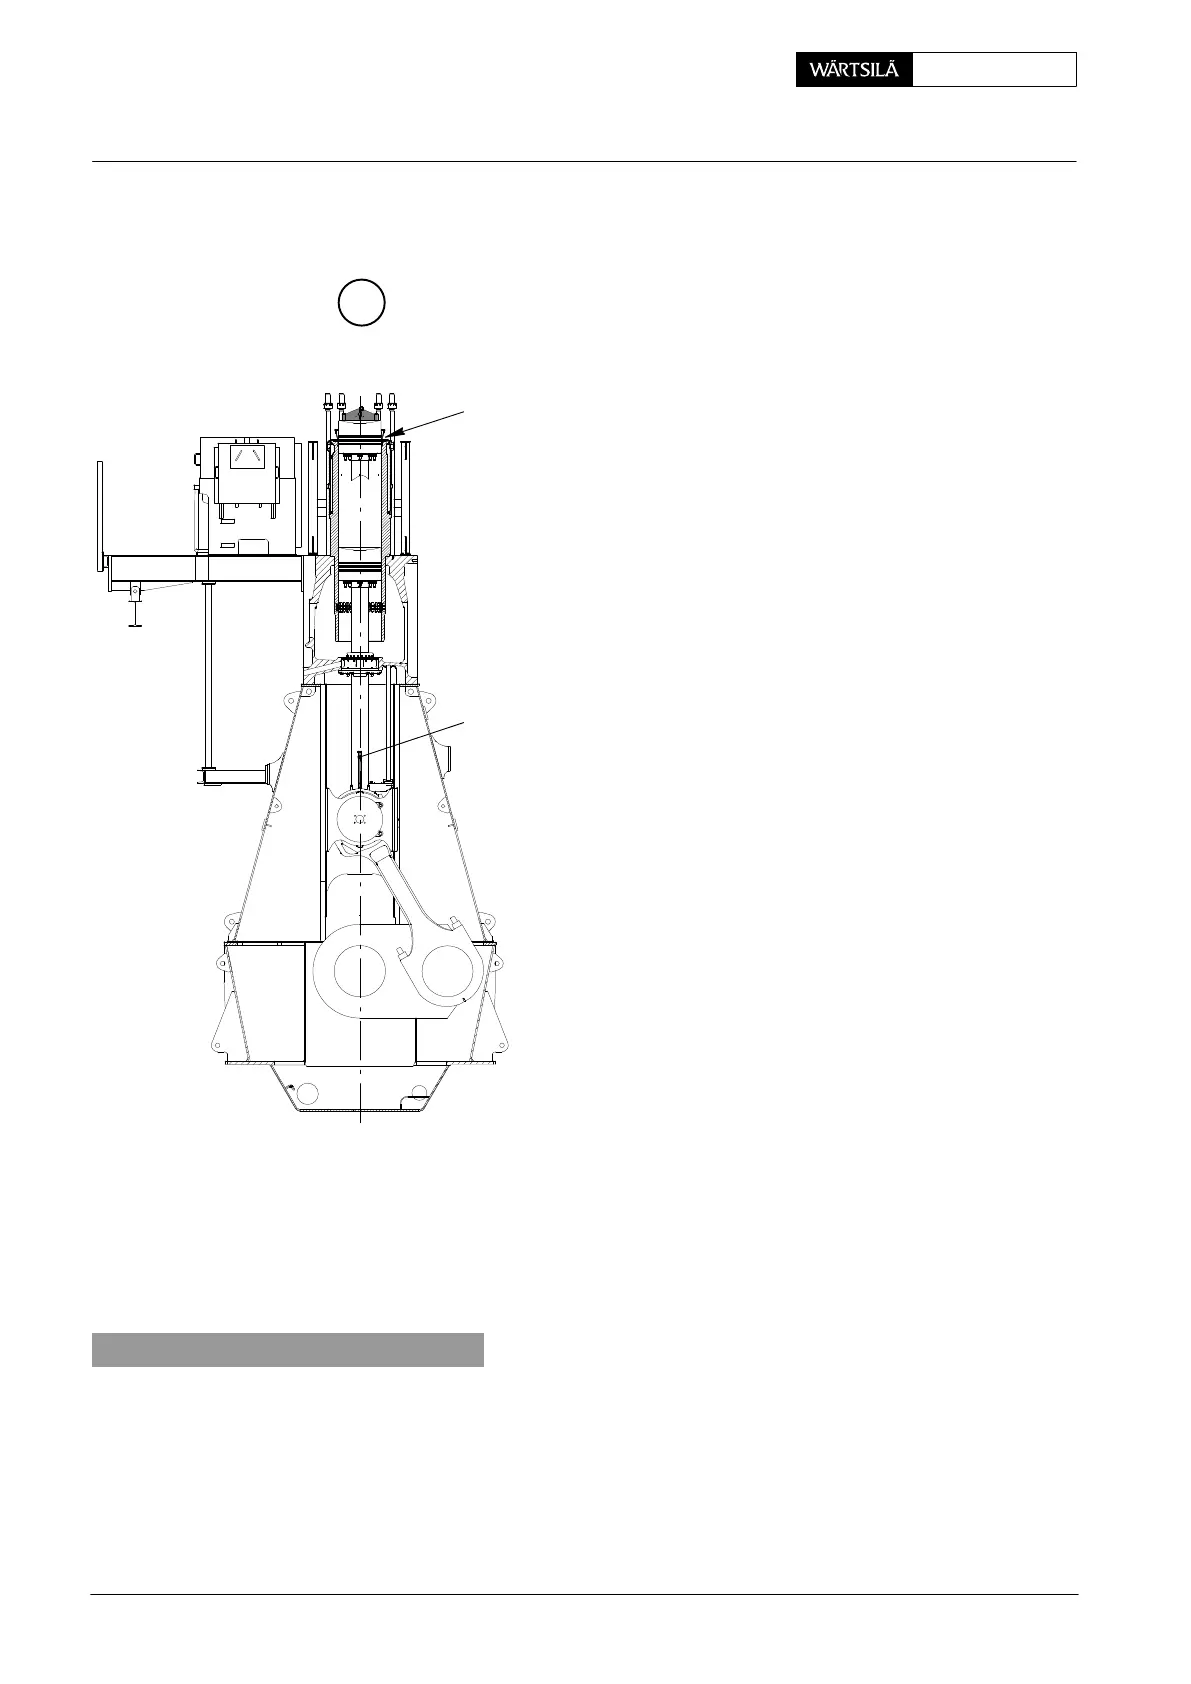
⇒ Turn crank of the cylinder concerned to T.D.C.
⇒ Slightly lift piston by crane. Loosen screwed con
nections 14 (Fig. ’F’) and push both supports 1
outwards. Then lift the piston including piston ro
gland 12 so far that the two hinged covers 11 ca
be turned up.
⇒ Bring the piston over the cylinder liner and the
slowly lower it (Fig. ’I’).
D When the piston is lowered into the cylinder line
until the lowest piston ring is at the upper level o
the insertion funnel, arrange the piston rings s
that their gaps alternate by 180_ to each other (se
3425−1).
⇒ Slowly lower the piston further till its piston rod foo
has arrived just above the crosshead pin. Whil
one person directs the further lowering of the pis
ton from the top, another directs the piston ro
progress from the engine interior and how it mus
be turned to guide the piston rod foot, without jam
ming, into centring pins 6 (Fig. ’A’) in the crosshea
pin.
⇒ Slacken the crane rope a bit and remove the sus
pension device.
⇒ Turn piston to B.D.C. (loosen crane correspond
ingly) and direct the insertion of the piston ro
gland into its seating bore in the cylinder block (se
2303−1).
⇒ Loosen and remove both distance holders from
the piston foot.
⇒ Firmly tighten all screws fastening the piston ro
gland housing.
⇒ Tension waisted studs 3 for the piston foot fasten
ing as described in section 3.
⇒ Refit the antipolishing ring (see 2124−2).
I
018.391/09
94342
94345
6. Leak test
A leak test must be carried out after every fitting of a piston in the cylinder. For this,
start the bearing lubrication pump and set the bearing lubricating pressure. Check
through the scavenge space on the fuel side in the cylinder block (piston under-
side) whether cylinder liner running surface and piston rod remain dry.
Any increase in the dirty oil level in the scavenge air space may be caused by a
faulty O-ring in the piston.
2010 / 50−D
Piston: Removal and Fitting