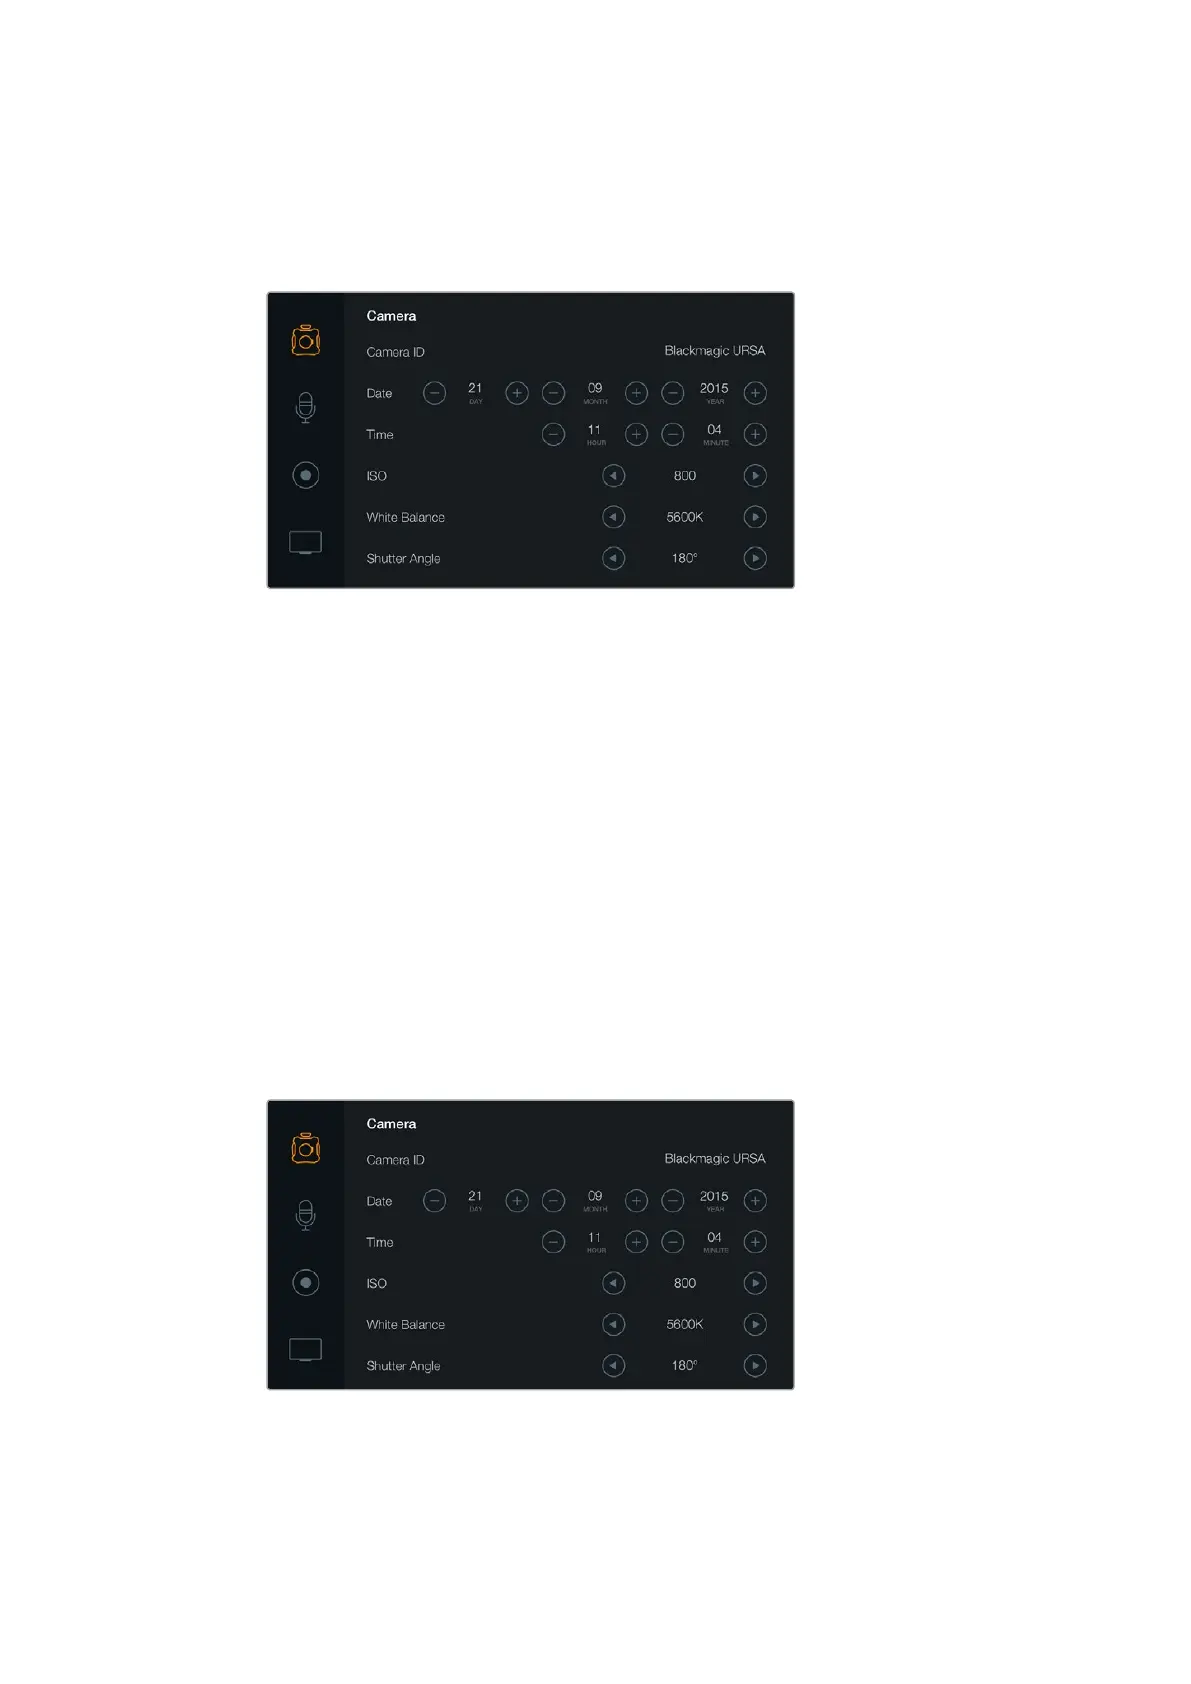
Camera Settings
To configure camera settings on your Blackmagic URSA, select the ‘camera’ touchscreen menu,
then tap the relevant arrows and icons with your finger.
To configure camera settings on your Blackmagic URSA,
select the ‘camera’ touchscreen menu.
Camera ID
If using more than one Blackmagic URSA, it’s helpful to set each camera’s ID which will be
included with any metadata recorded with your clips. Set the ‘camera ID’ with the touchscreen
keyboard. Select ‘enter’ to save your camera ID, or ‘cancel’ to discard any changes.
Setting Date and Time
To set date and time on your Blackmagic URSA, tap the + or - icons to change the year, month
and day settings.
Time is set to 24 hour format. To set the time, tap the + and - icons to make adjustments. Iftraveling
with your Blackmagic URSA, remember to change the date and time to local time zones.
If you have your Blackmagic URSA stored for long periods, the time may need to be reset.
Itisalways a good idea to check the time and date prior to recording. When connecting your
camera to your computer via USB and launching Blackmagic Camera Setup utility,
BlackmagicURSA’s time is synced to your computer time.
The camera settings screen.
29Blackmagic URSA Settings