Using Final Cut Pro X
To edit Apple ProRes 422 HQ clips using Final Cut Pro X, you need to create a new project and
set a suitable video format and frame rate. This example uses ProRes 422 HQ 1080p25.
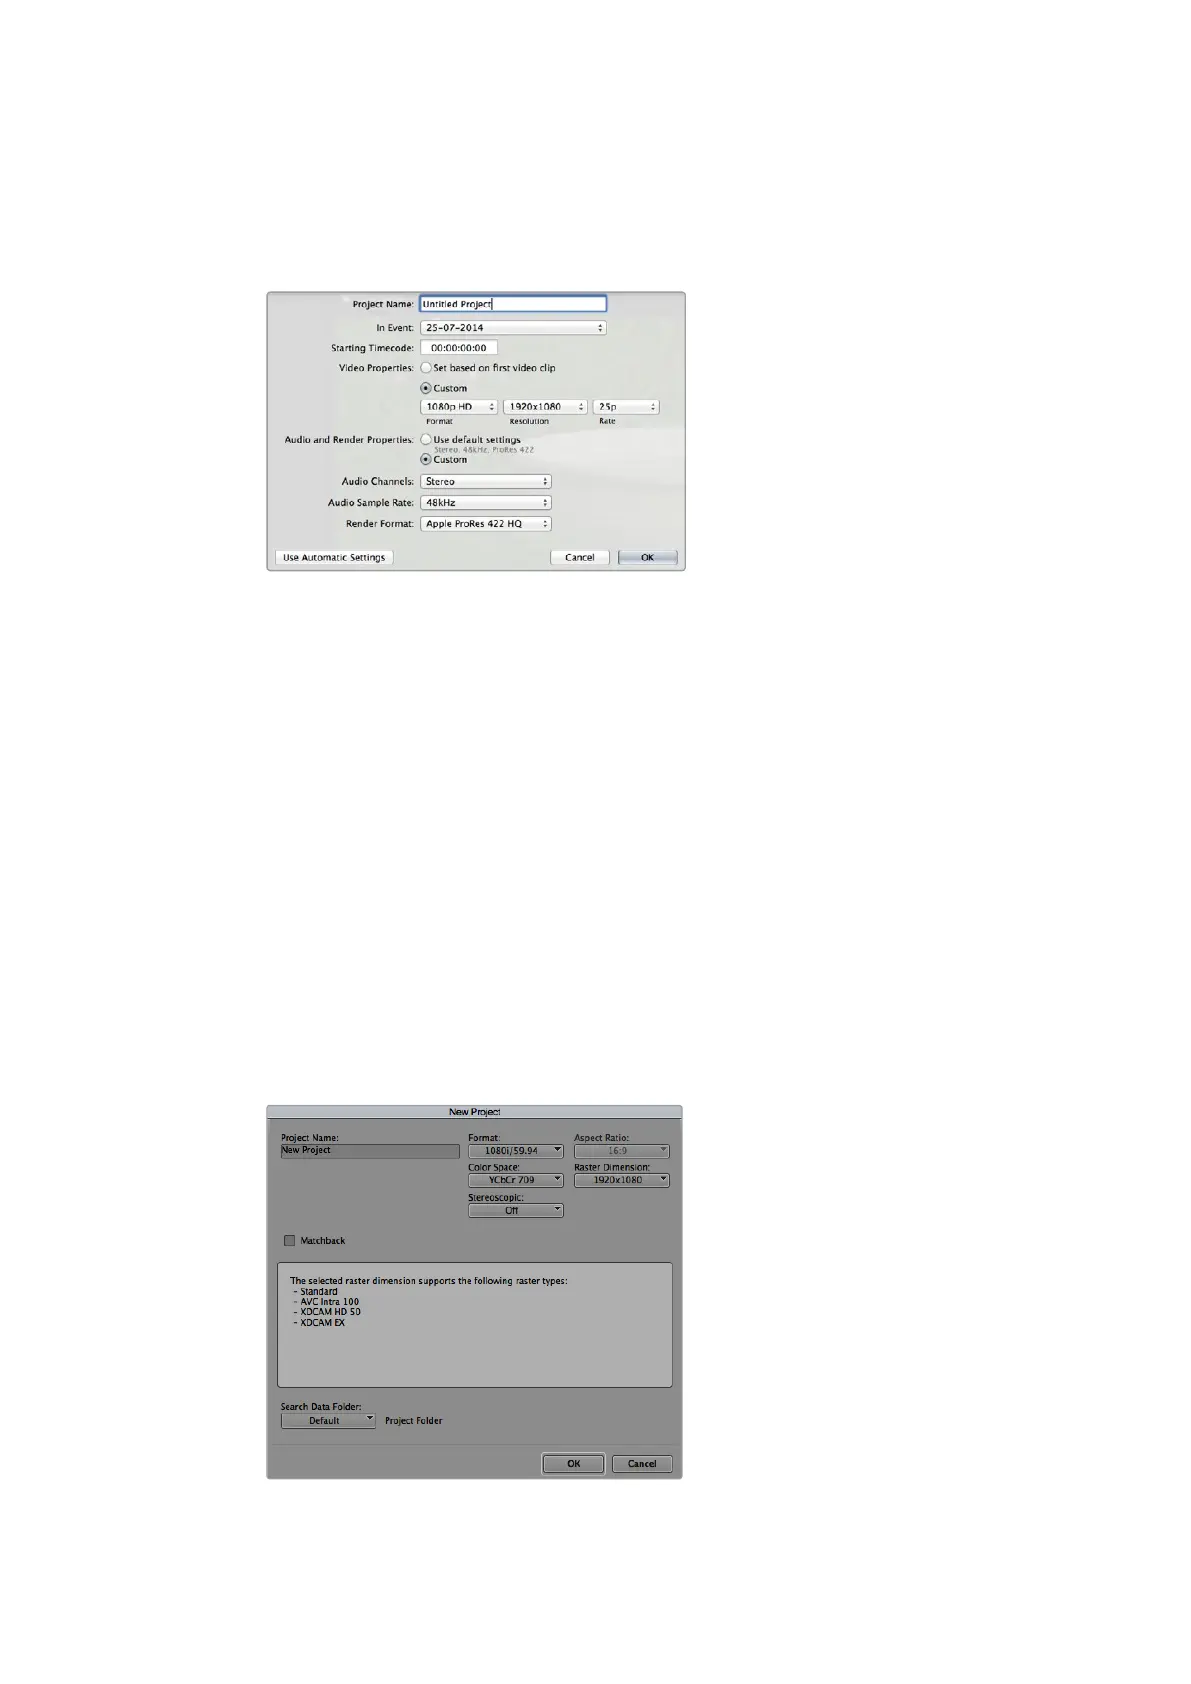
Final Cut Pro X project settings.
1 Launch Final Cut Pro X, go to the ‘menu’ bar and select ‘file/new project’.
A window will open containing project settings.
2 Name your project and select the ‘custom’ checkbox.
3 Set the ‘video properties’ settings to 1080p HD, 1920x1080 and 25p.
4 Set your ‘audio’ and ‘render properties’ settings to ‘stereo, 48kHz, and Apple
ProRes 422 HQ’
5 Click OK.
To import your clips into your project, go to the ‘menu’ bar and select ‘file/import/media’.
Choose your clips from your CFast card.
You can now drag your clips onto the timeline for editing.
Using Avid Media Composer
To edit your DNxHD clips using Avid Media Composer 8, create a new project and set a
suitable video format and frame rate. For this example, clips are set using DNxHD 1080i59.94.
Setting the project name and project options
in Avid Media Composer 8.
68Post Production Workflow