To mount your battery plate to the rear panel:
1 Remove Blackmagic URSA's molex power cover from the rear panel by unscrewing the
4 corner screws. You’ll now see Blackmagic URSA’s 12 way molex 55959-1230 power
connector.
2 Connect Blackmagic URSA's 12 way molex 55959-1230 power connector to your third
party battery plate.
3 Screw the third party battery plate onto your Blackmagic URSA's plate mounting points
using 4 x M3 screws. Make sure the connector cable is tucked safely into the cable slot
and not crushed between the plates when tightening.
With the third party plate connected to your camera, you can now mount a V-mount or gold
mount battery.
Using your own Battery Plate
Adapter Cable and Connector
If you don’t have an off the shelf battery plate designed to plug into URSA and want to modify
your own battery plate, you can use the supplied adapter cable and connector, which is also
available at your local Blackmagic Design support office.
To wire the adapter cable and connector to your battery plate:
1 Strip approximately half an inch of insulation from the end of each red and black wire.
2 Solder all 4 x red ‘Batt’ wires to the corresponding ‘positive’ wire from your
battery plate.
3 Solder all 4 x black ‘GND’ wires to the corresponding ‘negative’ wire from your
battery plate.
Ensure the joins are well insulated.
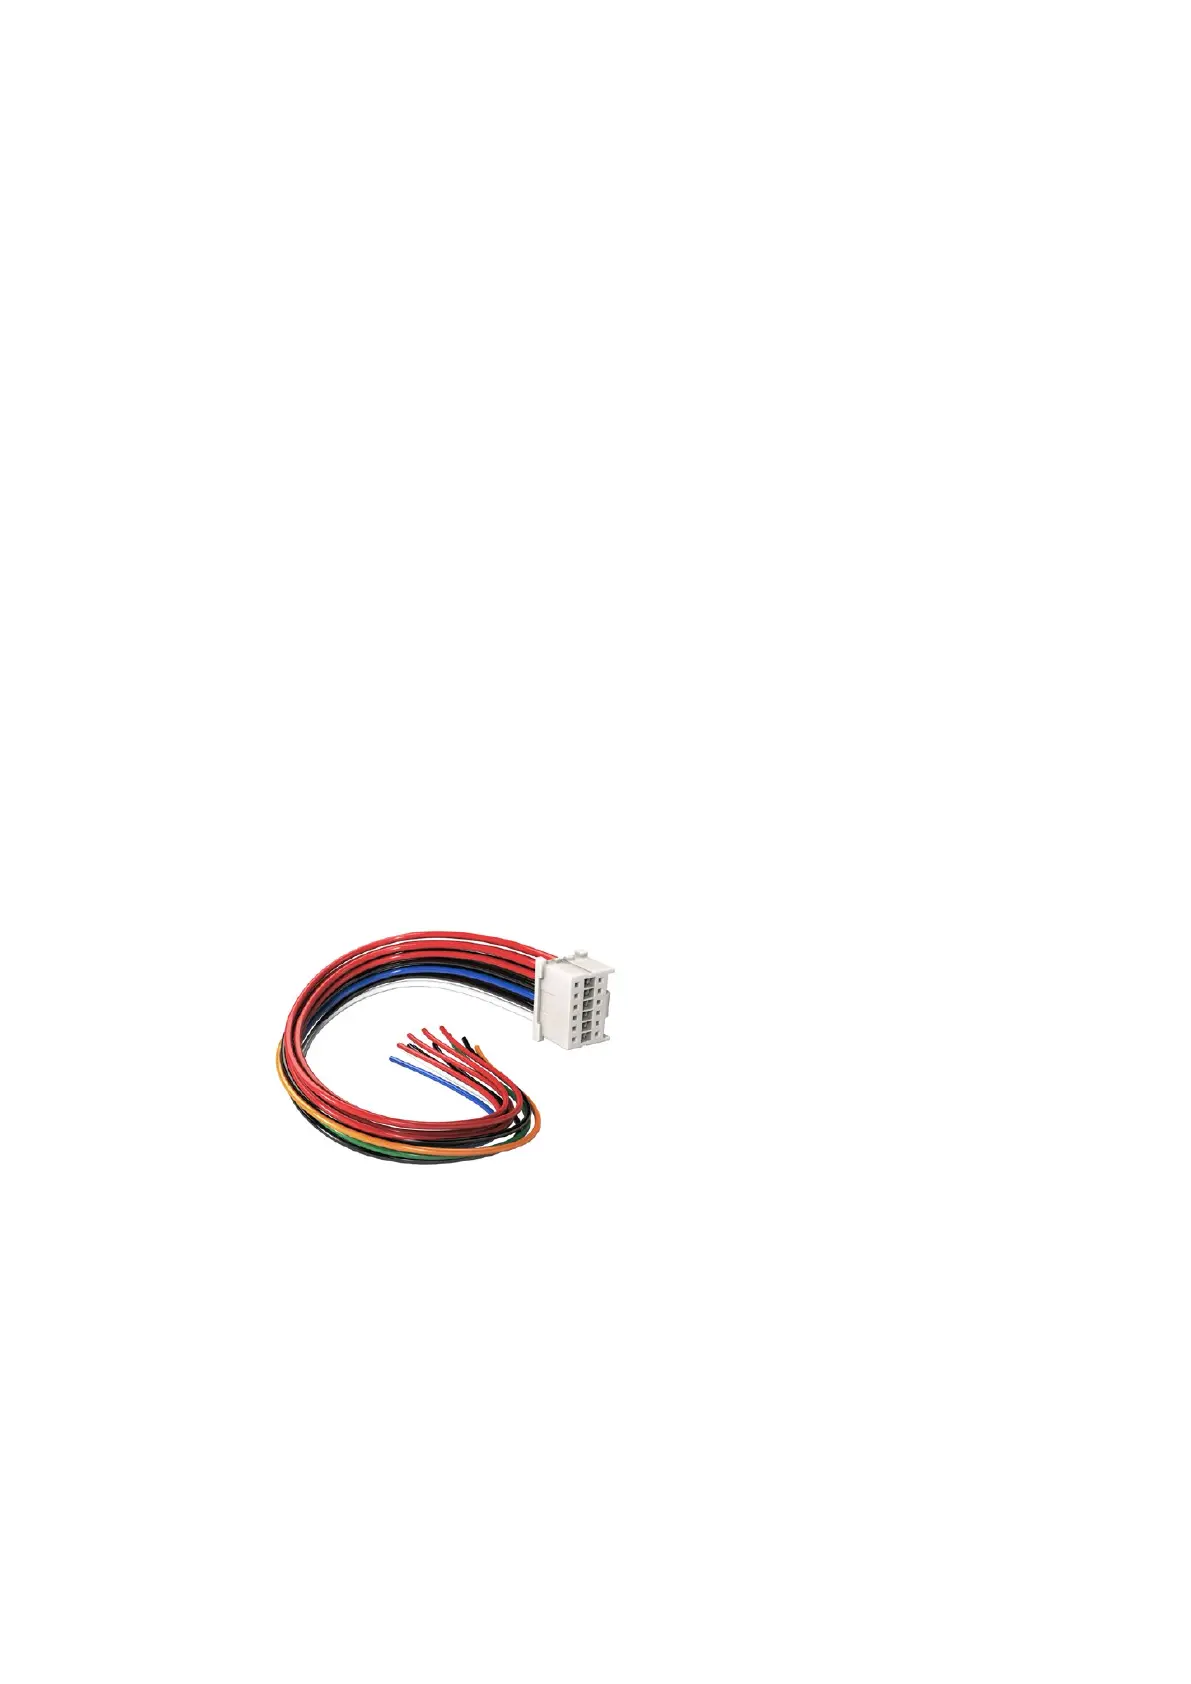
If you need to modify any battery plate to plug into URSA,
use the supplied adapter cable and connector, which is also
available from your local Blackmagic Design support office.
This enables battery power to your camera. You can also connect additional wires for features
such as 12 V output and battery status. Refer to your battery plate information, plus the diagram
and tables on this page for help connecting the wires. If you require further assistance visit the
Blackmagic Design support center at www.blackmagicdesign.com/support.
49Mounting Batteries