Blackmagic Camera Setup Utility
How to Update Your Camera Software on Mac OS X
After downloading the Blackmagic Camera Setup utility software and unzipping the downloaded
file, open the resulting disk image to reveal the Blackmagic Camera Setup Installer.
Launch the installer and follow the on screen instructions. After the installation has finished, go
to your applications folder and open the Blackmagic Cameras folder, where you’ll find this
manual, the Blackmagic Camera setup utility, plus a documents folder containing readme files
and information. You’ll also find an uninstaller for when updating to later versions of Blackmagic
Camera Setup.
How to Update Your Camera Software on Windows
After downloading the Blackmagic Camera Setup utility software and unzipping the
downloaded file, you should see a Blackmagic Camera Setup folder containing this PDF manual
and the Blackmagic Camera Setup Installer. Double-click the installer and follow the on screen
prompts to complete the installation.
In Windows 8, select ‘apps’ from the ‘start’ screen and navigate to the Blackmagic Design
folder. From here you can launch Blackmagic Camera Setup.
In Windows 7, click on the ‘start’ menu, select ‘all programs>Blackmagic Design’. From here you
can launch Blackmagic Camera Setup.
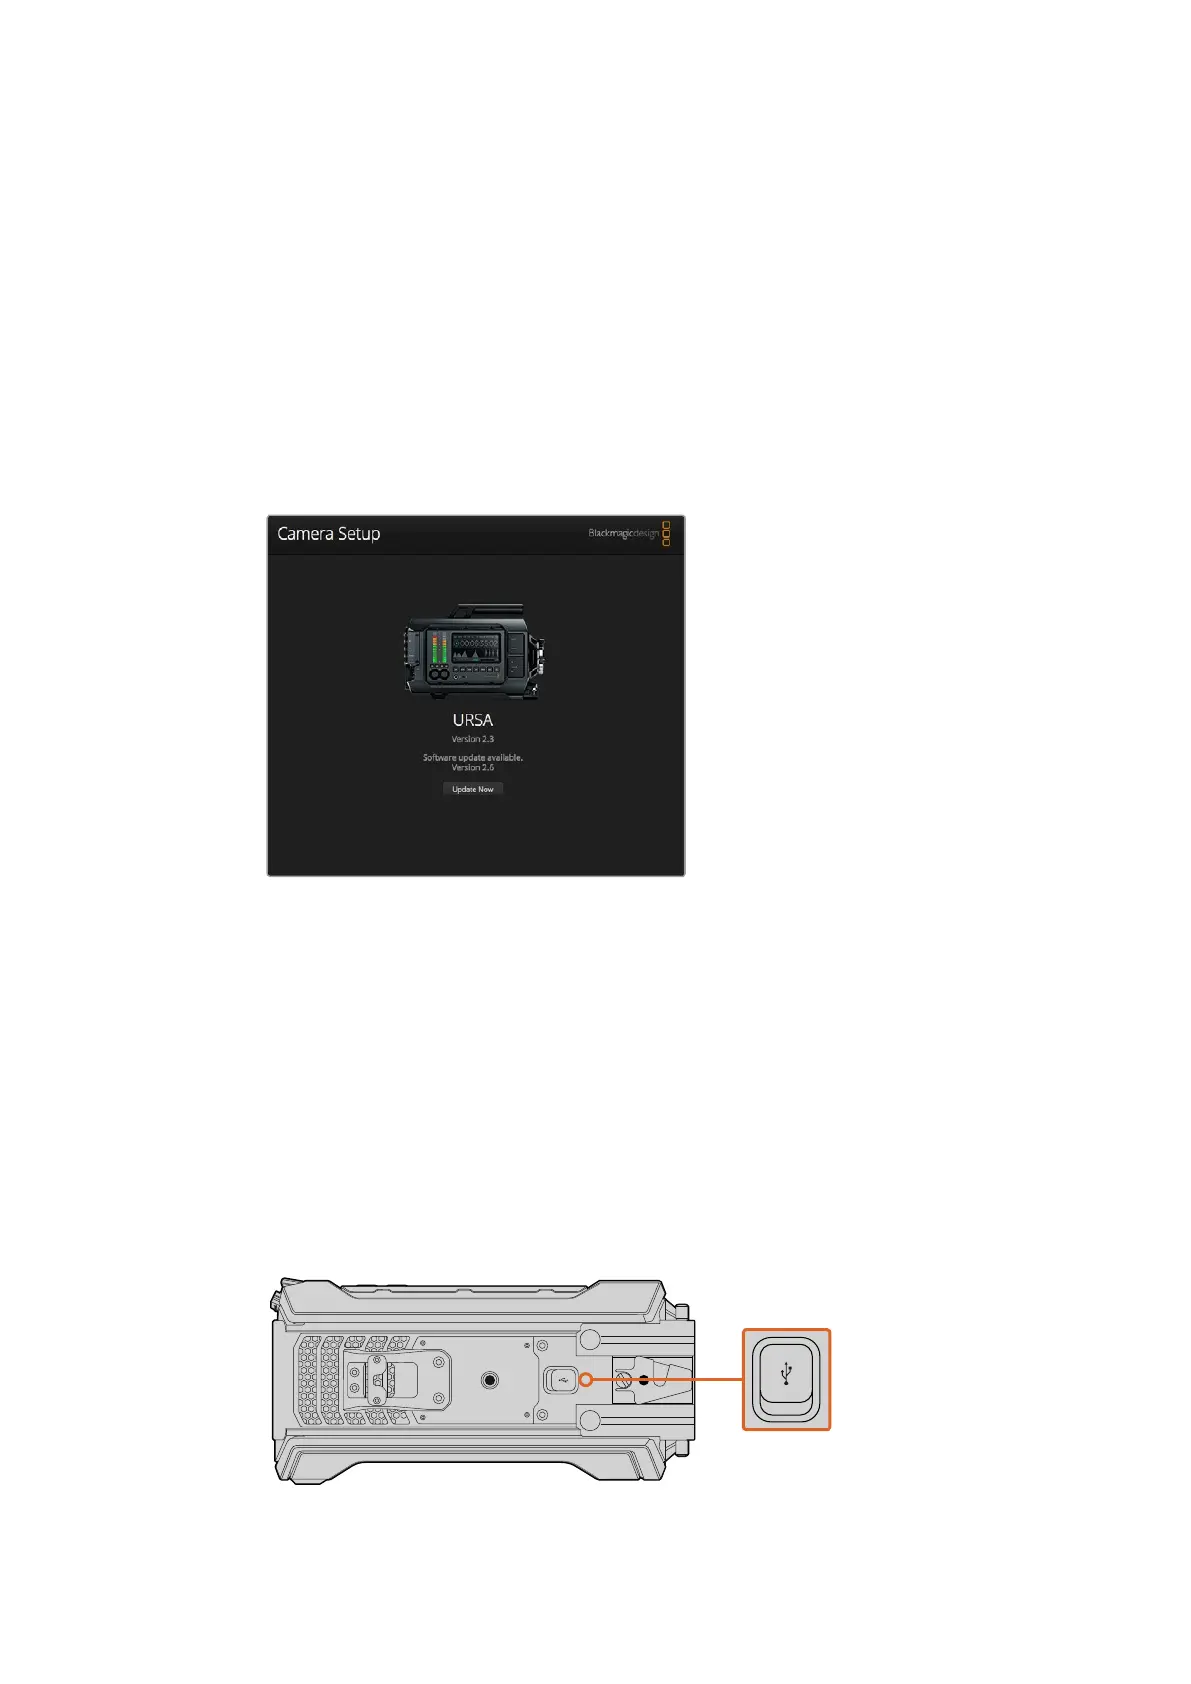
How to Update the Camera Software
The Mini-B USB 2.0 port is used to update the camera software
and can be found on Blackmagic URSA’s bottom panel.
REC
ZOOM
DISP
PGM
1
CFAST
IRIS
FOCUS
REC
IRIS
FOCUS PEAK DISP MENU SLATE
2
IRIS
SDI OUT
0
-6
-12
-18
-24
-30
-36
-42
-48
L R
SDI IN
REF IN
TIMECODE IN
TIMECODE OUT
12V
CH1
SOLO
CH1
MUTE
CH2
MUTE
CH2
SOLO
FOCUS PEAK DISP MENU SLATE
PUSH PUSHPUSH
REC
ZOOM
DISP
PGM
1
CFAST
IRIS
FOCUS
REC
IRIS
FOCUS PEAK DISP MENU SLATE
2
IRIS
SDI OUT
0
-6
-12
-18
-24
-30
-36
-42
-48
L R
SDI IN
REF IN
TIMECODE IN
TIMECODE OUT
12V
CH1
SOLO
CH1
MUTE
CH2
MUTE
CH2
SOLO
FOCUS PEAK DISP MENU SLATE
PUSH PUSHPUSH
66Blackmagic Camera Setup Utility