Importing your Clips
To start editing your clips, you’ll first need to import them into the media pool:
1 Launch DaVinci Resolve. If this is the first time you’ve opened DaVinci Resolve, wait for
the Project Manager to appear, and double click the ‘untitled project’ icon in the project
manager window. If the log in window appears, that means you have the Resolve
multi-user environment enabled. In this case, click Add New at the bottom left of the
log in window and create a new user by entering a user name and clicking Setup New
User. Then double-click the user icon to proceed to the Project Manager. Now click
‘new project’, enter a title for your project and click ‘create’. This will add your new
project to the project manager. Double click on your project to open it.
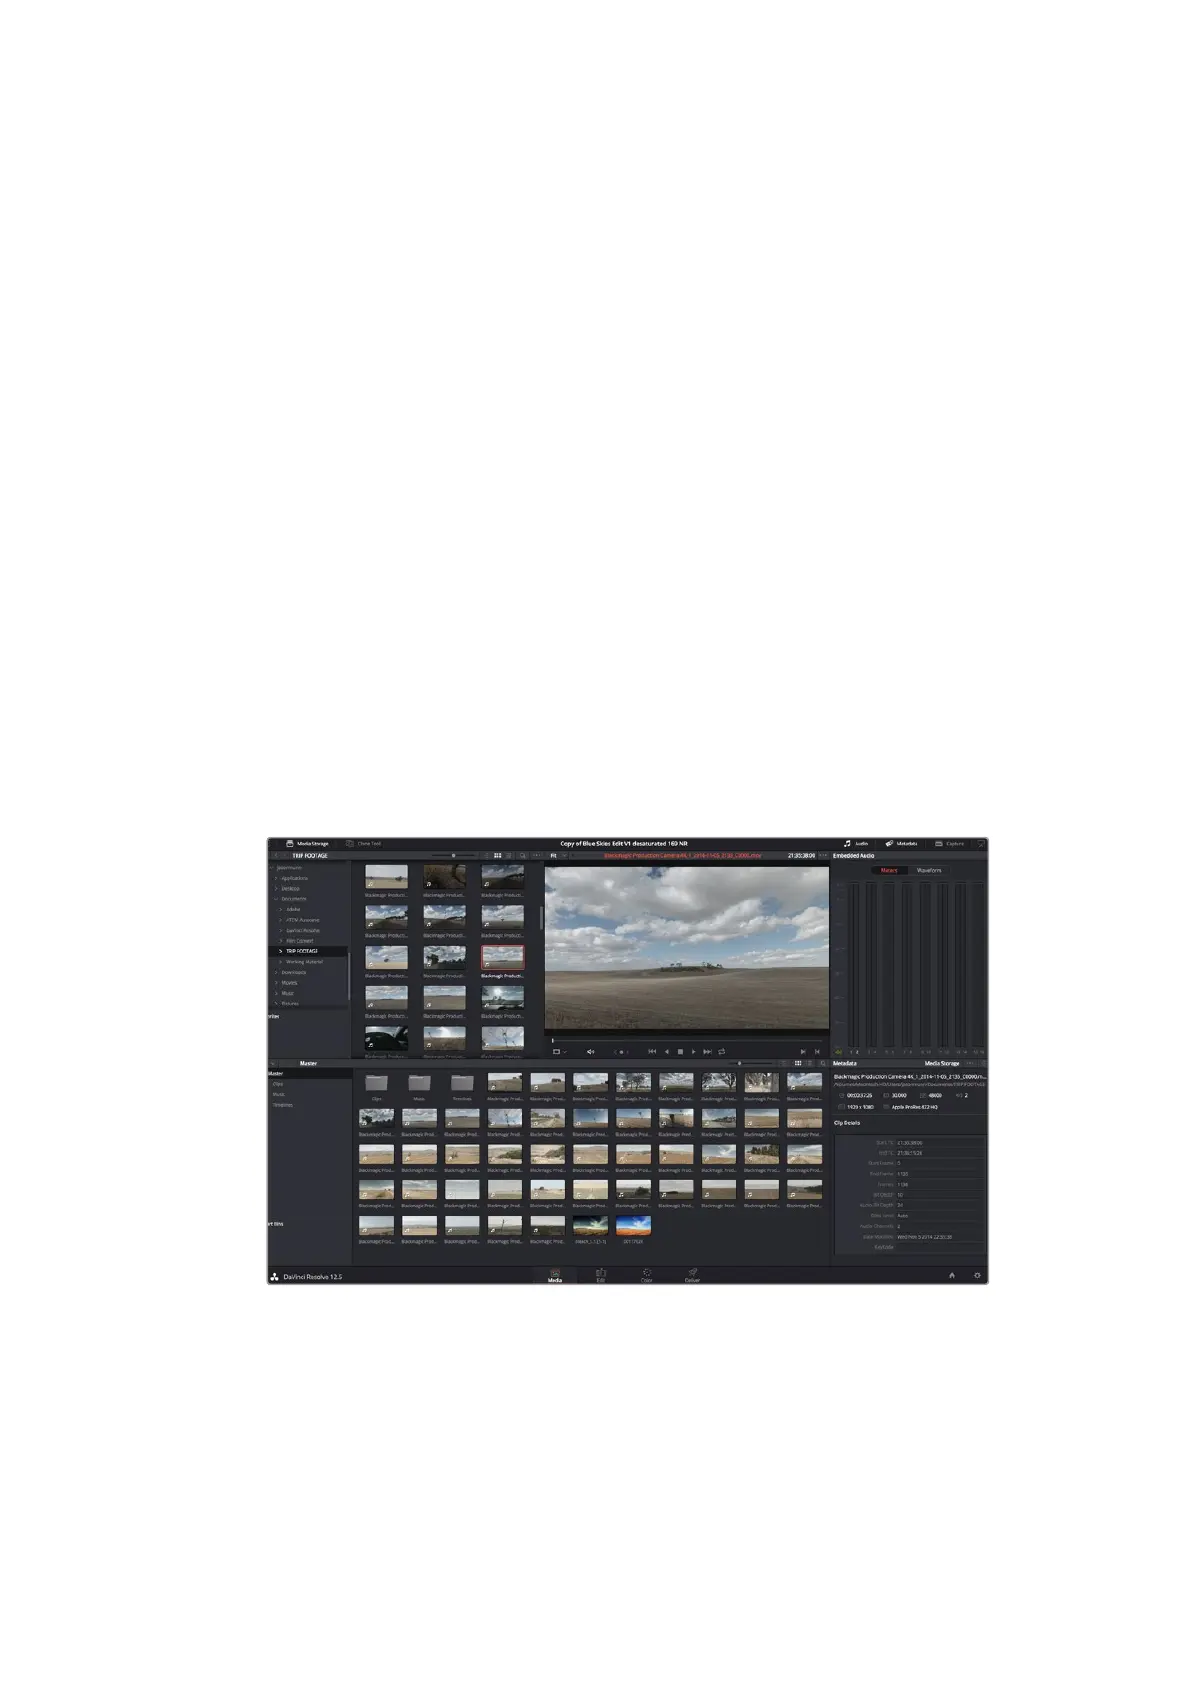
2 You’ll now see the ‘media’ page with a ‘media storage’ browser at the top left.
The‘media storage’ browser displays all your linked media folders from where you’ll
drag your clips and drop them into the media pool.
3 If your clip folder doesn’t appear in the library, you’ll need to add it. This is easily
done by clicking on preferences in the DaVinci Resolve title bar and clicking on the
‘add’ button in the ‘media storage’ tab. Browse to and select a drive or folder path,
click ‘open’, restart DaVinci Resolve and reopen your project to refresh the ‘media
storage’ settings.
4 In the ‘media storage’ browser, click on your newly added clip folder. Now simply drag
your clips from your storage folder and drop them into the media pool. If the untitled
project settings are different to your clip settings, you’ll be prompted to either change
the project settings to match your clips, or leave the settings as they are. To get started
quickly, click ‘change’. Now your project settings match your clips.
To import your clips, simply drag them from the ‘media storage’ browser and drop
them into the media pool. You can also drag and drop files from your desktop.
52Using DaVinci Resolve