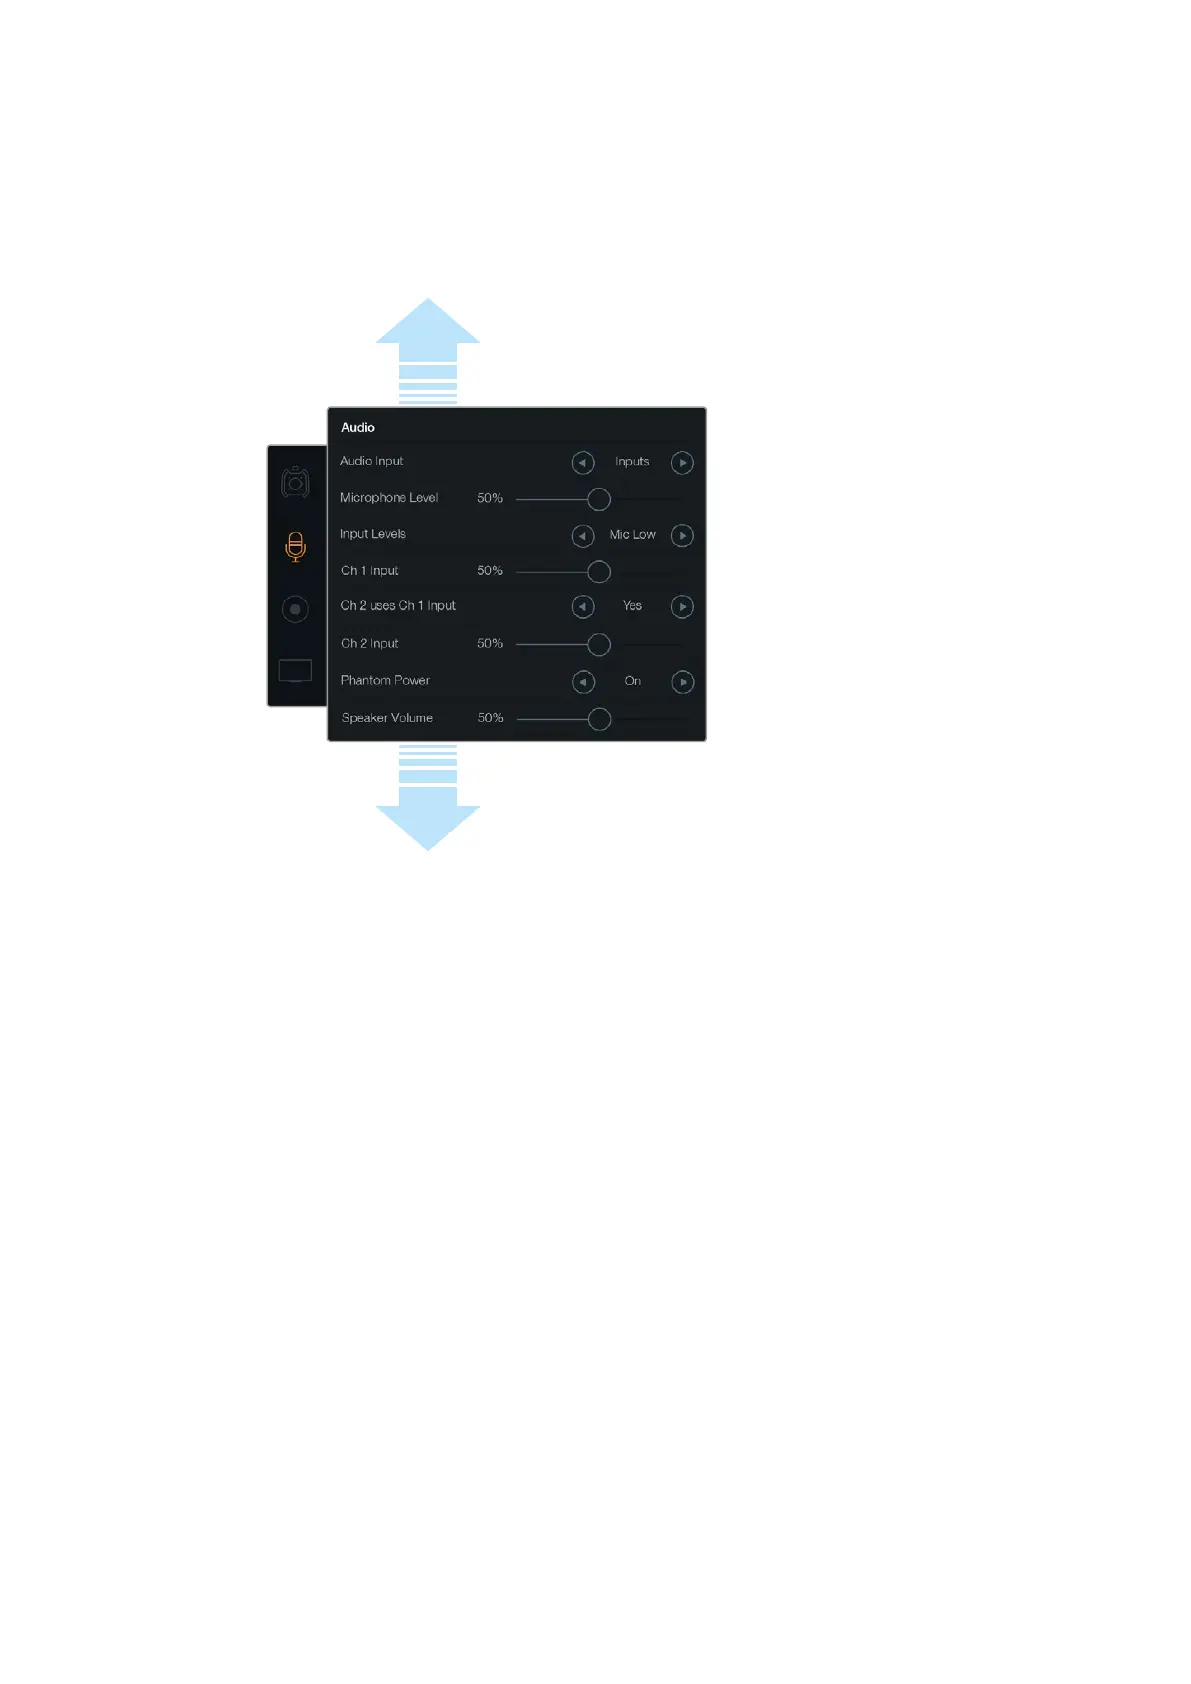
Microphone Level
Microphone level adjusts the recording levels for Blackmagic URSA’s built in microphone.
Movethe audio slider left or right to adjust levels. The built in microphone records to audio
channels 1 and 2.
Input Levels
Set the external audio input levels by tapping the relevant left and right arrow icons. External audio
connectors support line, or microphone levels with 48V phantom power. It’s important to select the
appropriate level for your audio signal. Level settings include ‘line’, ‘mic low’, and ‘mic high’.
Channel 1 Input
Touch and drag the ch 1 Input slider icon left or right to adjust the channel 1 audio level.
Channel 2 uses Channel 1 Input
Select ‘yes’ if you want to record channel 1 external audio to channels 1 and 2. Select ‘no’ if you
want channel 1 audio to remain on one channel only.
Channel 2 Input
Touch and drag the ch 2 Input slider icon left or right to adjust the channel 2 audio level.
Phantom Power
Select ‘on’ to enable phantom power, or ‘off’ to disable. The phantom power setting is active
only when ‘audio input’ is set to ‘inputs’ with ‘mic low’ or ‘mic high’ input levels selected.
Headphone and Speaker Volume
Touch the headphone or speaker volume icon and drag left or right to adjust audio monitoring
levels. When headphones are connected, the headphone setting is displayed. Alternatively,
when headphones are not detected, the speaker setting is displayed. Headphones are active
when recording or playing a clip. The built in speaker is active only during playback.
Scroll the menu
to reveal more
audio settings.
31Blackmagic URSA Settings