CAPINTEC, INC. CAPTUS
®
4000e
8-8 WIPE TESTS November 16
b. Select the Add to Group button or press Alt+A.
4. To delete wipe locations in the selected group,
a. Select locations in the Selected Wipes box.
Note: To select a range of locations, click on the first location. Then, hold down the
Shift key while clicking on the last location. Or click and hold the pointing
device’s button down on the first location in the range and then drag the
pointer to the last location and release the button.
To make non-contiguous selections, press the Ctrl key while clicking the
pointing device on locations to be selected.
b. Select the Remove from Group button or press Alt+R.
5. To change the name of the selected group,
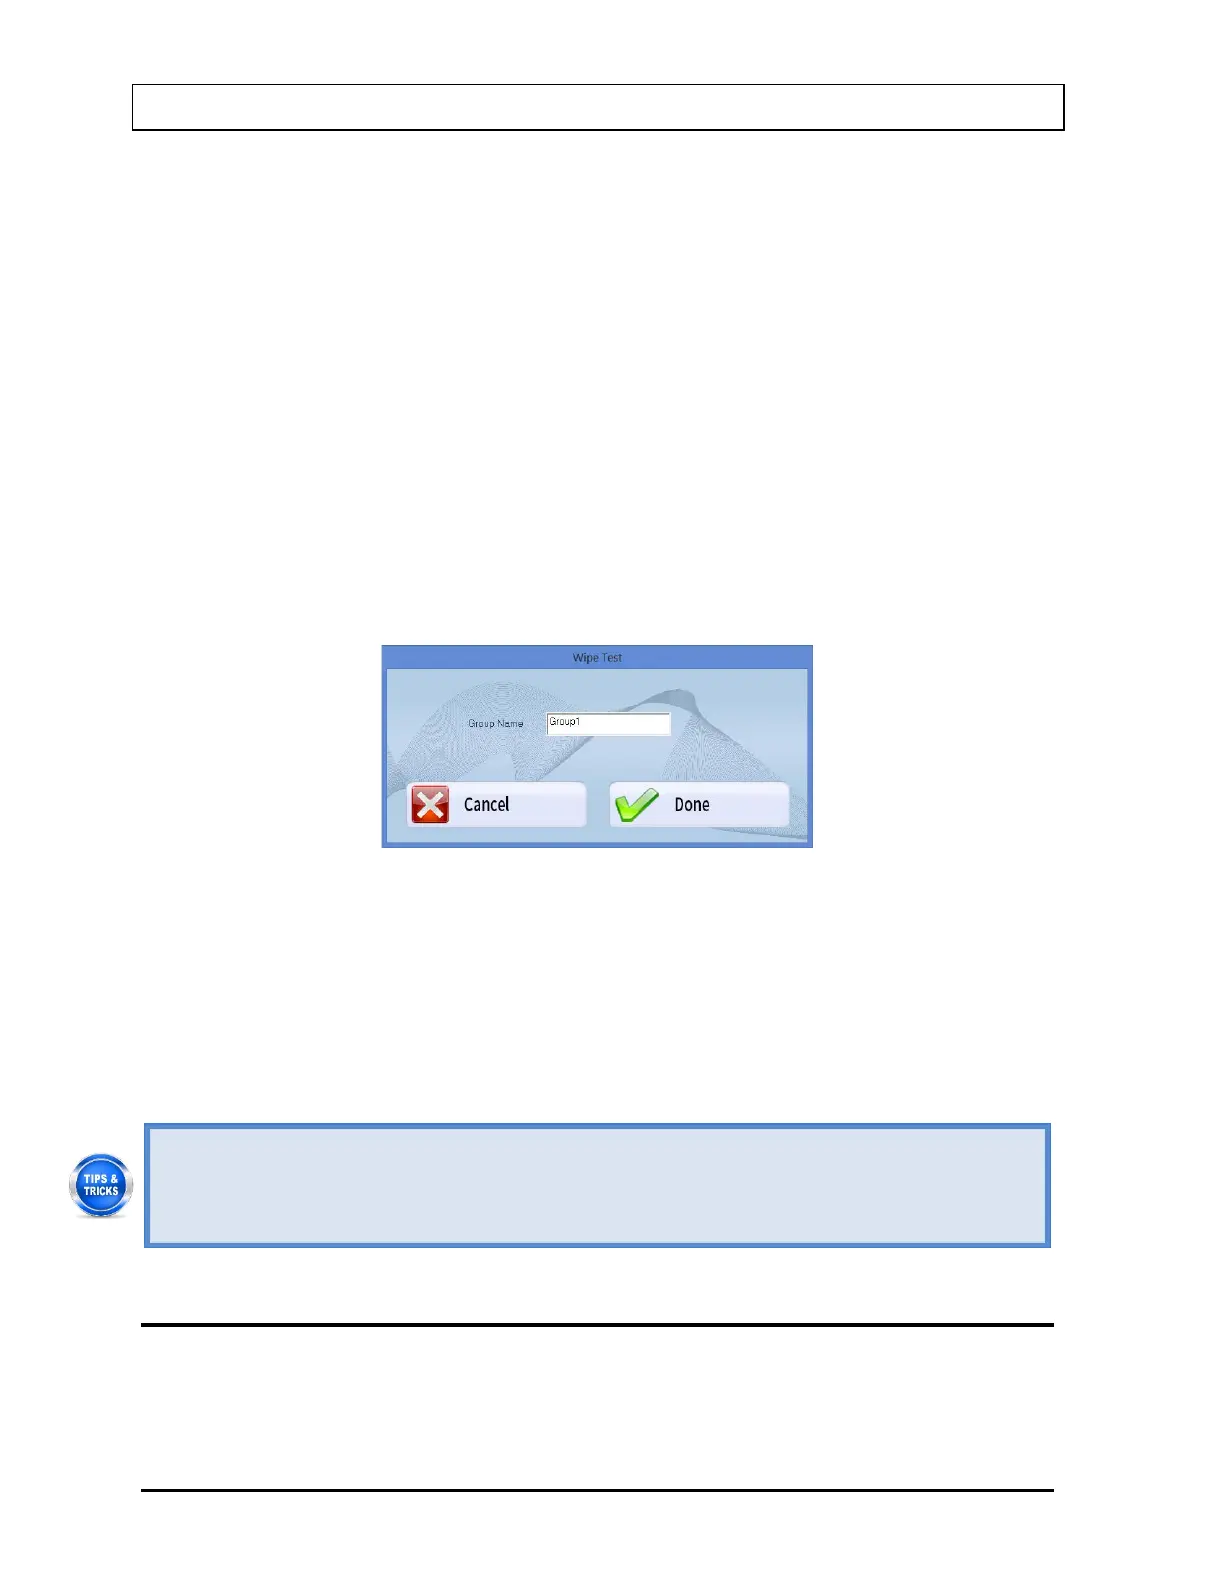
a. Select the Change Group Name button or press Alt+N. Figure 8-7 will appear. Type
in the new name up to 10 alpha-numeric characters.
Figure 8-7
b. Select the Done button to save the changes or select the Cancel button to cancel the
changes. Figure 8-6 Setup Groups Screen will reappear.
6. Select the Done button on Figure 8-6 Setup Groups Screen to save the changes or
select the Cancel button to cancel the changes. Figure 8-2 Wipe Test Main Screen will
reappear.
• You can group wipe locations according to the frequency with which they are
performed or by the technician’s share of duties etc. (e.g. wipe tests done daily or
wipe tests done by “Tom” can be grouped together).
• Changing the group name is recommended to reflect the kind of group.
EDITING WIPE LOCATION INFORMATION
1. From Figure 8-2 Wipe Test Main Screen, select a group in the Preset Groups or User
Defined Groups frame by selecting its radio button to view only those wipe locations that
belong to that group. For example, selecting the Work Areas group will display all