3 - 187
Chapter 3 Removal and Replacement Procedures (RRPs)
Version 1 2006.11.28
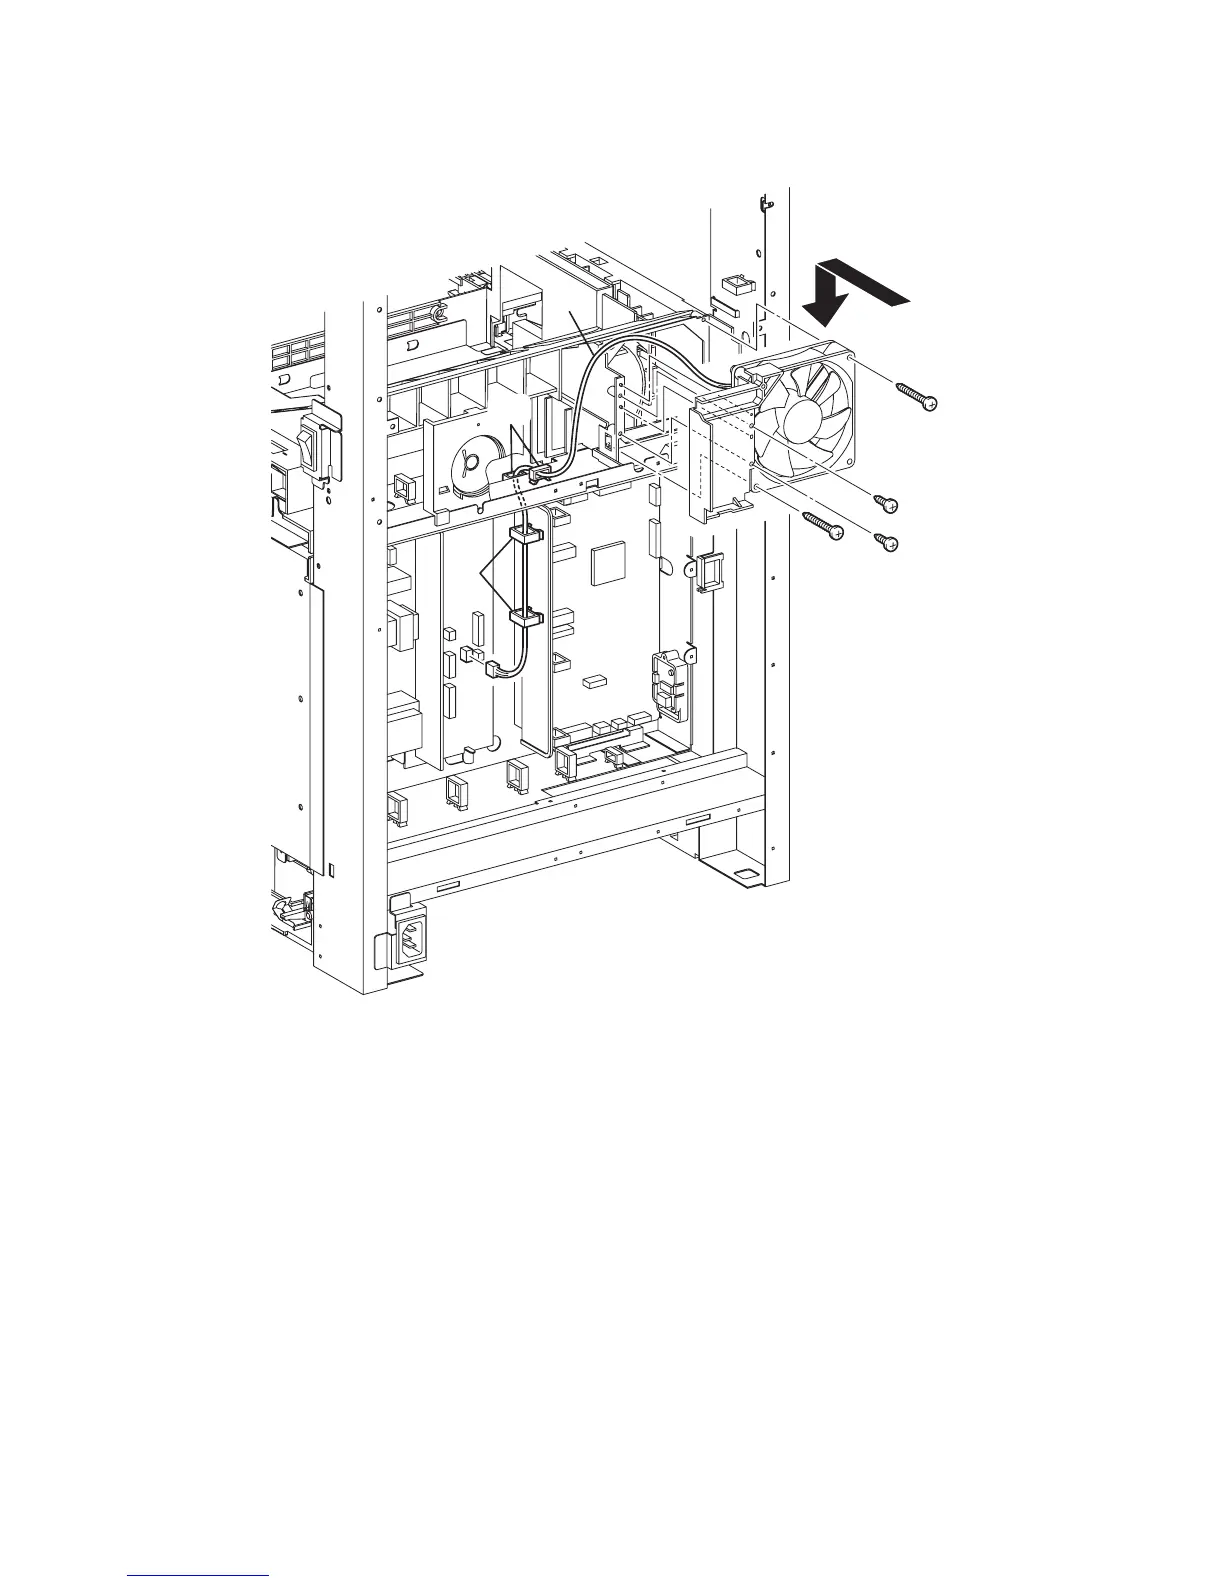
Replacement 51 FAN (PL13.5.10)
3) Mate the two holes of the PLATE DUCT with the bosses of the DUCT UPPER, and replace the
FAN to the printer together with PLATE DUCT.
4) Secure the FAN to the Printer using the two screws (silver, tap, 32mm).
5) Secure the PLATE DUCT to the printer using the two screws (silver, tap, 8mm).
6) Route the harness of the FAN to the printer through the slot.
7) Engage the connector (P/J503) of the FAN to the LOW VOLTAGE POWER SUPPLY.
8) Secure the harness of the FAN with the four clamps.
Go to the next replacement step:
Replacement 60 BOX ASSY FAX AIO (PL13.4.4)
Gnb03195KA
7)
8)
8)
6)
4)
4)
5)
5)
3)
 Loading...