Chapter 4 Disassembly/Assembly and Adjustment
4.2 Disassembly/Assembly
4-10
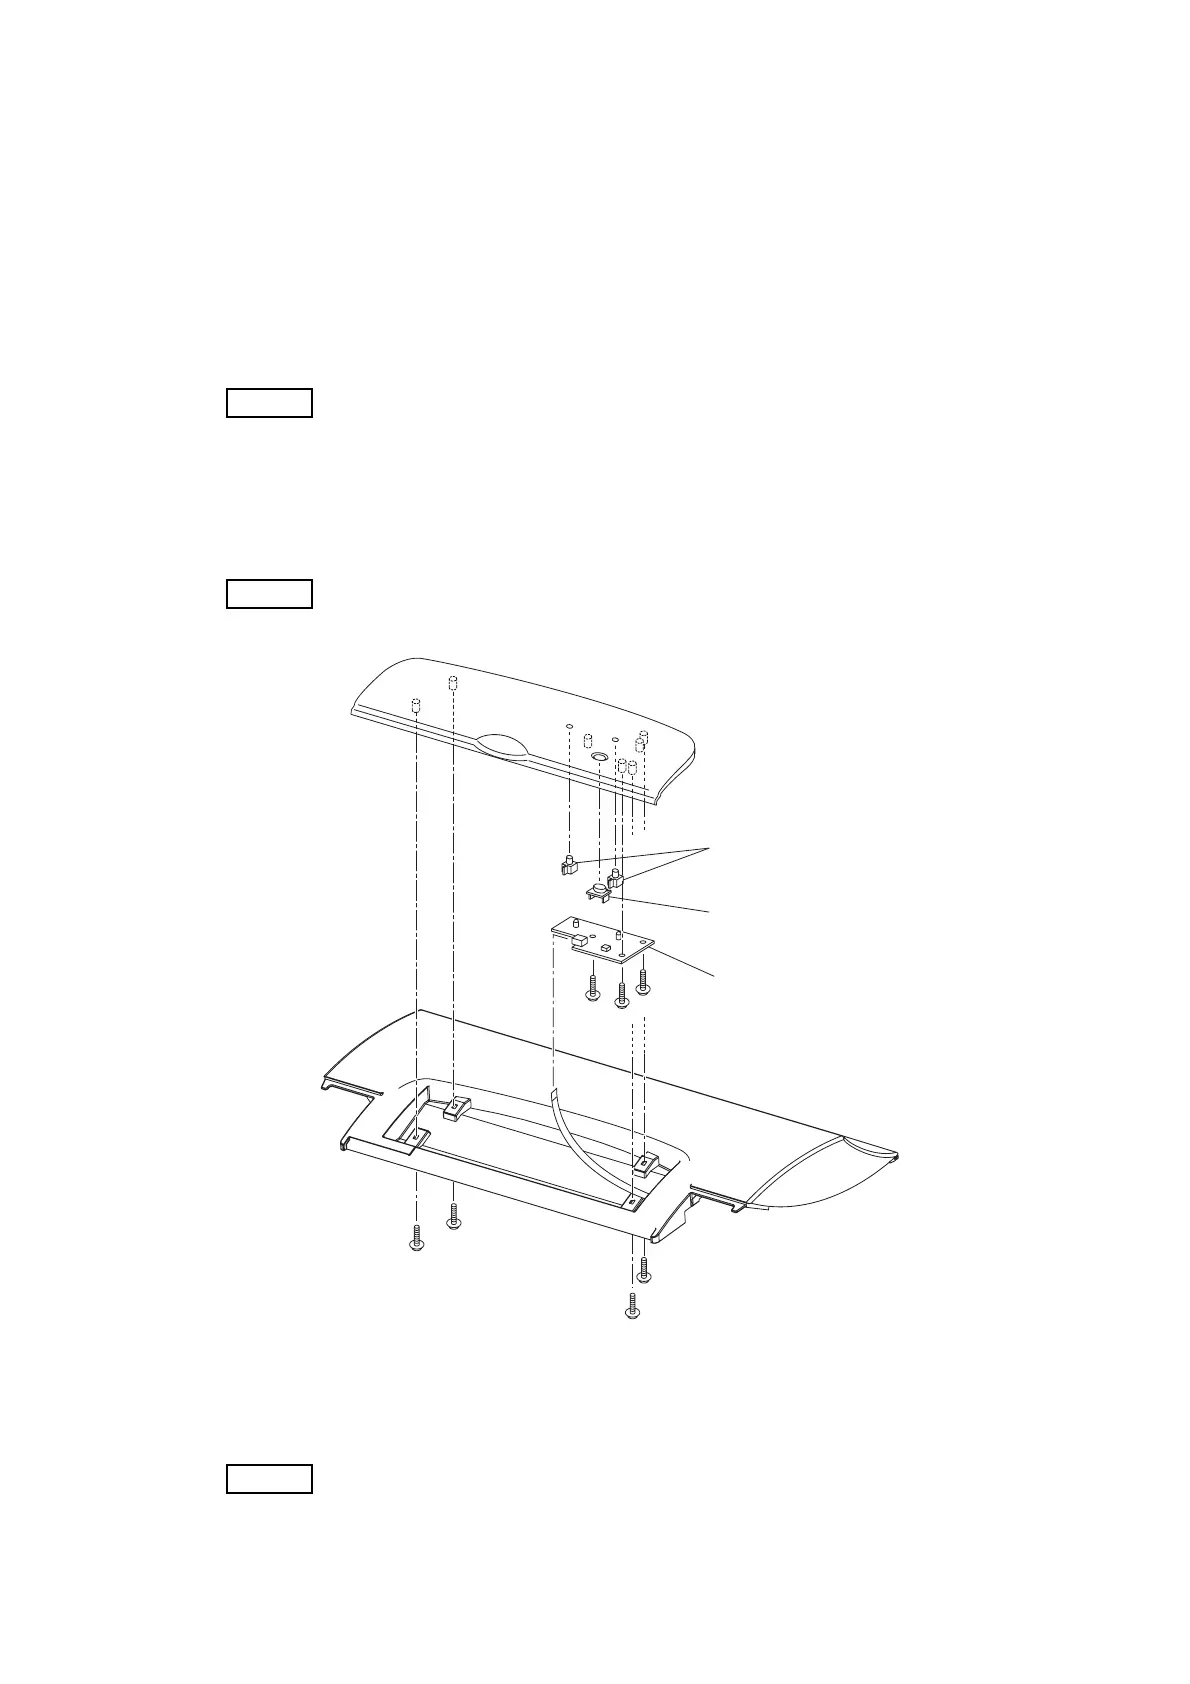
REP1.6 PWBA LED (PL1.1.17)
<Removal>
1) Remove the LEVER FRONT R (PL8.1.11) and LEVER FRONT L (PL8.1.12) toward you and open
the COVER ASSY FRONT.
2) Open the COVER ASSY TOP CL.
3) Remove the four screws (gold, tap, 8mm) securing the OPP ASSY CL to the COVER ASSY SUB
TOP (PL1.1.9) and move the OPP ASSY CL for 10cm from the COVER ASSY SUB TOP.
NOTE
Be careful not to damage the harness, because the harness is connected to the
PWBA LED.
4) Disconnect the connector (P/J500) of connecting to the PWBA LED and remove the OPP ASSY
CL from the COVER ASSY SUB TOP.
5) Remove the three screw (gold, tap, 8mm) securing the PWBA LED to the PANEL CASE
(PL1.1.15) and remove the PWBA LED.
NOTE
Be careful not to drop and lose the two LED LENS (PL1.1.16) and SWITCH
BUTTON (PL1.1.25).
<Replacement>
Perform the removal procedures in the reverse order.
NOTE
Be careful not to cover the harness to the hole of screw, because the harness is
damaged by the screw.
AZS410CA
3)
3)
3)
3)
4)
5)
5)
5)
PWBA LED (PL1.17)
LED LENS (PL1.16)
SWITCH BUTTON (PL1.25)
 Loading...


