Chapter 4 Disassembly/Assembly and Adjustment
4.2 Disassembly/Assembly
4-50
REP7. Drive
REP7.1 (SCC) GEAR ASSY (PL7.1.1)
<Removal>
1) Pull the LEVER FRONT R and LEVER FRONT L toward you and open the COVER ASSY FRONT.
2) Remove the COVER ASSY STACK CL. (REP1.7)
3) Remove the COVER ASSY PWB. (REP9.5)
4) Remove the COVER ASSY TOP CL. (REP1.4)
5) Remove the COVER ASSY RIGHT CL. (REP1.2)
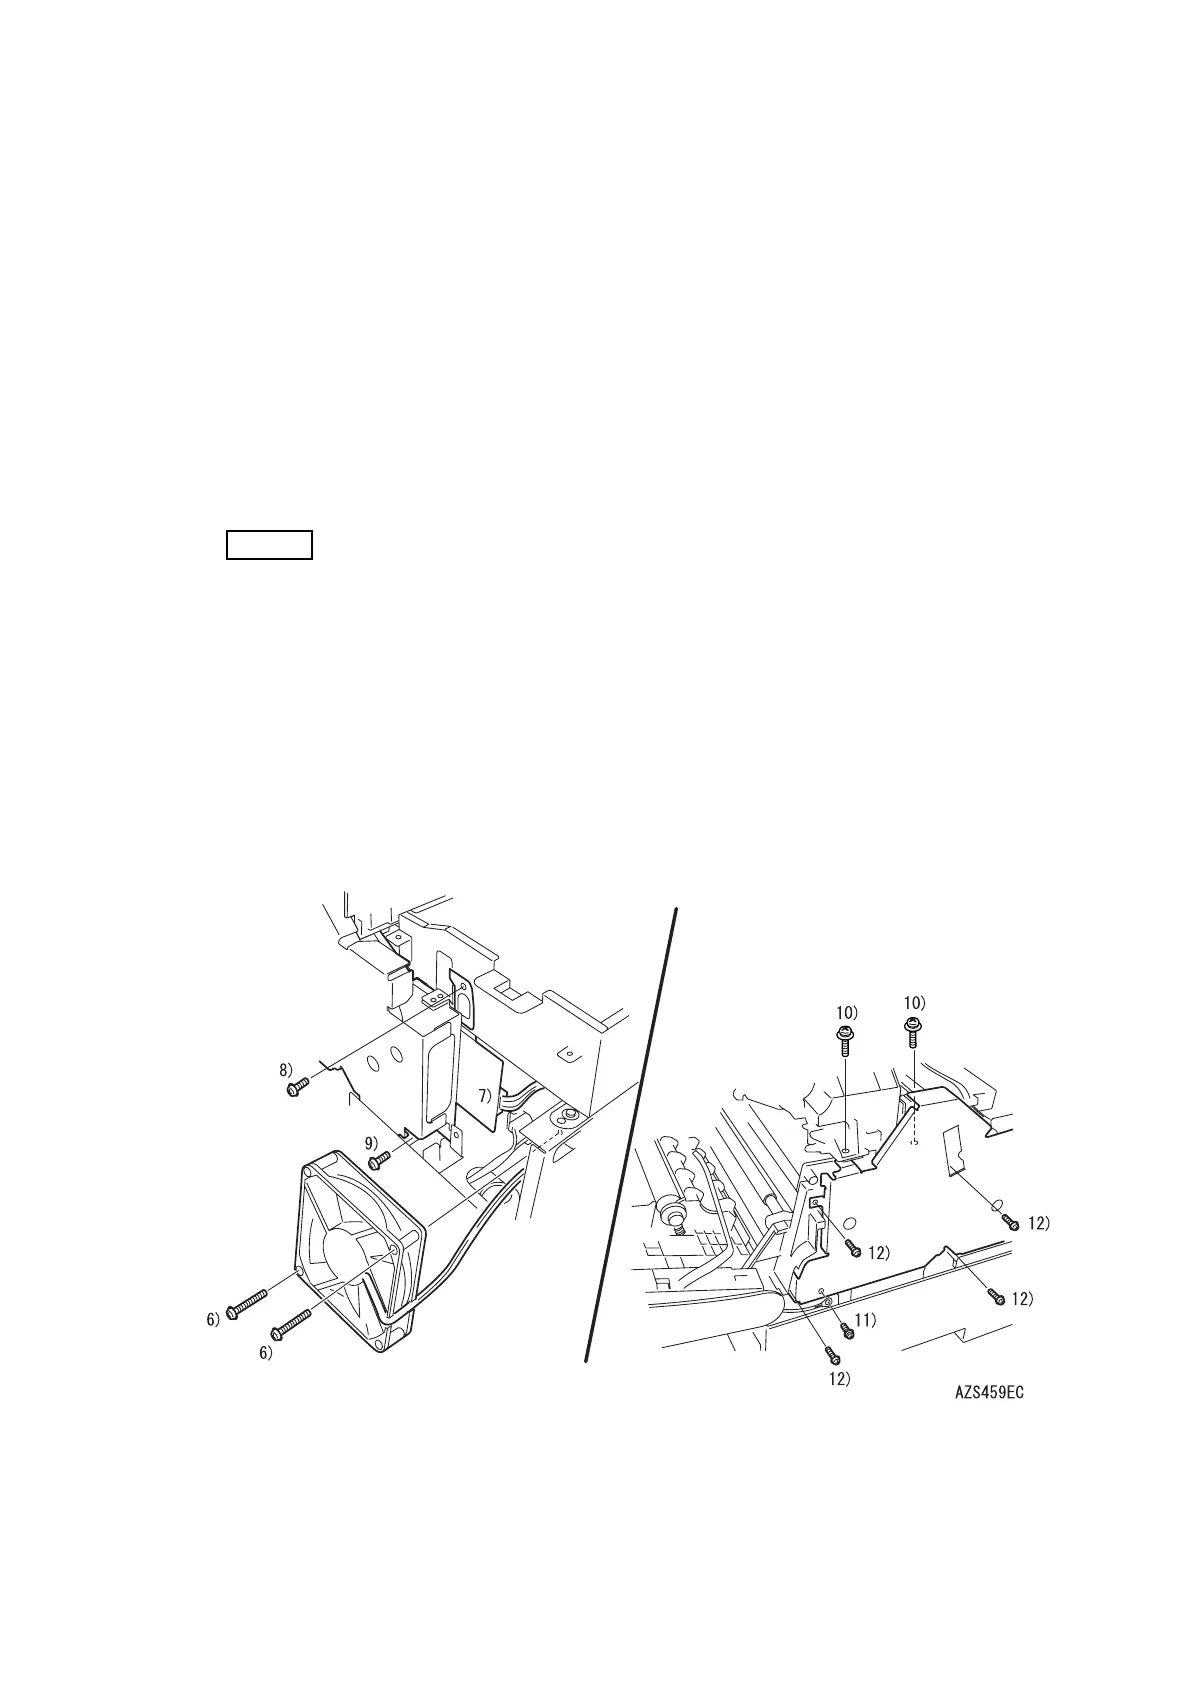
6) Remove the two screws (gold, with washer, 30mm) securing the FAN (PL7.1.10) and remove the
FAN in the state of connecting the connector.
7) Remove the connector (P/J1090) of MOTOR ASSY MAIN (PL7.1.2).
NOTE
The CN101 is printed on the board.
8) Remove the screw (gold, with washer, 8mm) securing the GEAR ASSY on the CHASSIS CON-
TROLLER.
9) Remove the screw (gold, with washer, 8mm) securing the GEAR ASSY on the CHASSIS BASE.
10) Remove the two right side screws (gold, with washer, 12mm) securing the FUSER ASSY CL CH.
11) Remove a screw (gold, with washer, 8mm) that fixes the FG CABLE (PL3.1.19), remove the FG
CABLE.
12) Remove the four screws (gold, with flange, tap, 8mm) securing the GEAR ASSY on the FRAME
MAIN and remove the GEAR ASSY to right.
13) Remove the screw (gold, with washer, 6mm) securing the PLATE GND GEAR (PL7.1.5) on the
GEAR ASSY and remove the PLATE GND GEAR.
 Loading...


