Chapter 4 Disassembly/Assembly and Adjustment
4.2 Disassembly/Assembly
4-67
REP9.2 CHASSIS ASSY CONTROLLER (PL9.1.20)
<Removal>
1) Pull the LEVER FRONT R and LEVER FRONT L toward you and open the COVER ASSY FRONT.
2) Remove the COVER ASSY STACK CL. (REP1.7)
3) Remove the COVER ASSY PWB. (REP9.5)
4) Remove the COVER ASSY TOP CL. (REP1.4)
5) Remove the COVER SIDE LEFT CL. (REP1.1)
6) Remove the COVER ASSY RIGHT CL. (REP1.2)
7) Remove the COVER MIDDLE CL. (REP1.3)
8) Disconnect the eleven PWBA MCU XFABK(B) connectors (P/J100 to P/J106, P/J108 to P/J111).
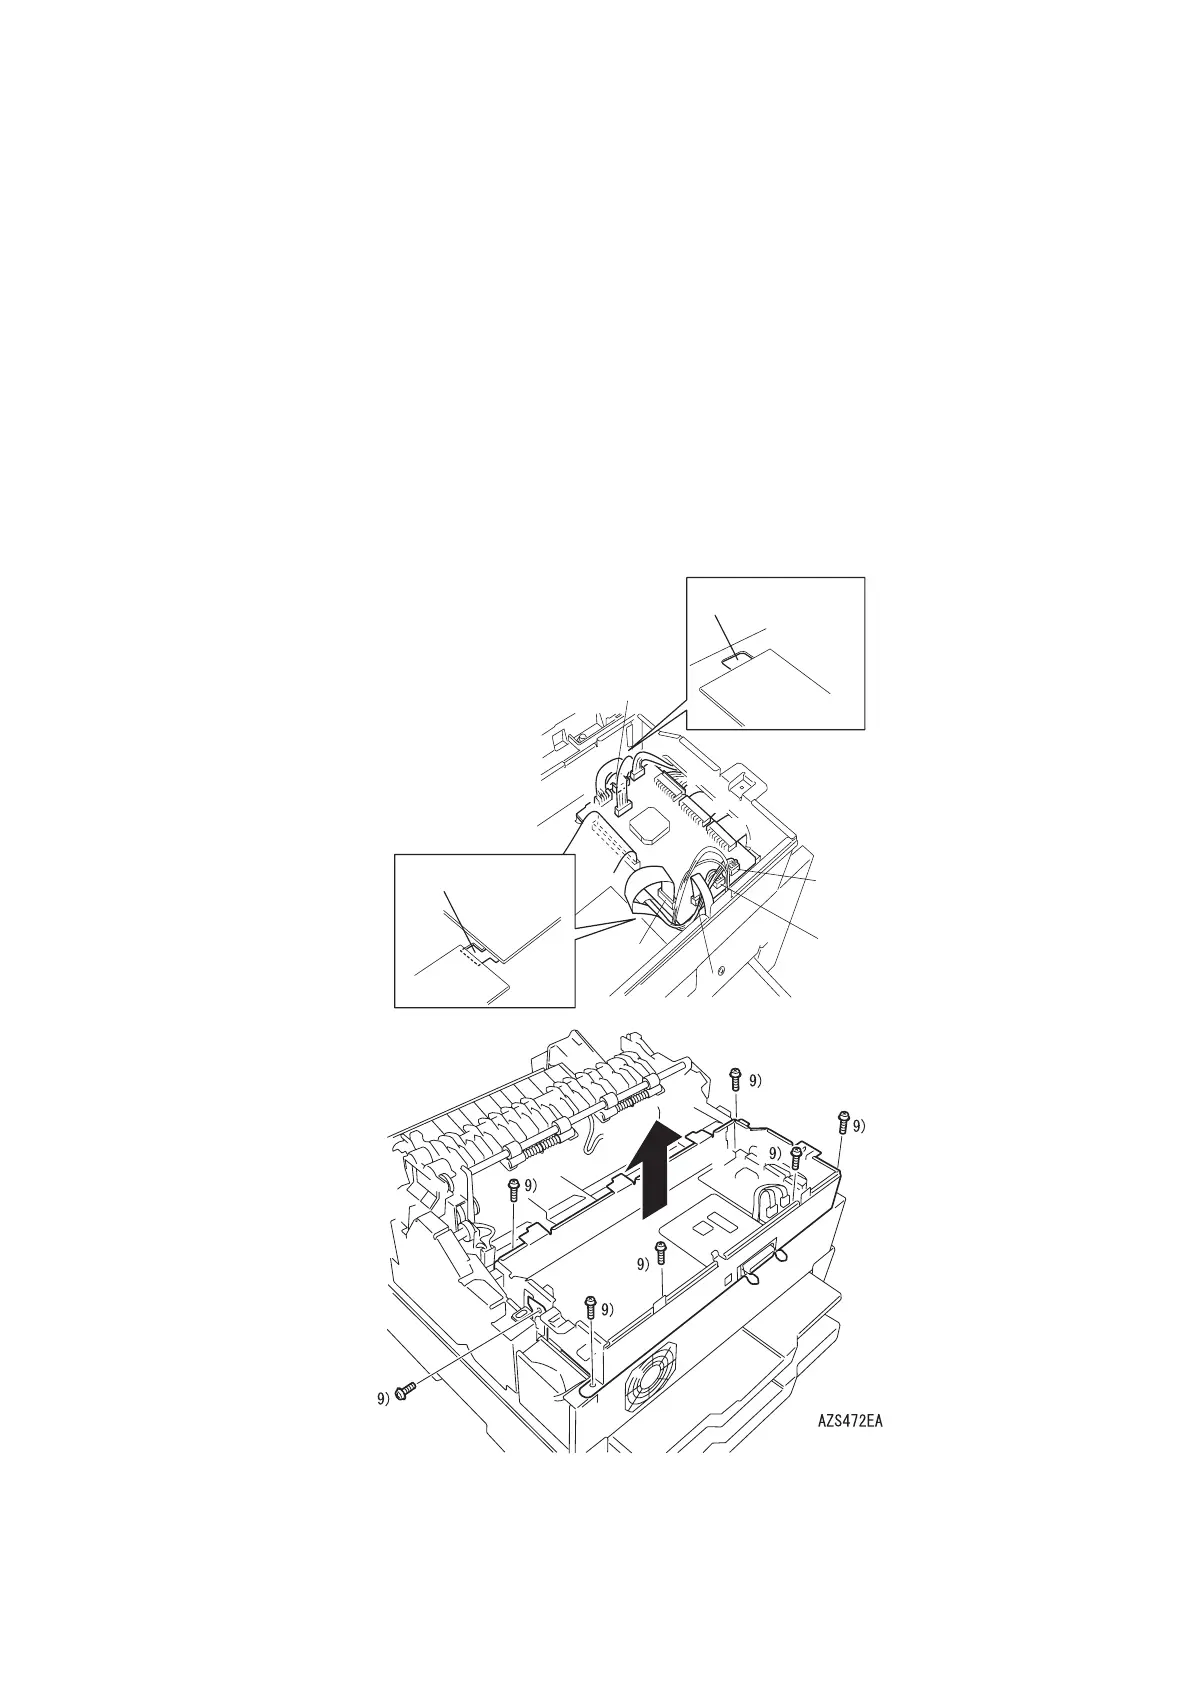
9) Remove the seven screws (2 pcs-front: gold, with flange, tap, 8mm/5 pcs-rear: gold, with washer,
8mm) securing the CHASSIS ASSY CONTROLLER and remove the CHASSIS ASSY CONTROL-
LER.
<Replacement>
Perform the removal procedures in the reverse order.
AZS471CA
8)
8)
8)
8)
8)
8)
8)
8)
8)
8)
8)
When attaching the harness,
pull the harness through this hole.
When attaching the harness,
pull the harness through this hole.
 Loading...


