58
────────────────────────────────────────────────────
4.2 Making Settings
────────────────────────────────────────────────────
NOTE
Method
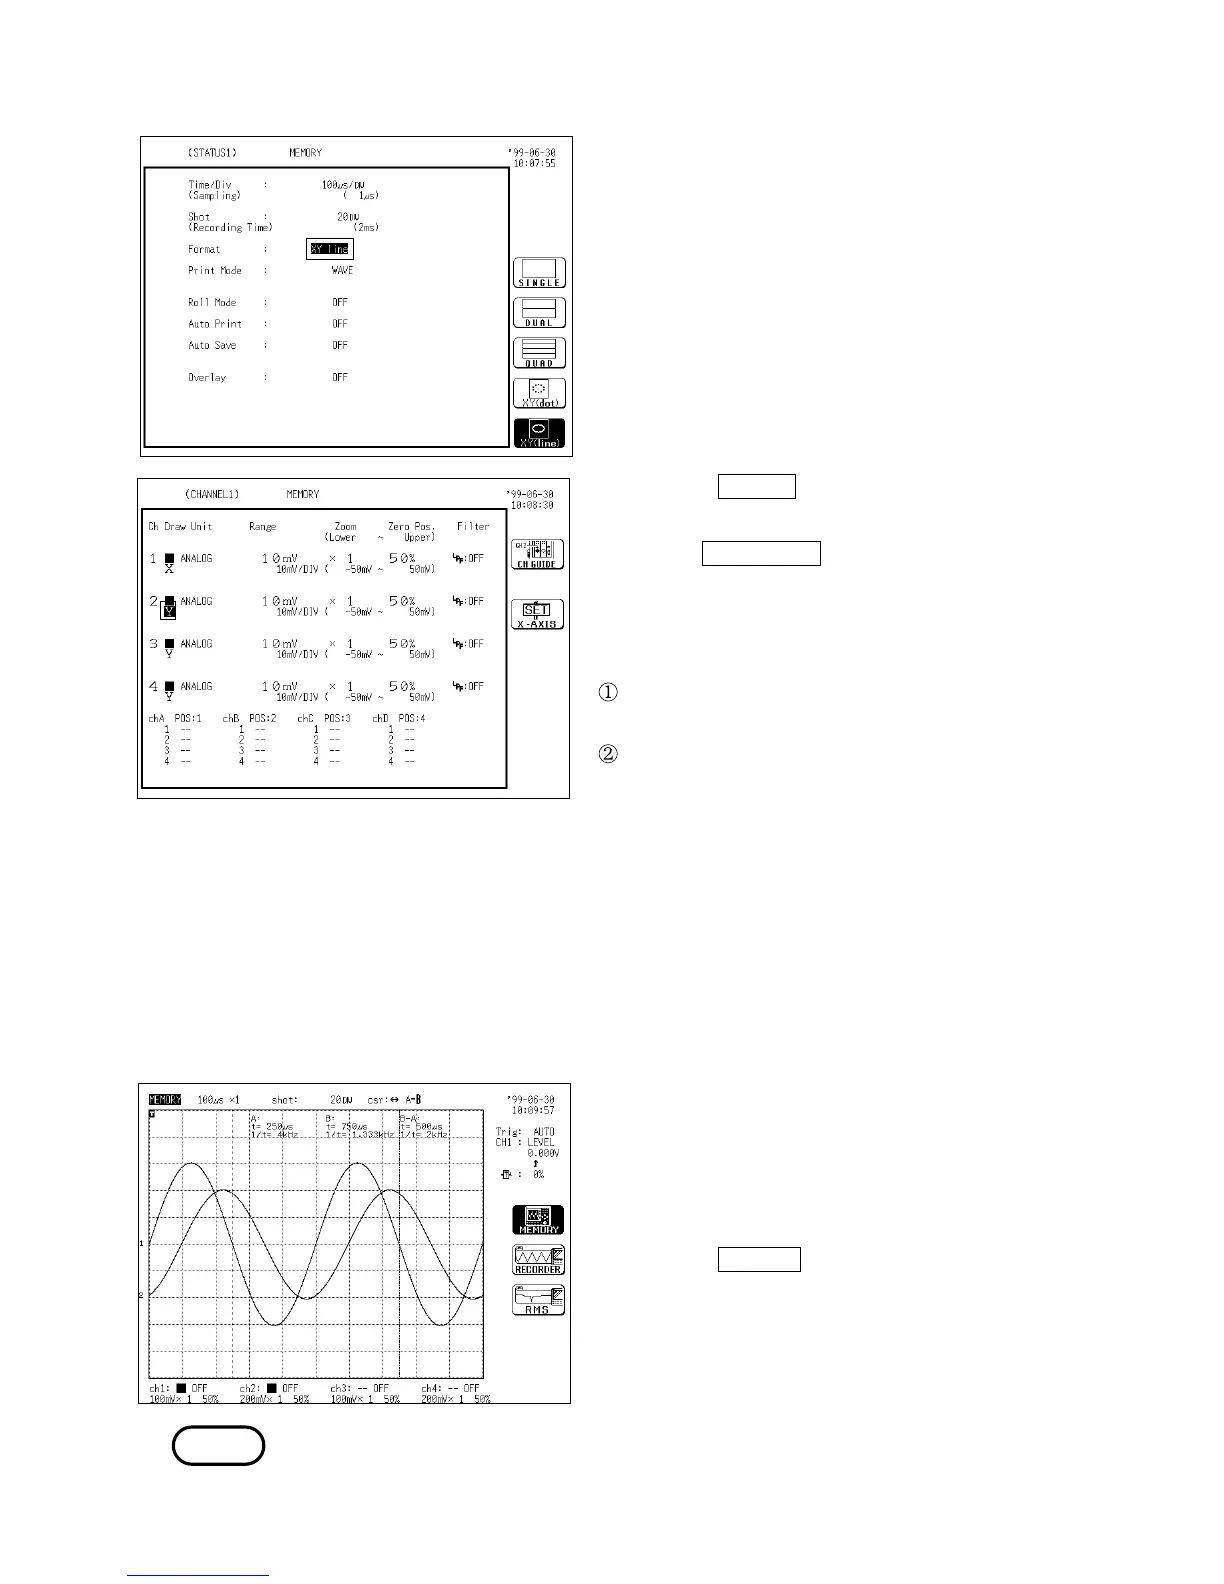
1. Call up the STATUS 1 screen.
2. Move the flashing cursor to the format item.
3. Use the function keys to select X-Y (dot) or
X-Y (line).
4. Press the
CHAN key to call up the
CHANNEL 1 screen.
5. Use the
CH SELECT key to open selected
channel screen.
6. Specify waveform color (see Section 7.3.1).
10
7. Specify the X-axis channel.
Move the cursor to the channel to be used as
X axis, as shown at left.
Use the function keys to select X axis.
8. The channels other than the channel
assigned to the X axis are automatically
assigned to the Y axis.
Partial X-Y plot
Using the A/B cursors, it is possible to specify a range for partial X-Y plotting.
(Normal X-Y plotting covers all data of the recording length.)
Method
1. Display the captured waveform data, using a
format other than X-Y.
2. Use the A/B cursors to specify the desired
portion for plotting, as shown in the figure
on the left (see Section 11.2).
3. Press the
STATUS key to call up the
STATUS 1 screen.
4. Carry out combined plotting as described
above.
When the horizontal cursor is used, partial X-Y plotting is not implemented.