25
────────────────────────────────────────────────────
2.4 Probe Connection
────────────────────────────────────────────────────
.4.5 8947 CHARGE UNIT
WARNIN
DO NOT connect connection cable to the 8947 CHARGE UNIT when
connected to measuring unit to avoid risk of electric shock.
BNC terminal and miniature connecter terminal of each channel share
same GND. Do not connect both at once.
During measuring with measurement mode set to PREAMP or when
level monitor function is in use, electric current (2 mA, +15 V) output is
active. In order to avoid risk of electric shock and damage to testing
device, examine channel mode for connecting sensor and probe to BNC
terminal and either cancel PREAMP or shut down power.
Voltage measurement and internal acceleration pick up sensor share
same terminal. Make sure to check measurement mode before
measuring.
Before using internal acceleration pickup sensor, verify that sensor
ratingis compatible with 8947 CHARGE UNIT rated output (2 mA, +15 V).
Use of Non compatible sensor may cause damage to sensor.
Connector ridg
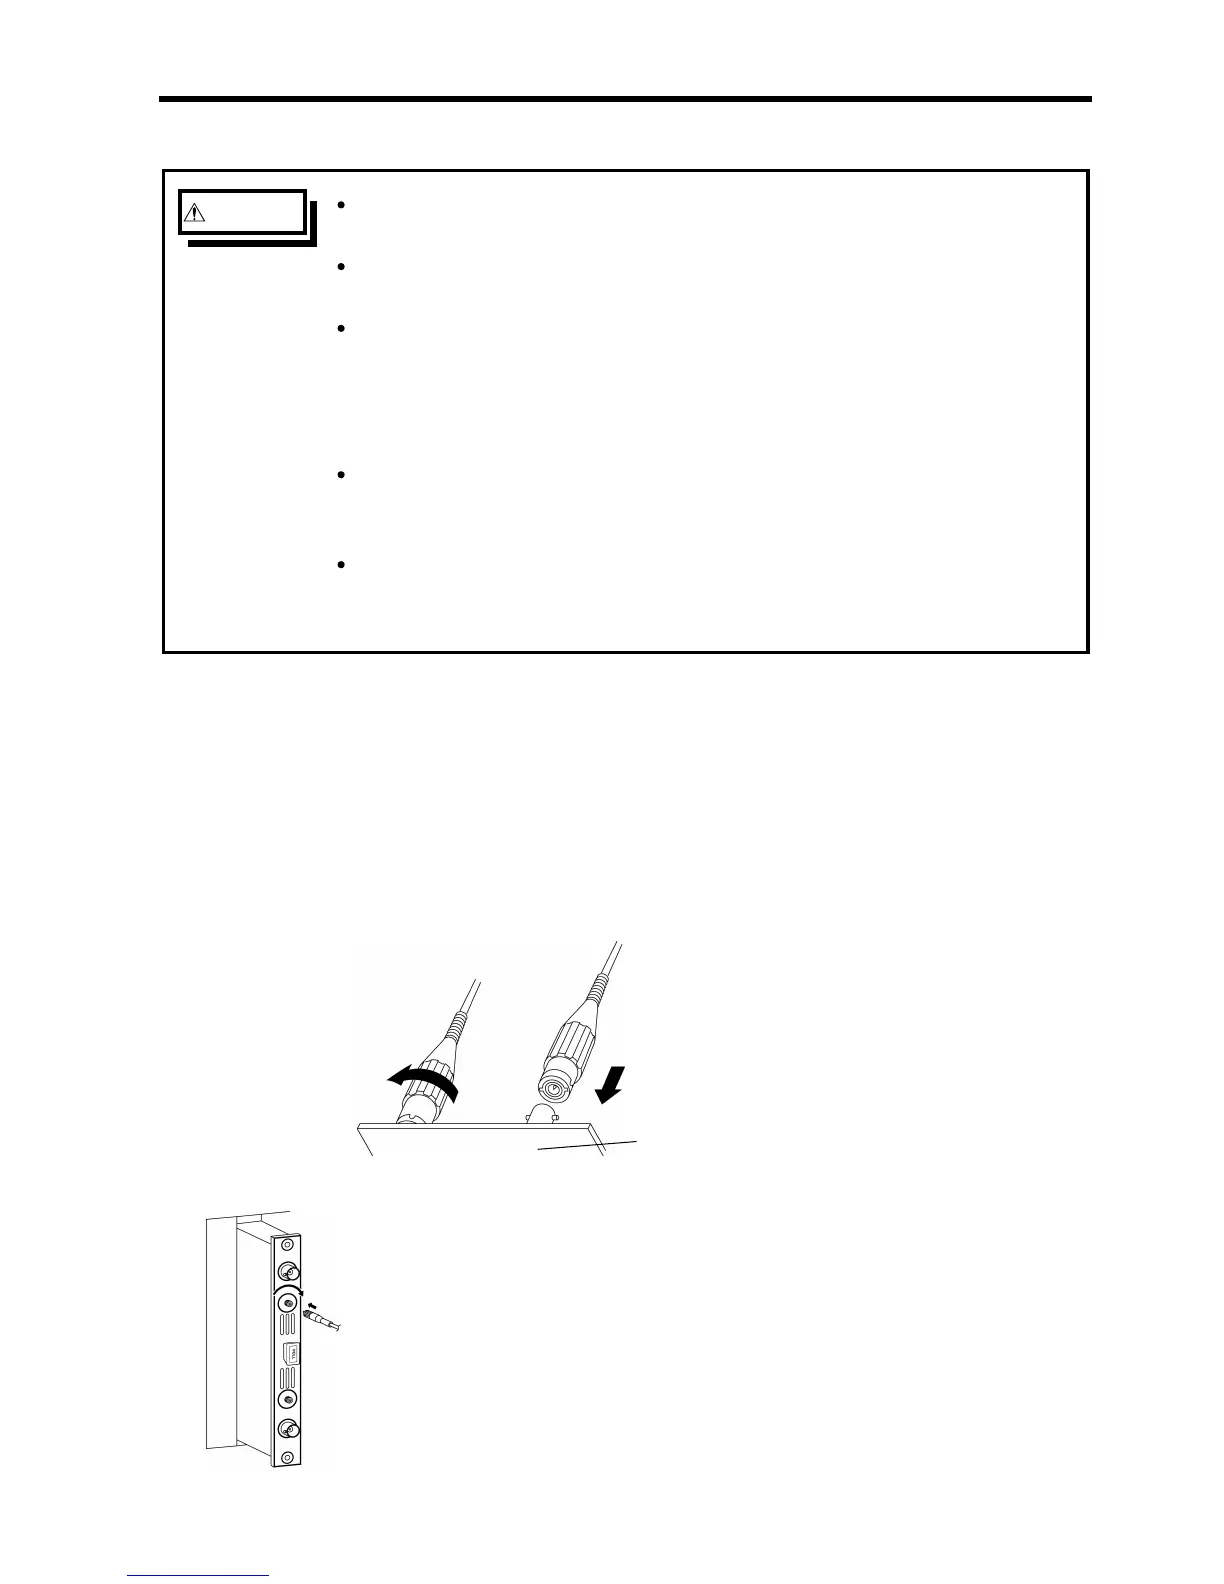
Connection cable connection (Preamp and voltage measurement)
In preamp mode when connecting unit with pick-up sensor, match BNC cable
to BNC connector.
1. Align the BNC connector with the guide groove of the unit input connector,
and turn clockwise while pressing in to lock the connector. (For connecting
8947, use 9198 CONNECTION CORD.)
2. To remove from the unit, turn the BNC connector counterclockwise to release
the lock, then pull it.
Miniature connecter connection (Charge mode)
For charge testing when connecting unit with pick-up sensor, match cable
connecter to miniature connecter. (miniature connecter terminal 10-32)
1. Plug miniature connecter cable into the cable connecter on the unit.
Tighten the connecter by turning clockwise.
2. To remove connecter, turn the connecter counterclockwise.