.2.8 Setting the Auto Print Function
NOTE
・This mode can be used at a time axis range setting of 10 ms/DIV or slower.
・When roll mode is set to ON, the waveform is displayed immediately at the
start of recording (the screen scrolls).
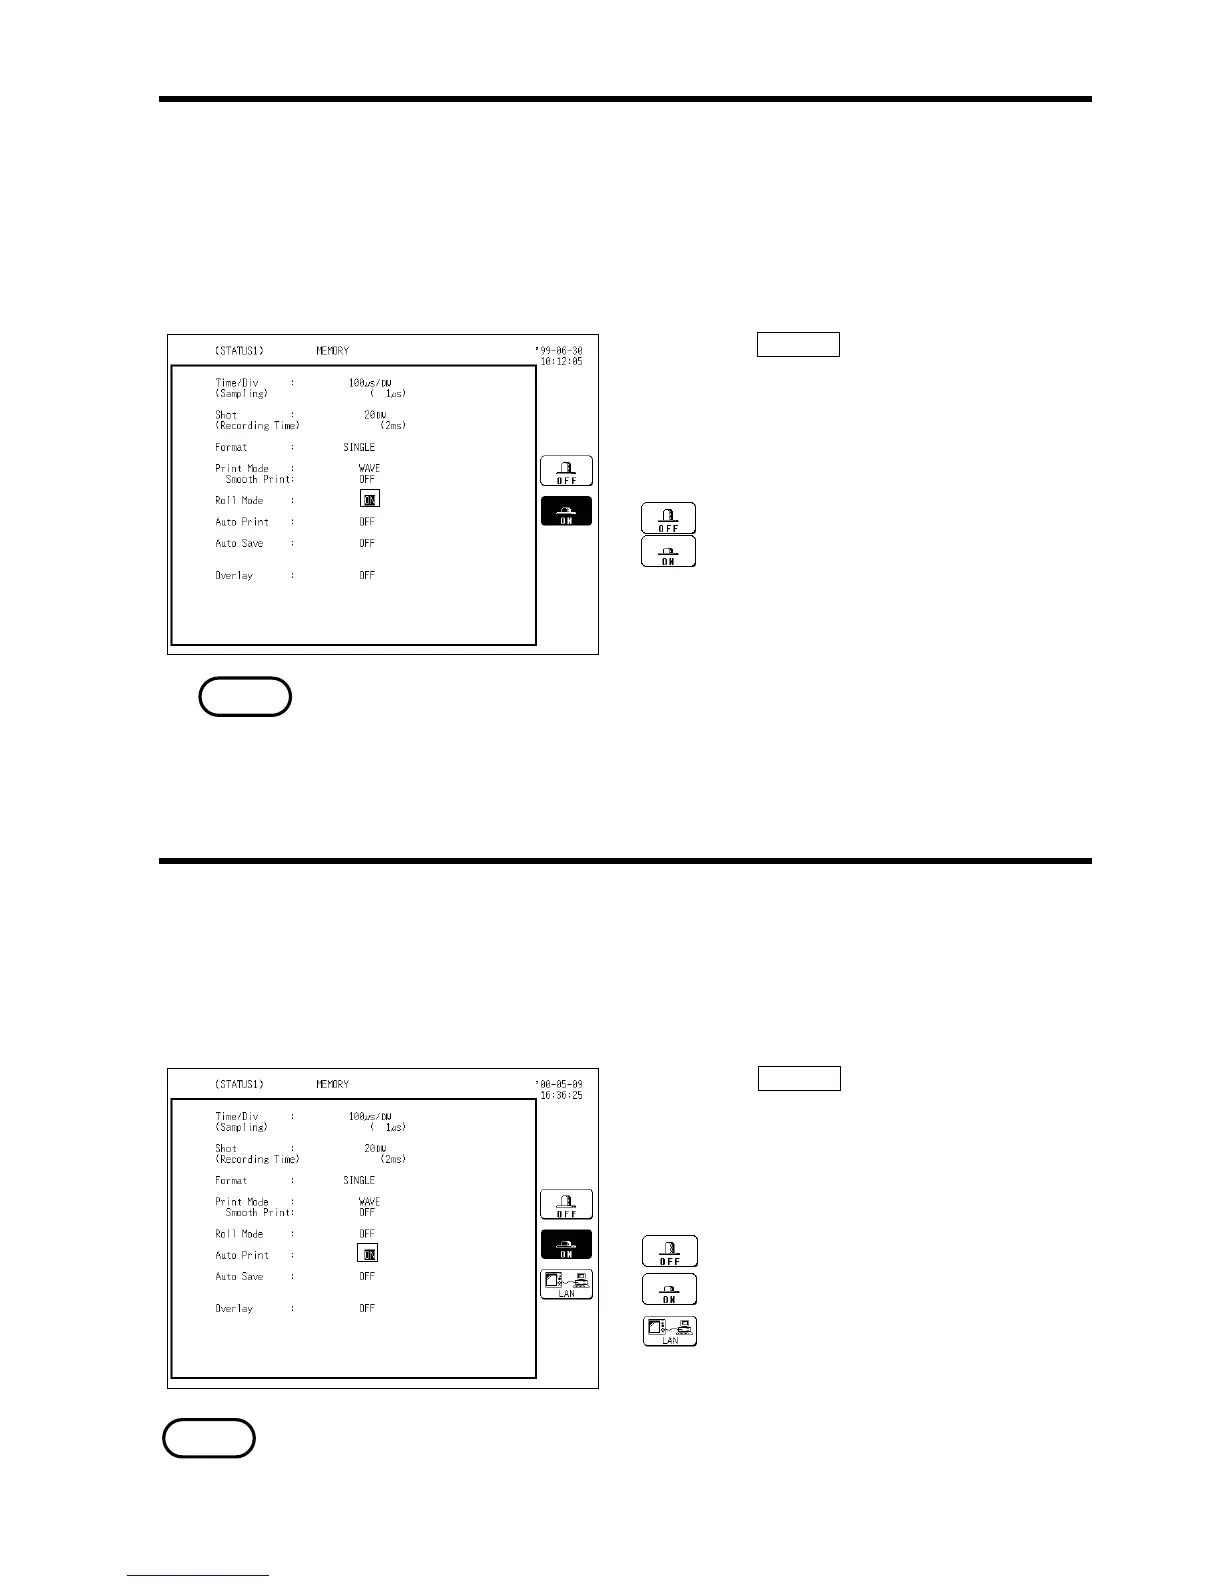
Method
1. Press the STATUS key to call up the
STATUS 1 screen.
2. Move the flashing cursor to the roll mode
item, as shown in the figure on the left.
3. Use the function keys to make the selection.
: Normal recording is carried out.
: The waveform is displayed immediately at
the start of recording.
・When the time axis range of 10 ms/DIV or faster is set, normal recording is
carried out even if roll mode is set to ON.
・Roll mode cannot be set together with the overlay function. (When the
display format is set to "X-Y," you can turn ON Overlay with Roll Mode
ON.)
When the function is enabled, print is carried out automatically after a
waveform is captured.
Method
1. Press the STATUS key to call up the
STATUS 1 screen.
2. Move the flashing cursor to the auto print
item, as shown in the figure on the left.
3. Use the function keys to make the selection.
: Auto print is disabled.
: Auto print is enabled.
: Print data is automatically transferred to
the data collection server on the LAN
(when connected to a LAN).
If the A/B cursors are used, partical save is applied (see Section 10.7.4).
 Loading...


