Working with controlled APs
Provisioning APs
6-32
Provisioning methods
Provisioning can be done in two ways: provision settings using the controller or provision
settings directly on APs.
Using the controller to provision APs
On the controller, provisioning can be done at the group or AP level for added flexibility.
Provisioning via the controller enables you to quickly provision many APs at once.
In certain scenarios it may be practical to use one controller to provision APs, and then have
the APs associate with another controller after being deployed. For example, provisioning
could occur at the network operations center by connecting APs to the same subnet as a
controller. Once provisioned, the APs can then be deployed in the field where they will
discover a controller already in operation.
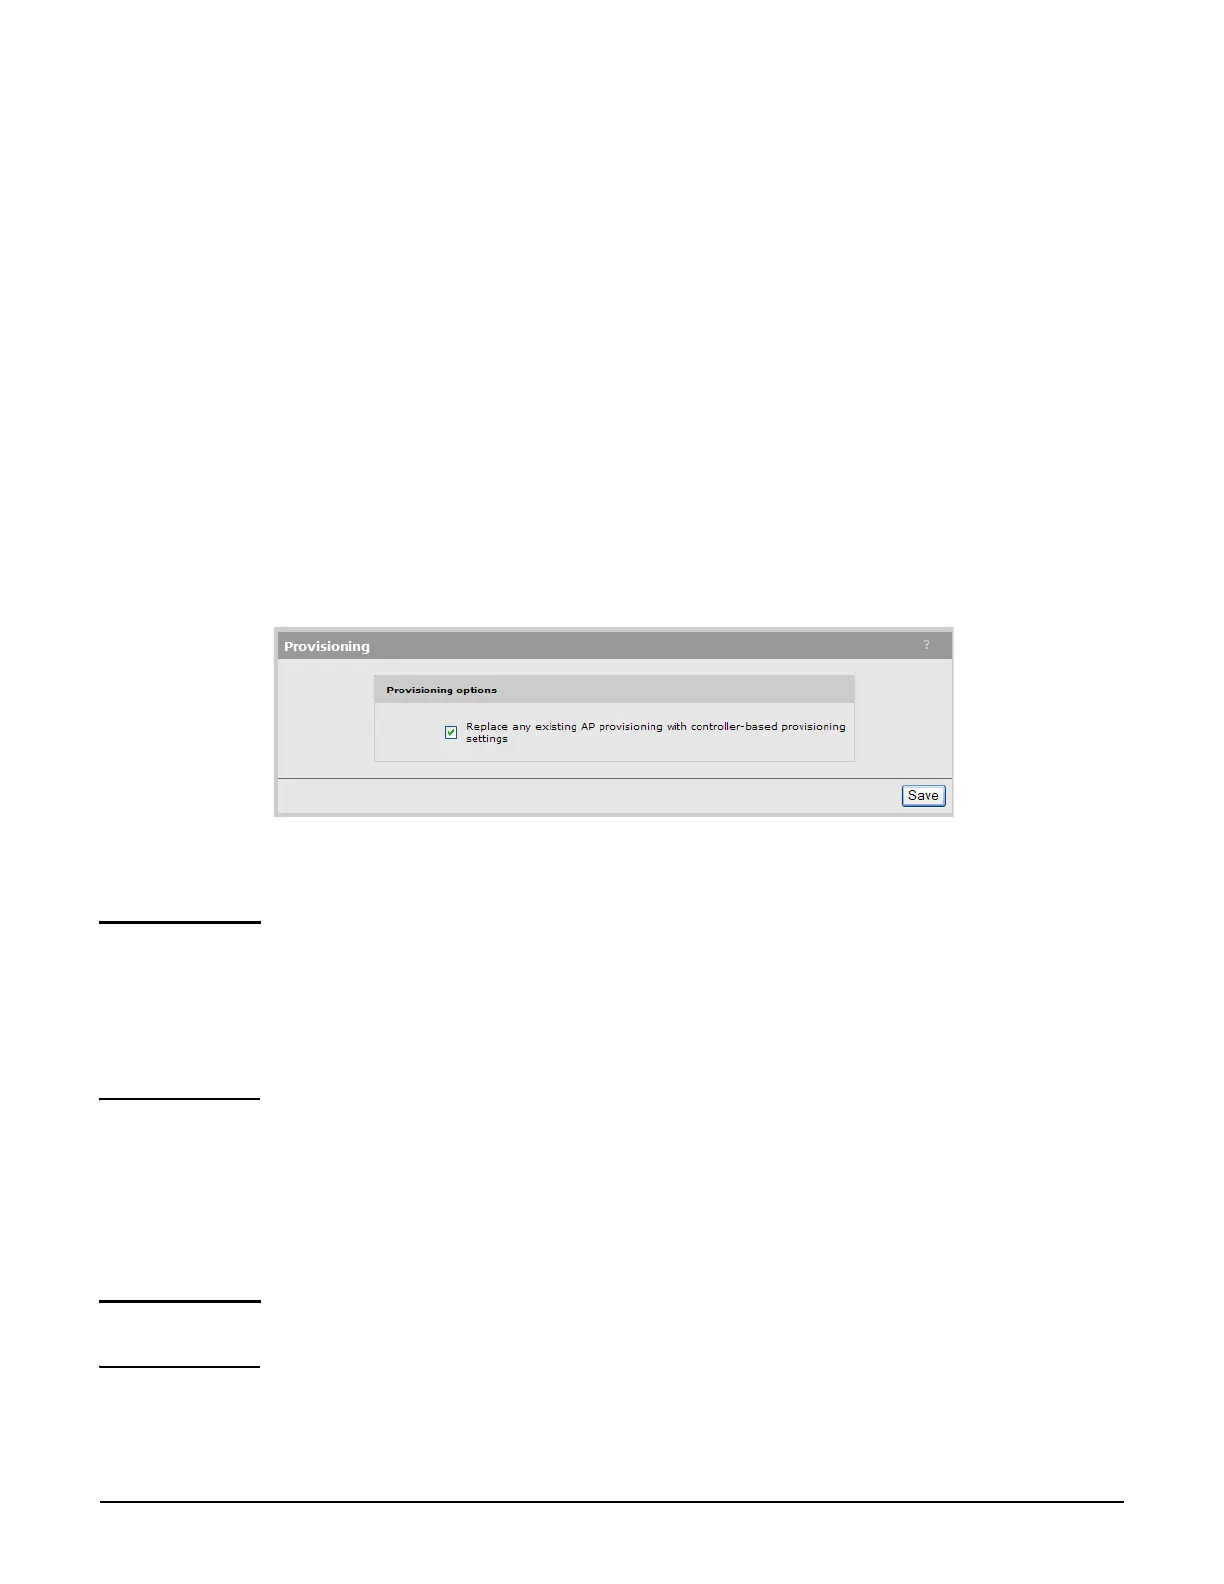
To enable a controller to send provisioned settings to controlled APs, you must first activate
the Enable provisioning of controlled APs option on the Controller >> Controlled APs
> Provisioning page.
Define provisioning settings as described in Displaying the provisioning pages on
page 6-33.
Note Until this option is enabled, provisioned settings defined on the controller are not sent to
any controlled APs.
After an AP has been updated with provisioned settings, these settings do not become
active until the AP is restarted, or a Remove and rediscover action is executed on
the Controlled APs >> Configured APs page.
Directly provisioning an AP using its management tool
In its factory default state, the AP provides a provisioning menu with the same options that
are available on the controller. Use this method when there is no local controller on which to
perform the provisioning. See Displaying the provisioning pages on page 6-33.
Note Once an AP has established the secure management tunnel with a controller, the provisioning
menu on the AP is no longer accessible.
In both cases, the configuration settings that you have access to are the same. They are
described in the following sections.
 Loading...