DMTA-10045-01EN, Rev. E, August 2016
Chapter 6
128
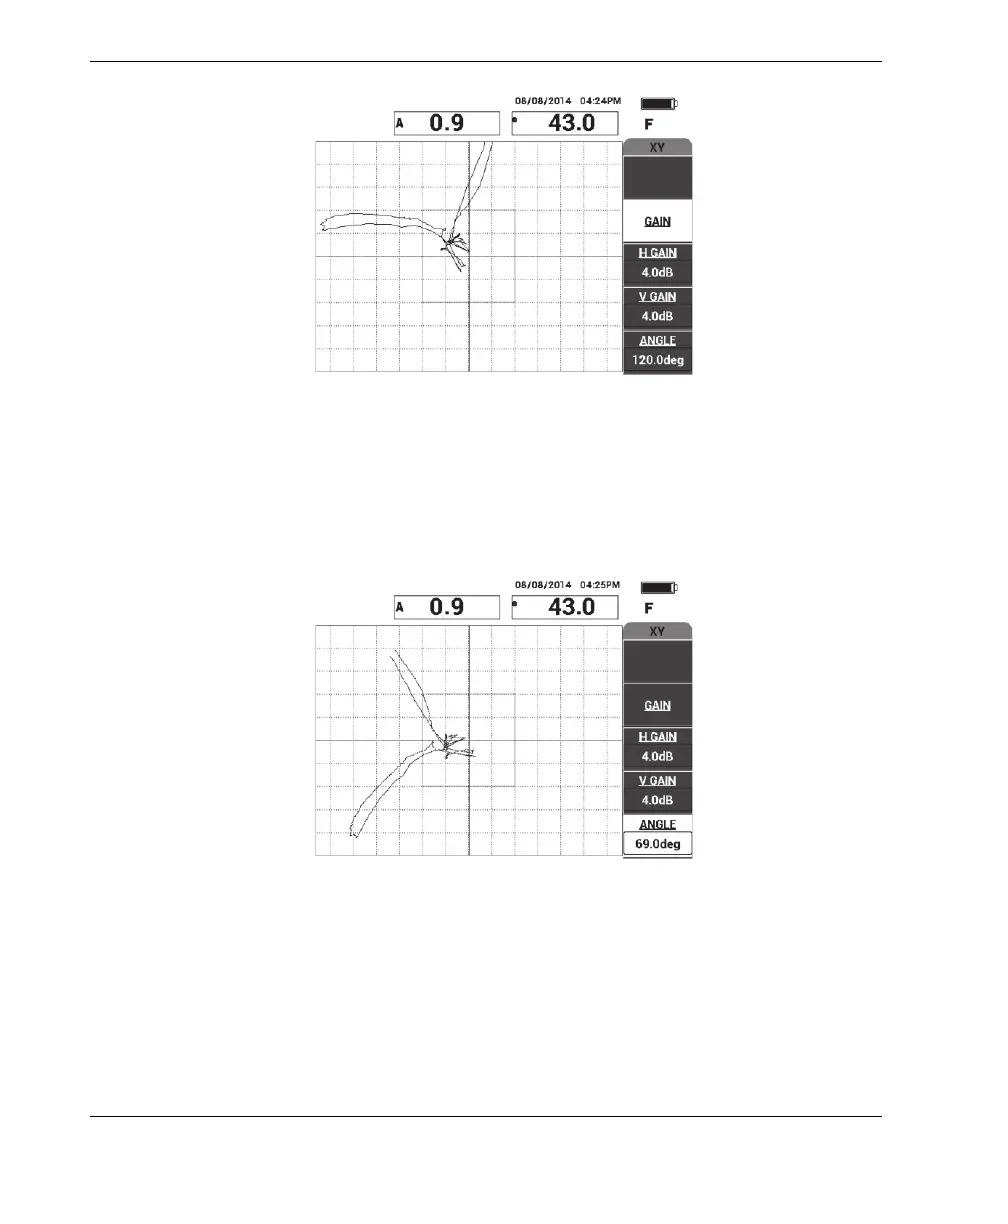
Figure 6‑7 The scan over the disbonds
4. While on the MAIN menu, press ANGLE (E key), and then adjust the signal
angle so the far-side disbond goes down and the near-side disbond goes up (see
Figure 6-8 on page 128).
Figure 6‑8 Adjusting the disbond signal angle
5. If necessary, adjust the H GAIN (C key) and V GAIN (D key) to obtain a clearer
distinction between the near- and far-side disbonds (see Figure 6-9 on page 129).