DMTA-10045-01EN, Rev. E, August 2016
Applications
157
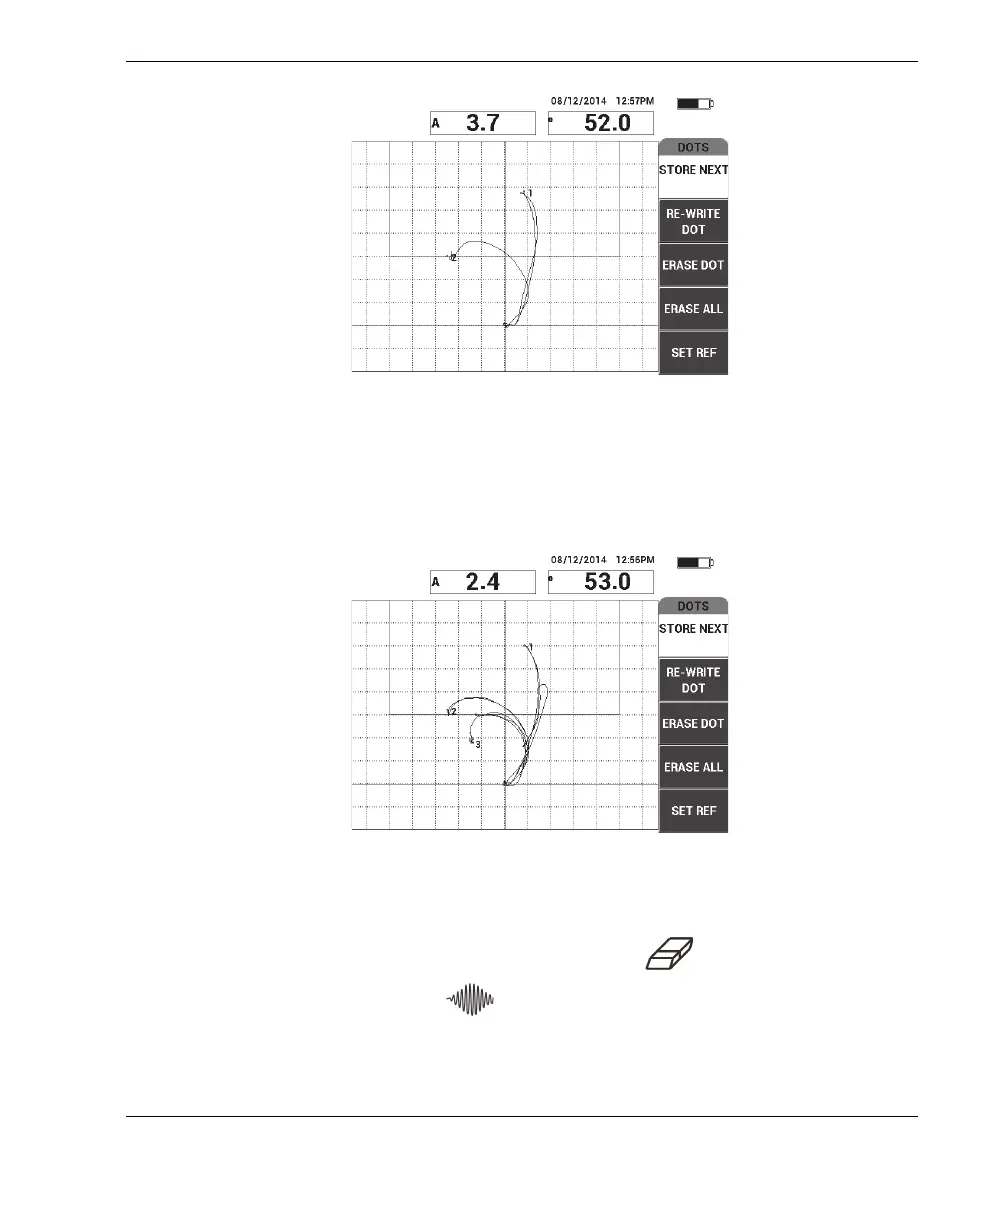
Figure 6‑49 The second dot recorded
8. Slowly glide the probe over the third disbond, and then press STORE NEXT
(A key) to record the third dot (see Figure 6-50 on page 157).
Figure 6‑50 The third dot recorded
9. Release the probe, and then press the ERASE key ( ).
10. Press the MAIN menu key ( ) once to display the MAIN menu screen.
11. Adjust the ANGLE (E key) as necessary, so that the dots move up in the XY view.