DMTA-10045-01EN, Rev. E, August 2016
Chapter 6
144
To calibrate the signals
1. Press the DISP/DOTS menu key ( ) once, and then set the POSITION (C key)
to CENTER.
2. Press the ALARM menu key ( ), and then set the XY ALM 1 (B key) to OFF.
3. Place the probe tip on a good part of the standard, and then press the CAL NULL
key ( ).
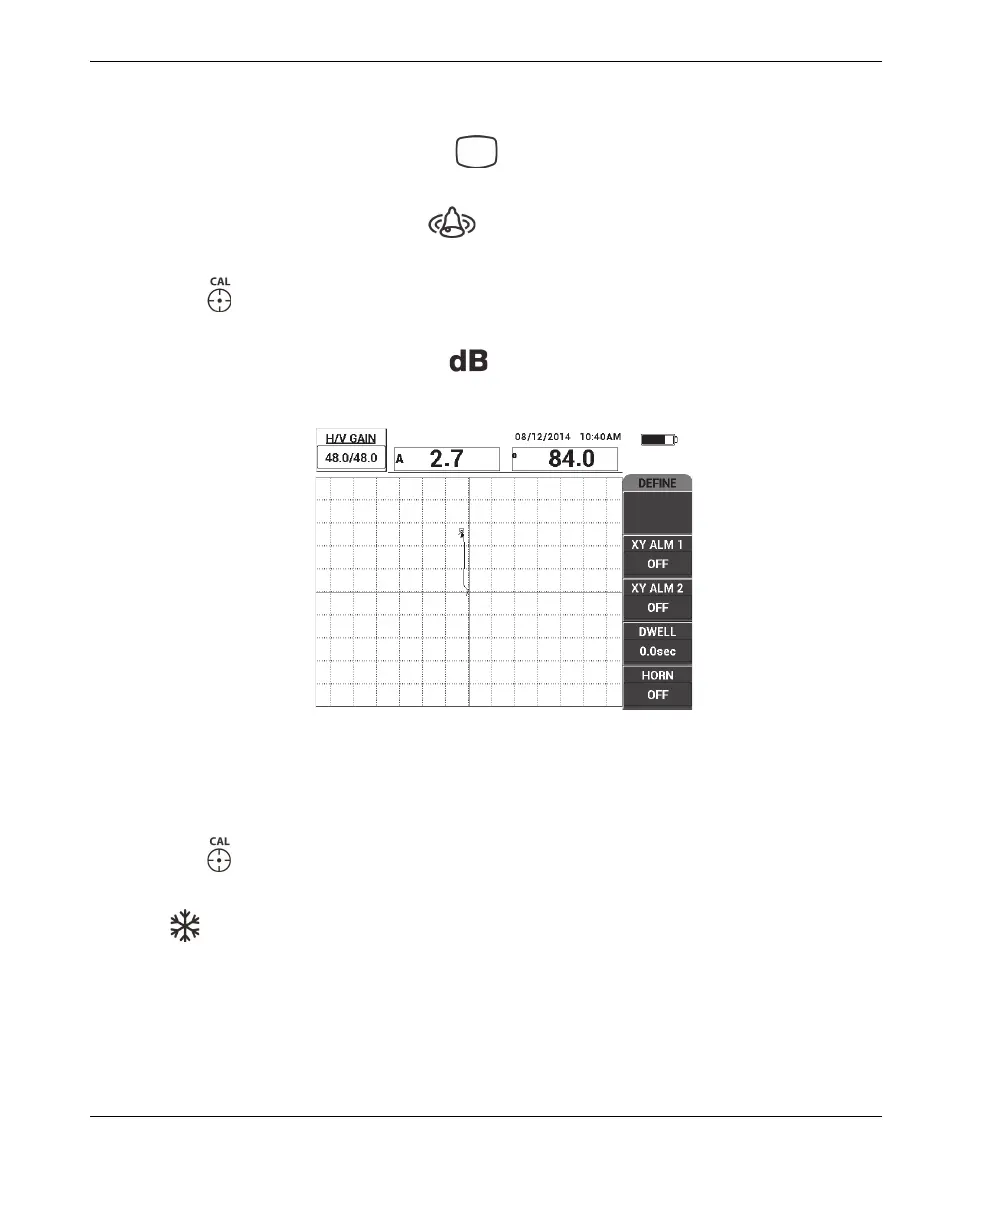
4. Lift the probe into the air to observe the dot’s movement; if the dot disappears off
the screen, press the GAIN key ( ), and then use the knob to adjust the dot
position so that it remains on the screen (see Figure 6-31 on page 144).
Figure 6‑31 Adjusting the dot position
5. Place the probe tip on a good part of the standard, and then press the CAL NULL
key ( ).
6. Slowly scan over a disbond and a repaired area, and then press the FREEZE key
( ) [see Figure 6-32 on page 145].