DMTA-10045-01EN, Rev. E, August 2016
Applications
139
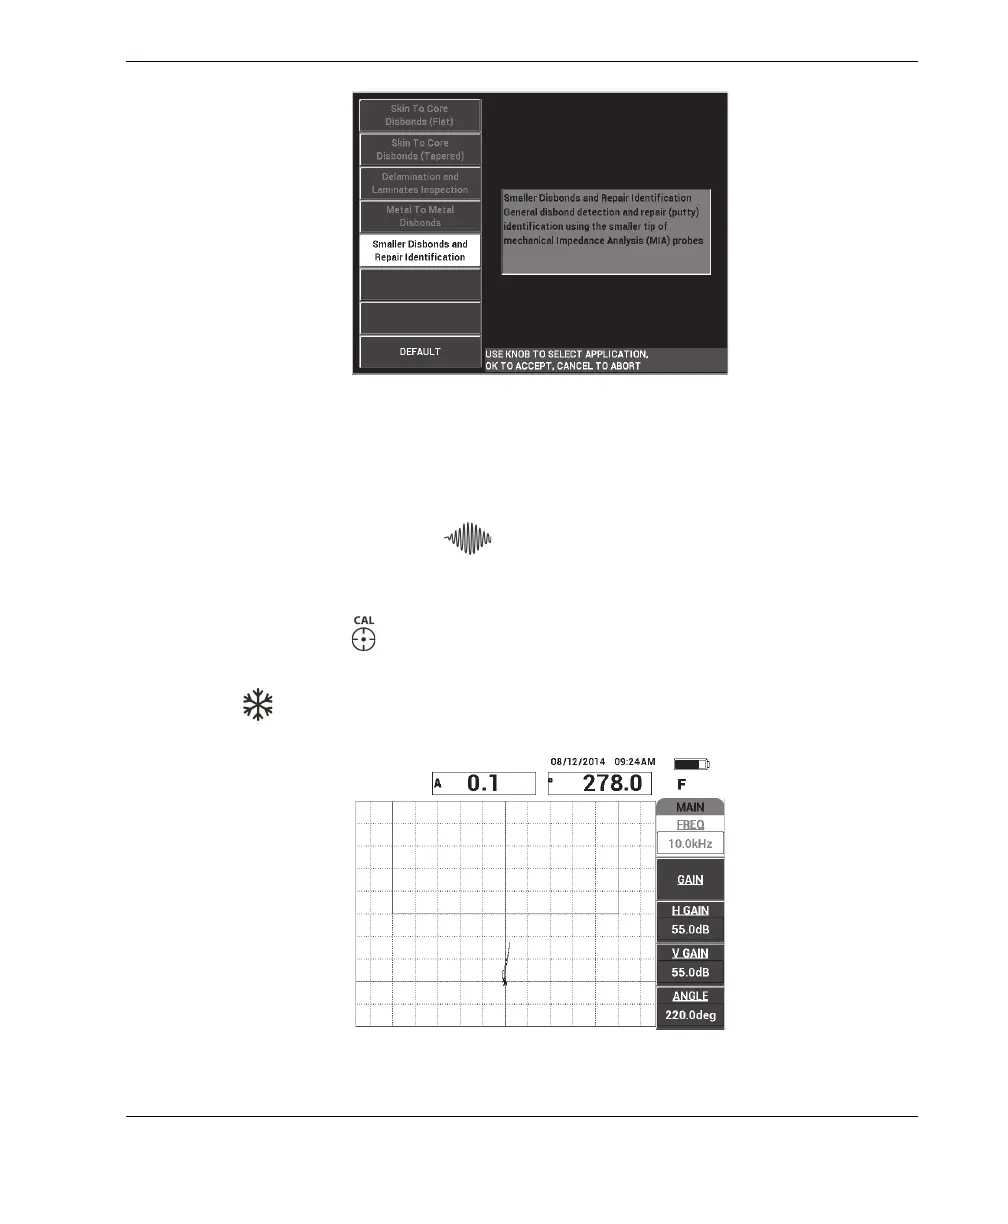
Figure 6‑23 The Smaller Disbonds and Repair Identification application
To calibrate the signals
1. Press the MAIN menu key ( ) once, and then set the FREQ (A key) to 10 kHz
using the knob.
2. Place the probe tip on a good part of the standard (CFRP side), and then press the
CAL NULL key ( ).
3. Slowly scan over one of the 13 mm (0.5 in.) disbonds, and then press the FREEZE
key ( ) [see Figure 6-24 on page 139].
Figure 6‑24 The scan signal of a disbond