DMTA-10045-01EN, Rev. E, August 2016
Applications
143
The following products are used in this procedure:
• Honeycomb composite training standard: 25 mm (1 in.) thick, 3 and 6 ply CFRP
top skin, and 3 ply fiberglass bottom skin. Includes one 13 mm (0.5 in.) and one
25 mm (1 in.) disbond on each side. P/N: NEC-6433 [U8620490].
• Cable for pitch-catch and MIA modes, 1.83 m (6 ft).
P/N: SBM-CPM-P11 [U8800058]
• Right angle MIA probe, 13 mm (0.5 in.) tip. P/N: S-MP-3 [U8010011]
To set the initial BondMaster 600 configuration
1. Connect the probe and the cable to the PROBE connector of the BondMaster 600.
2. When prompted, press CONTINUE (A key) to accept the PowerLink probe
information.
If you are using a non-PowerLink probe, access the APPL SELECT menu (A key)
using the ADV SETUP menu key ( ).
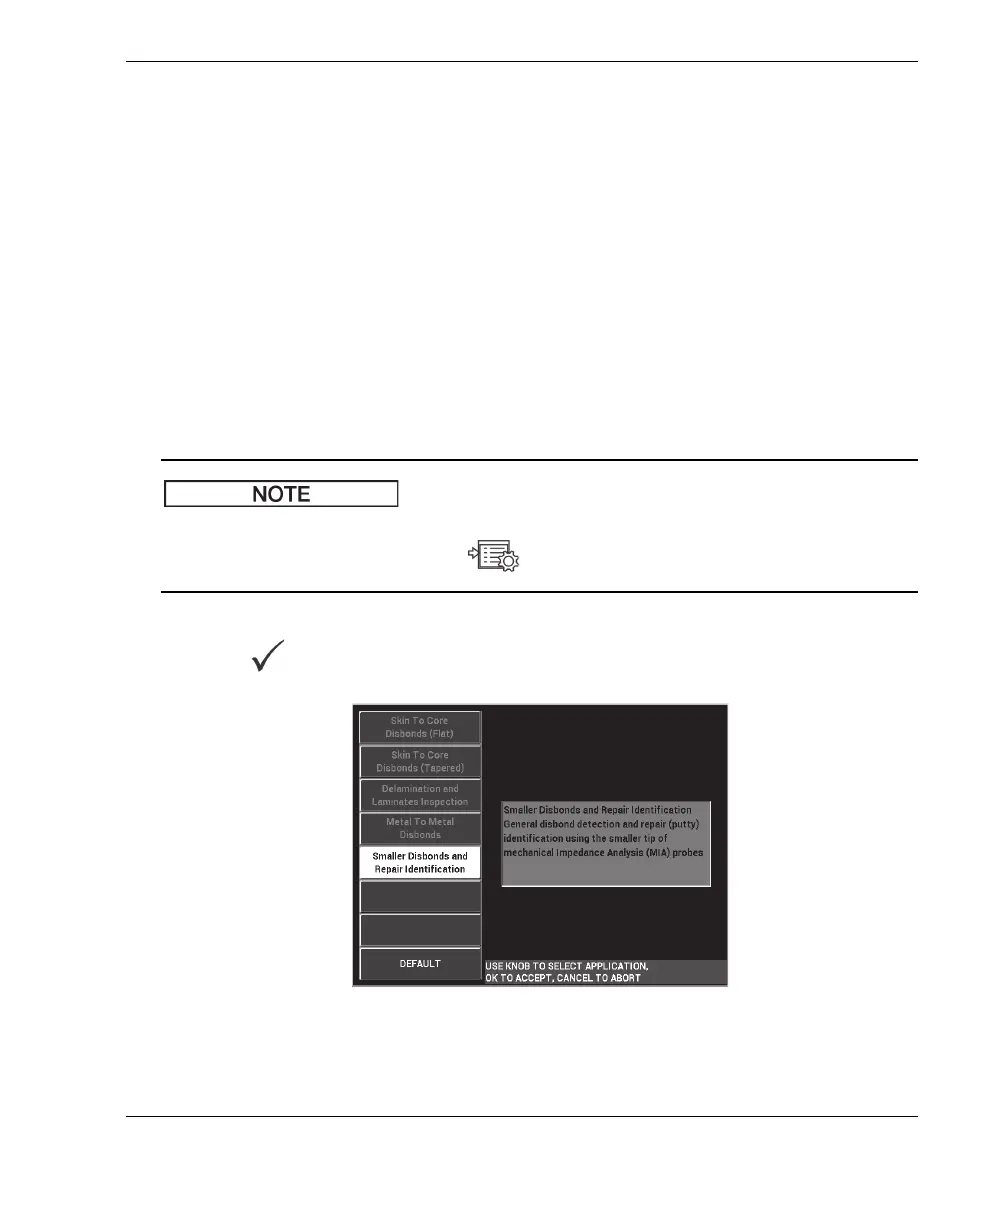
3. Select the Smaller Disbonds and Repair Identification application, and then
press to accept (see Figure 6-30 on page 143).
Figure 6‑30 The Smaller Disbonds and Repair Identification application