DMTA-10045-01EN, Rev. E, August 2016
Applications
149
3. Select the Metal To Metal Disbonds application, and then press to accept
(see Figure 6-38 on page 149).
Figure 6‑38 The Metal To Metal Disbonds application
4. If the calibration menu does not appear automatically, press and hold the CAL
NULL key ( ).
5. Hold the probe in the air. The BondMaster 600 should automatically pick the best
operating frequency for the probe. When in doubt, press CAL (C key) or change
the FREQ (D key) using the knob.
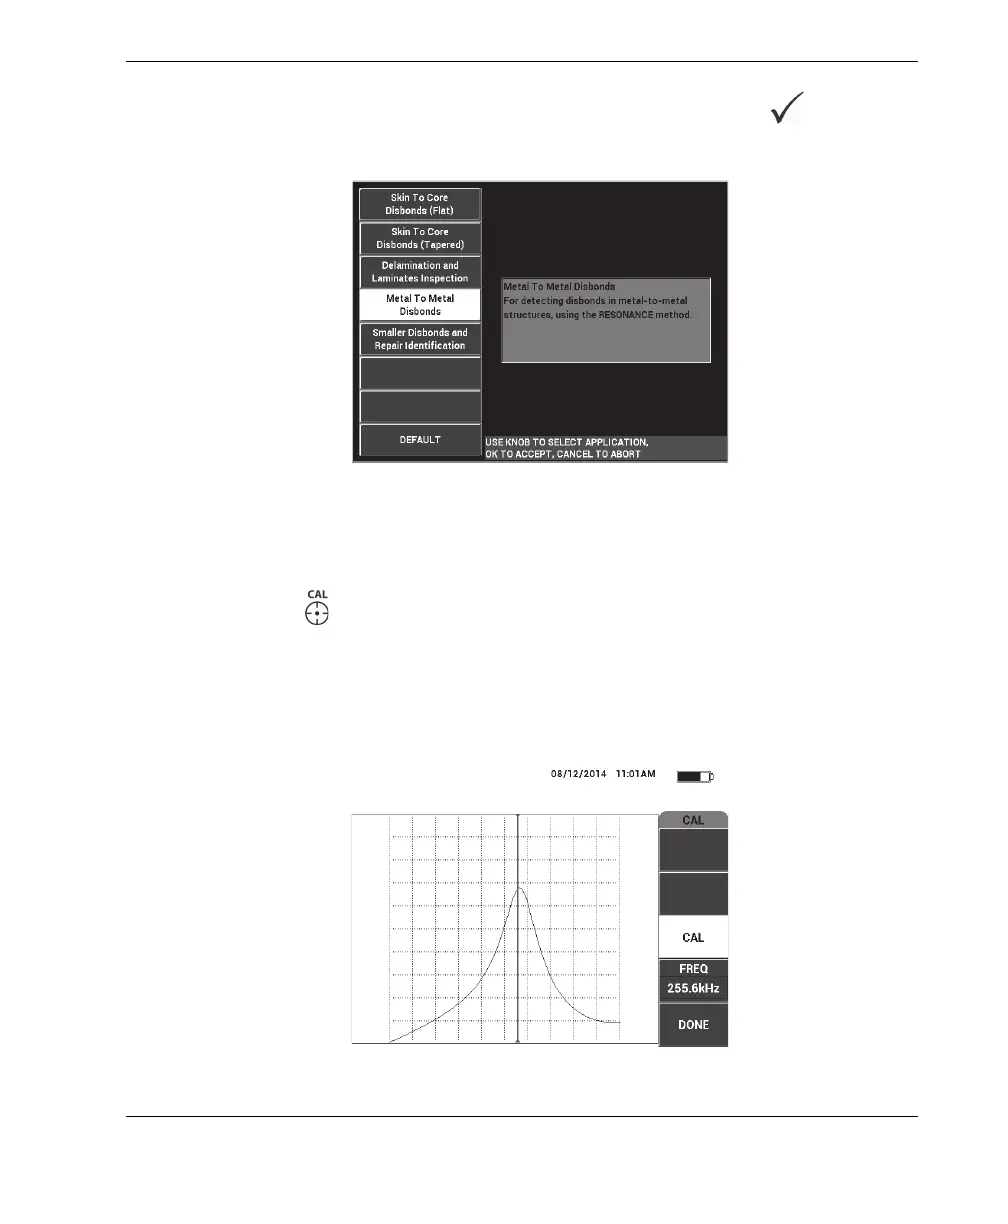
6. Press DONE (E key) [see Figure 6-39 on page 149].
Figure 6‑39 The CAL screen