CAPINTEC, INC. CAPTUS
®
4000e
5-6 QUALITY ASSURANCE August 17
3. Select the Start Procedure button or press Alt+S to start the calibration procedure. The
screen appears as shown in Figure 5-4.
Figure 5-4
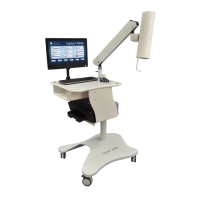
4. Place the Cs137 rod source in the selected detector. To ensure reproducible source
placement for the Uptake Probe, turn the Uptake Probe so that the Collimator opening is
facing upwards towards the ceiling. Gently place the active end of the rod source onto the
middle surface of the crystal. The rod should stand freely and not lean to the side.
To ensure that the Cs137 source rod is consistently placed in the center of the Probe
face, a Rod Source Holder may be purchased from Capintec (reference CHAPTER
16: CLEANING AND MAINTENANCE, SECTION: ACCESSORIES AND
REPLACEMENT PARTS), or
You can fashion a piece of cardboard, Styrofoam or paper cup into a circle with a hole
in its center to put the rod through. The cardboard or cup will brace against the inside
cylindrical wall of the Collimator to keep the rod in position. This positioning will
provide reliable measurements.
Note: Never put a sharp instrument like a pen into the Well or Probe.
5. Select the OK button to proceed with the calibration process. Otherwise, select the
Cancel button to stop the process. As counting progresses, the live spectra is shown.
The system will count for as long as necessary until sufficient counts are acquired for
proper calibration.
6. To stop the counting midway, select the Abort button or press Alt+A. The collected data
is discarded. To re-start the process, select the Start Procedure button or press Alt+S.
7. After the Cs137 calibration is completed, the results box will display the Full Width-Half
Max (FWHM) value as shown in Figure 5-5 below.