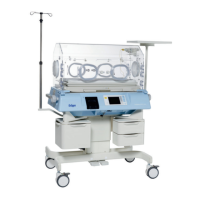
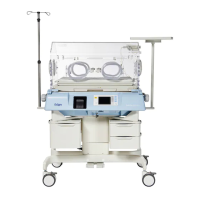
4.4 Controller Assembly
Chapter 4: Removal, Replacement, and Adjustment Procedures
Isolette® Infant Incubator (Model C2000) Service Manual Page 4 - 11
4
4.4 Controller Assembly
Tools required: None
Removal
SHOCK HAZARD:
Unplug the unit from its power source. Failure to do so could result in
personal injury or equipment damage.
1. Unplug the unit from its power source.
2. From under the shell assembly (A), perform the following (see figure
4-4 on page 4-13):
a. Disconnect the AC power cord from its connector (B) on the back
of the controller assembly (C).
b. If necessary, disconnect the cable attached to the RS-232 port
(D).
c. Remove the two wing nuts (E) located next to the AC power
connector (B) and the RS-232 port (D).
3. Slide the controller assembly (C) out from the shell assembly (A)
until its cable connectors are visible.
4. Disconnect the cables from the controller assembly (C).
5. Remove the controller assembly (C) from the shell assembly (A).
Replacement
CAUTION:
When reconnecting the rear panel connectors, connect the sensor
module-to-connector cable assembly to the sensor module connector
only. Do not connect the sensor module cable to the RS-232
connector. Equipment damage could occur.
1. Perform the removal procedure in reverse order. When connecting
the cables to the controller assembly (C), connect the sensor
module-to-controller cable assembly (F) to the sensor module
connector (G), not the RS-232 port (D).