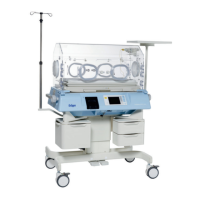
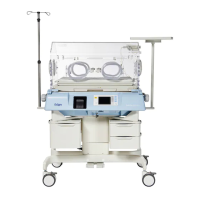
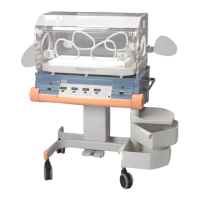
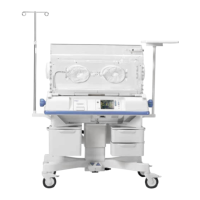
4.5 Hood Assembly
Chapter 4: Removal, Replacement, and Adjustment Procedures
Page 4 - 14 Isolette® Infant Incubator (Model C2000) Service Manual
4.5 Hood Assembly
Tools required: None
Removal
SHOCK HAZARD:
Unplug the power cord from the controller assembly. Failure to do so
could result in personal injury or equipment damage.
1. Unplug the power cord from the back of the controller assembly (A)
(see figure 4-5 on page 4-15).
2. Remove the sensor module assembly from the hood assembly
(refer to procedure 4.2 on page 4-6).
3. Remove the scale connector cable (B) from the cable clamps (C) on
the end of the hood assembly (D).
4. Remove the controller assembly from the shell assembly (refer to
procedure 4.4 on page 4-11).
5. Tilt the hood assembly (D) back until it is fully open.
WARNING:
Two people are required to lift the hood assembly. Failure to use at
least two people could result in personal injury or equipment damage.
6. Stand one person behind the incubator at each end of the hood
assembly (D), and have each person lift their end of the hood
assembly (D) straight up from the shell assembly (E). If the shell
assembly (E) is equipped with a latching mechanism (F), the person
at that end of the hood assembly (D) must release the knob (G)
while lifting.
7. Carefully remove the hood assembly (D) from the unit.
Replacement
1. Perform the removal procedure in reverse order.
2. To ensure proper operation of the Isolette® Infant Incubator,
perform the “Function Checks” on page 2-6.