4.6 Check Valve Assembly
Chapter 4: Removal, Replacement, and Adjustment Procedures
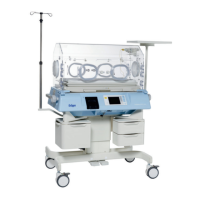
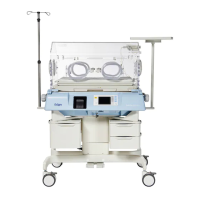
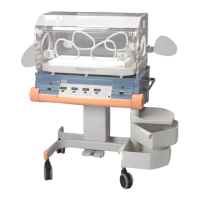
Page 4 - 16 Isolette® Infant Incubator (Model C2000) Service Manual
4.6 Check Valve Assembly
Tools required: Phillips head screwdriver
12" long wooden prop
Pliers
Removal
SHOCK HAZARD:
Unplug the power cord from the controller assembly. Failure to do so
could result in personal injury or equipment damage.
1. Unplug the power cord from the controller assembly (A) (see figure
4-6 on page 4-17).
2. Remove the four Nylok®
1
screws (B) that secure the shell bottom
(C) to the shell assembly (D). Discard the four Nylok® screws (B).
3. Remove the extrusion bumper (I) from between the shell assembly
(D) and the shell bottom (C).
4. Stand at the same end of the shell assembly (D) as the controller
assembly (A), and perform the following:
a. Using the mattress tilt knob (E) and the rear hood hinge (F), lift
the shell assembly (D).
b. Insert a 12" long wooden prop between the shell assembly (D)
and the shell bottom (C).
5. Using pliers, disconnect the three hoses from the existing check
valve assembly (J).
6. Remove the air intake microfilter cover (G) (refer to procedure 4.19
on page 4-51).
7. Remove the Nylok® screw (H) that secures the check valve
assembly (J) to the shell bottom (C). Discard the Nylok® screw (H).
8. Remove the check valve assembly (J) from the shell bottom (C).
1. Nylok® is a registered trademark of Nylok Fastener Corporation.