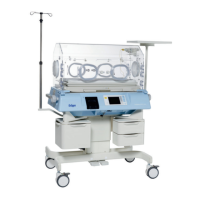
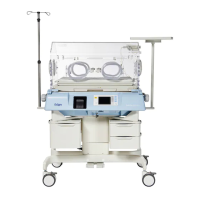
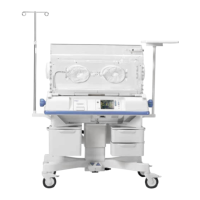
4.10 Access Panel
Chapter 4: Removal, Replacement, and Adjustment Procedures
Page 4 - 32 Isolette® Infant Incubator (Model C2000) Service Manual
Adjustment
1. Loosen, but do not remove, the four screws (J) that secure the two
hinge plates (K) to the hood assembly (A) (see figure 4-13 on page
4-31).
2. Perform the following at each side of the hood assembly (A):
a. Close the access panel (C) on the access panel gauge (L).
Ensure that the access panel (C) securely latches.
b. Push the end of the access panel (C) firmly against the access
panel gauge (N).
c. Tighten the rear screw (J) of the hinge plate (K).
3. Hold the access panel gauge (L), and open the access panel (C).
4. At each hinge plate (K), simultaneously press down on the tab and
tighten the front screw (J).
5. On a unit with a Series 00 hood assembly (A), slide the blue slide
access panel latches (B), and open the access panel (C) (see figure
4-11 on page 4-29).
or
On a unit with a hood assembly (A) later than Series 00, rotate the
access panel pawl latch knobs (D), and open the access panel (C).
6. Pivot the access panel (C) to the full-open position so it hangs
straight down.
7. Close and latch the access panel (C). Ensure that the access panel
(C) latches properly. If the access panel (C) does not latch properly,
readjust the blue slide access panel latches (B) or the access panel
pawl latch knobs (D).
8. To ensure proper operation of the Isolette® Infant Incubator,
perform the “Function Checks” on page 2-6.