GE
P
ART NUMBER FN091065, REVISION 2 VS5 N AND VS6 N SERVICE MANUAL
8-24 Section 8-2 - Cover Replacement Procedures
PRELIMINARY
8-2-11 DVD Cover Replacement Procedure
8-2-11-1 Tools
Use the appropriate Phillips screwdriver, as indicated in the DVD cover replacement procedure.
8-2-11-2 Preparations
Shut down the Vivid S5 N or Vivid S6 N ultrasound unit, as described in 4-2-3 "Power Shut Down" on
page 4-7.
8-2-11-3 DVD Cover Removal Procedure
1) Raise the control console to its maximum height.
2) Remove the left and right side covers, as described in “Left Side Cover Removal Procedure” on
page 8-6 and the “Right Side Cover Removal Procedure” on page 8-5.
3) Remove the front cover, as described in “Front Cover Removal Procedure” on page 8-17.
4.) Remove the right rear cover, as described in the “Right Rear Cover Removal Procedure” on page 8-
10
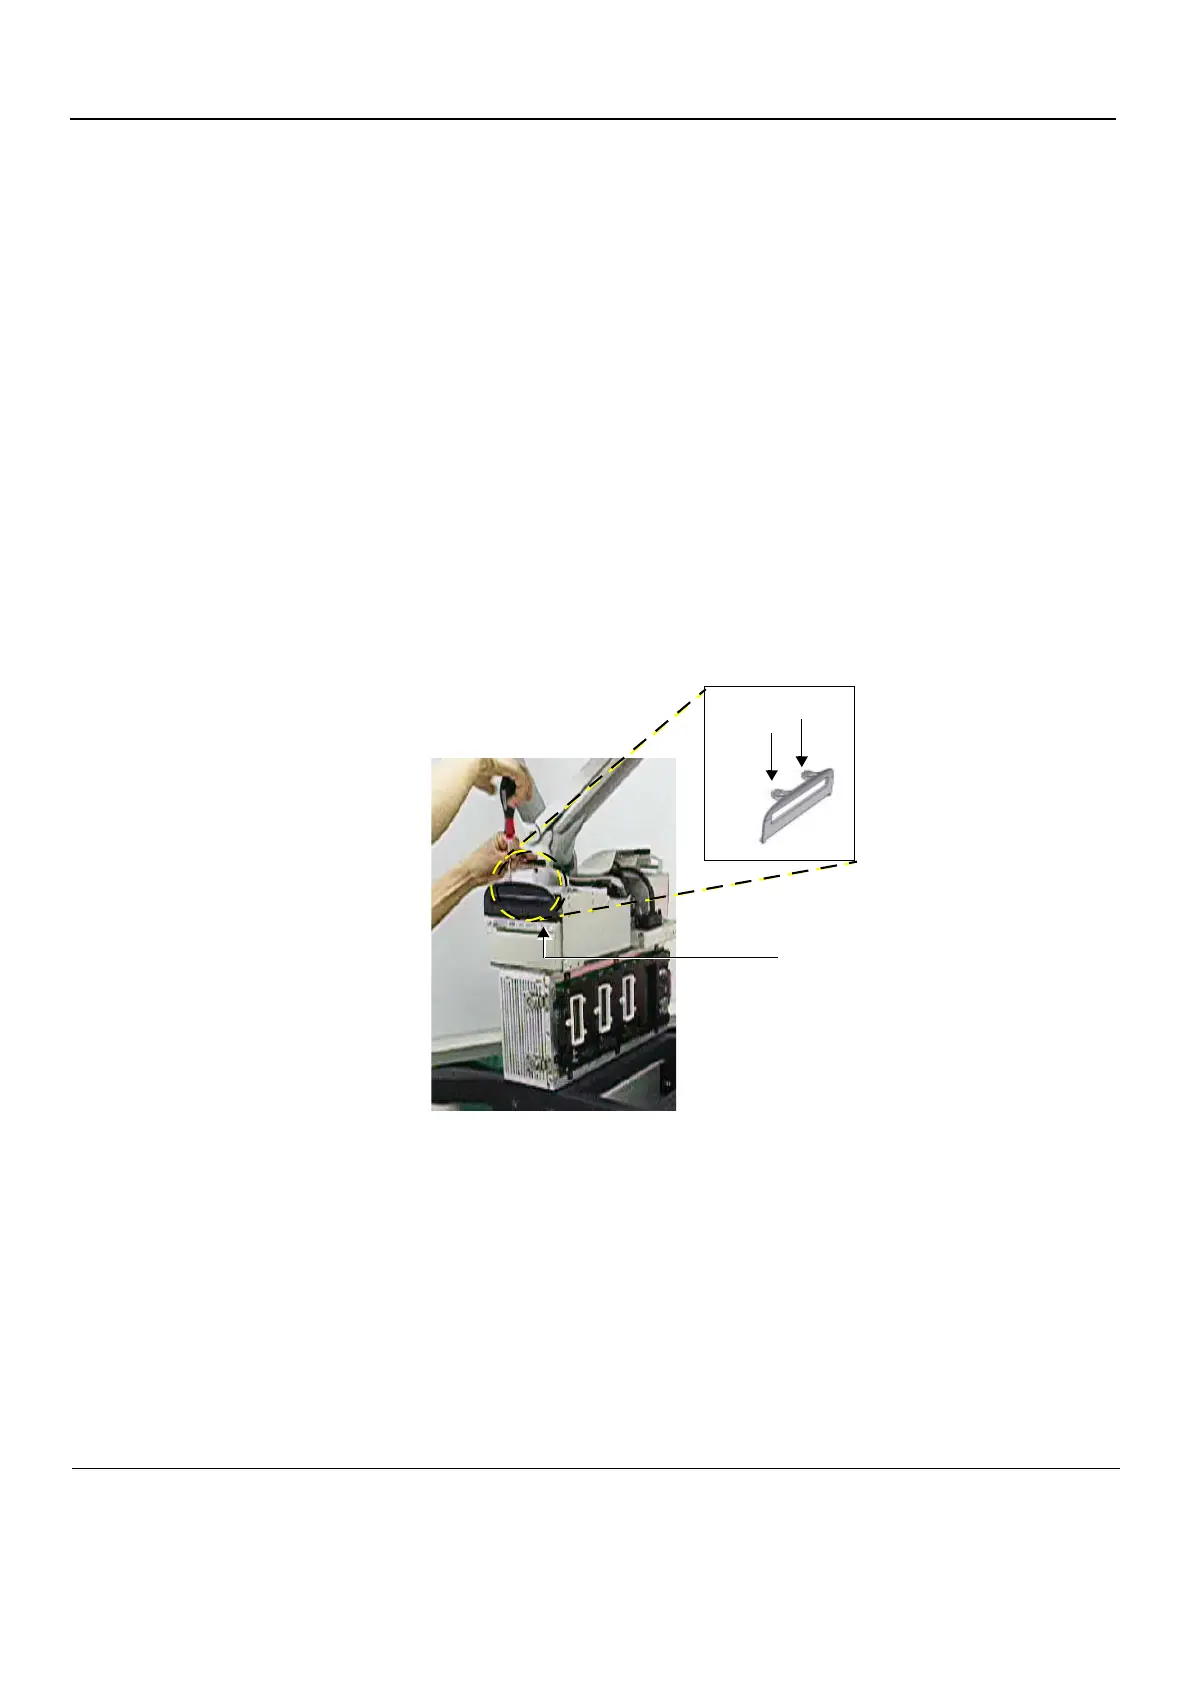
5.) Working from the top of the peripheral cage, unfasten the two Phillips screws that secure the DVD
cover in position - see Figure 8-25.
Figure 8-25 Position of DVD Cover Securing Screws
 Loading...


