GE
P
ART NUMBER FN091065, REVISION 2 VS5 N AND VS6 N SERVICE MANUAL
Chapter 8 - Replacement Procedures 8-255
PRELIMINARY
8-9-8 DeskJet Color Printer Replacement Procedure
NOTE: This section describes removal and replacement procedures only.
For initial installation and configuration instructions, refer to the information provided in
Chapter 3 - System Setup3-1.
8-9-8-1 Tools
None
8-9-8-2 Time Required
20 minutes
8-9-8-3 Preparations
Shut down the Vivid S5 N or Vivid S6 N ultrasound unit, as described in 4-2-3 "Power Shut Down" on
page 4-7.
8-9-8-4 DeskJet Color Printer Removal Procedure
1.) Disconnect the USB cable from the scanner rear connectors panel, and from the USB port at the
rear of the printer (Figure 8-291 on page 8-256).
2.) Disconnect the power cable (and AC adaptor) from the power IN socket at rear of the printer (Figure
8-291), and from the printer peripherals outlet at the rear of the scanner.
3.) Remove the printer and place on a flat surface (together with the two cables removed).
8-9-8-5 DeskJet Color Printer Installation Procedure
1.) Place the DeskJet Color Printer on a stable surface close to the Vivid S5 N or Vivid S6 N scanner.
2.) Using the AC adaptor and power cable (provided with the printer), connect one end of the power
cable to the power IN socket at rear of the printer (Figure 8-291), and the other to the printer
peripherals outlet at the rear of the scanner.
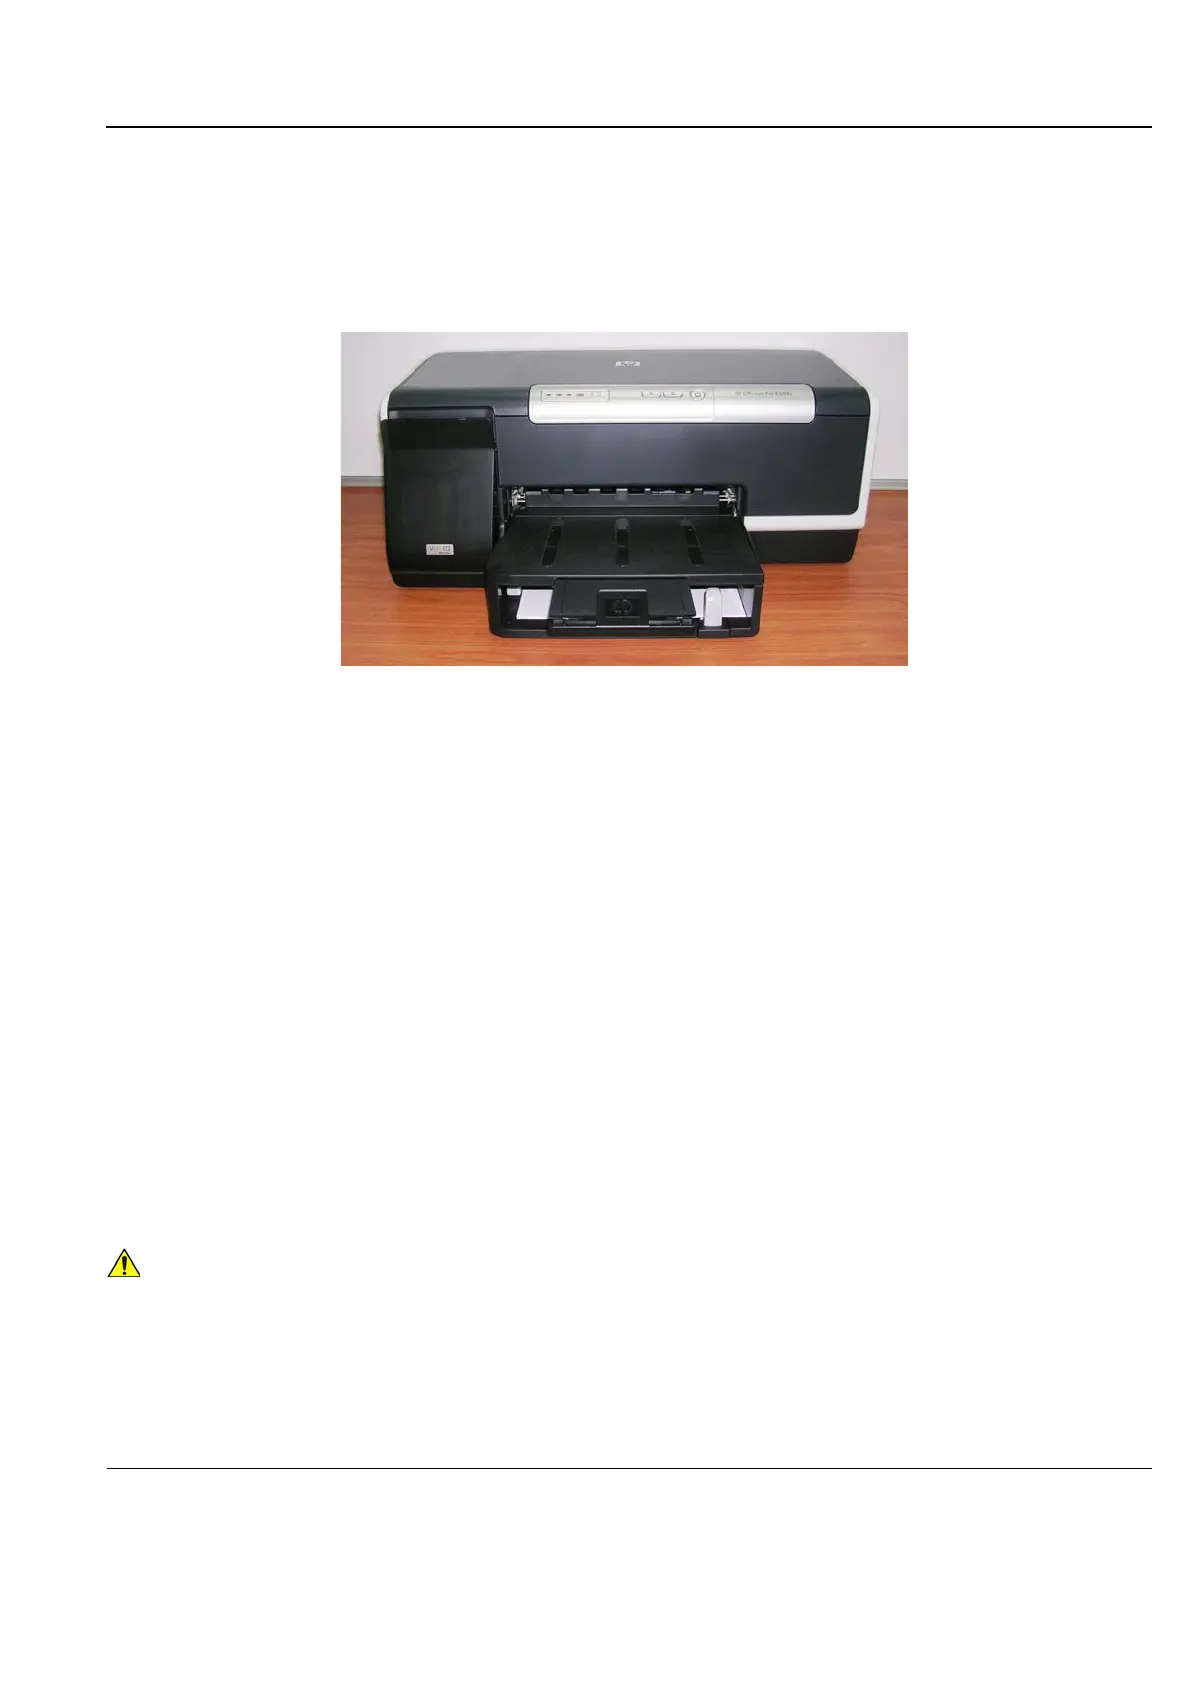
Figure 8-290 DeskJet Color Printer
Do not attempt to use a different type of DeskJet Color Printer (brand or model) other
than the DeskJet Color Printer provided by GE HEALTHCARE. The ultrasound system
is an extremely sensitive and complex medical system. Any unauthorized peripherals
may cause system failure or damage!
 Loading...


