7
MAINTENANCE
7-13
Remove the USB flash drive from the PC appropriately.
1
Prepare the VE-PG3 to load the settings.
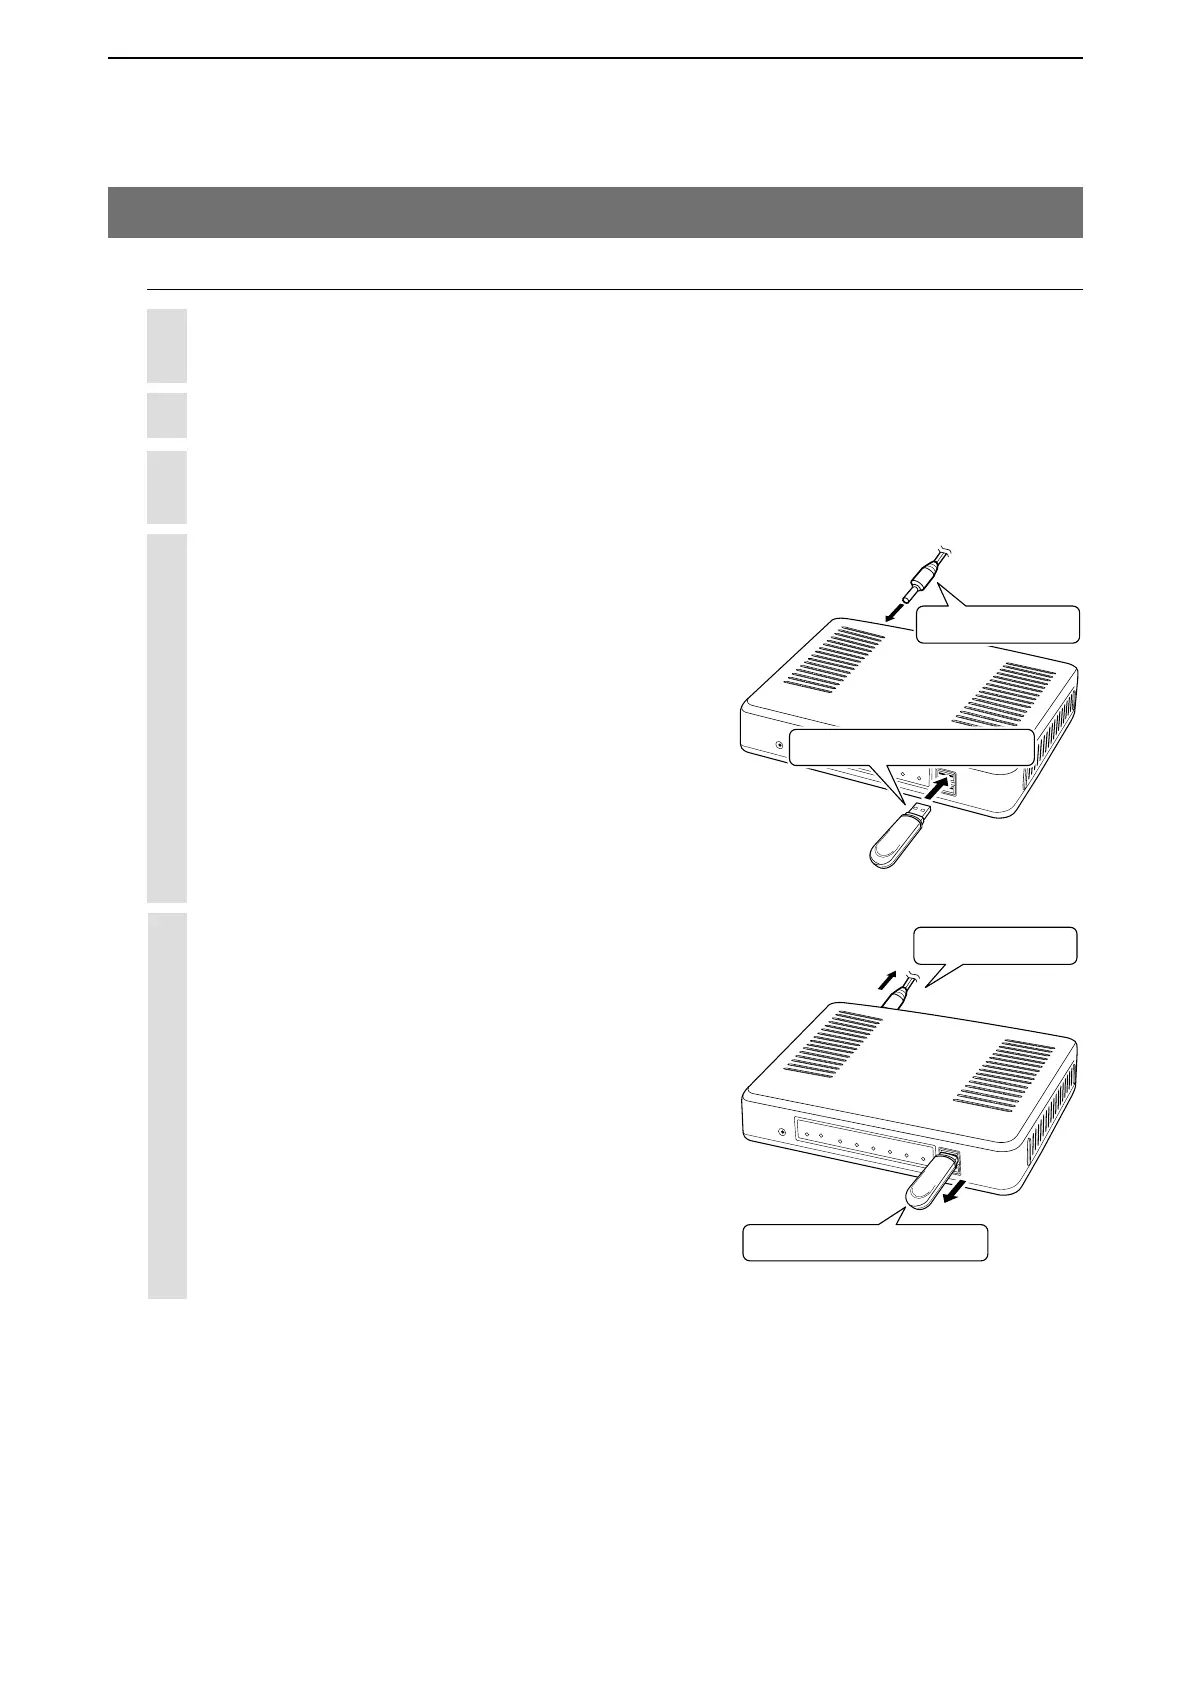
2
Insert the USB flash drive, which contains the setting
data (savedata.sav), to the [USB] port, and then turn
ON the power.
• While accessing the USB flash drive, [PWR/MSG]
blinks.
NOTE:
NEVER remove the USB flash drive, or turn
OFF the VE-PG3’s power while transferring
data. It will cause data corruption, or damage
the USB flash drive.
4
8. How to restore the configuration using a USB flash drive (continued)
UPDATE
PWR/MSG
WAN
V/RoIP
D-TRX
TRX1
TRX2
EXT1
EXT2
w
Power ON
q
Insert the USB memory
When all the data has been loaded into, the [PWR/MSG]
LED is blackout and the VE-PG3 automatically restarts.
Verify that the
[PWR/MSG]LED lights Green, then turn
OFF the power.
Then remove the USB flash drive from the VE-PG3.
• Turn OFF the VE-PG3’s power before inserting or removing
the USB flash drive, to prevent data corruption.
• When importing setting data from the USB flash drive to
the VE-PG3, the originally programmed setting data is
automatically saved as “bakdata.sav” in the USB flash
drive, as a backup.
5
UPDATE
PWR/MSG
WAN
V/RoIP
D-TRX
TRX1
TRX2
EXT1
EXT2
w
q
Remove the USB memory
Power OFF
Turn OFF the power.
NOTE: Turn OFF the VE-PG3’s power, before inserting the USB flash drive.
3
Loading the settings from the USB flash drive